
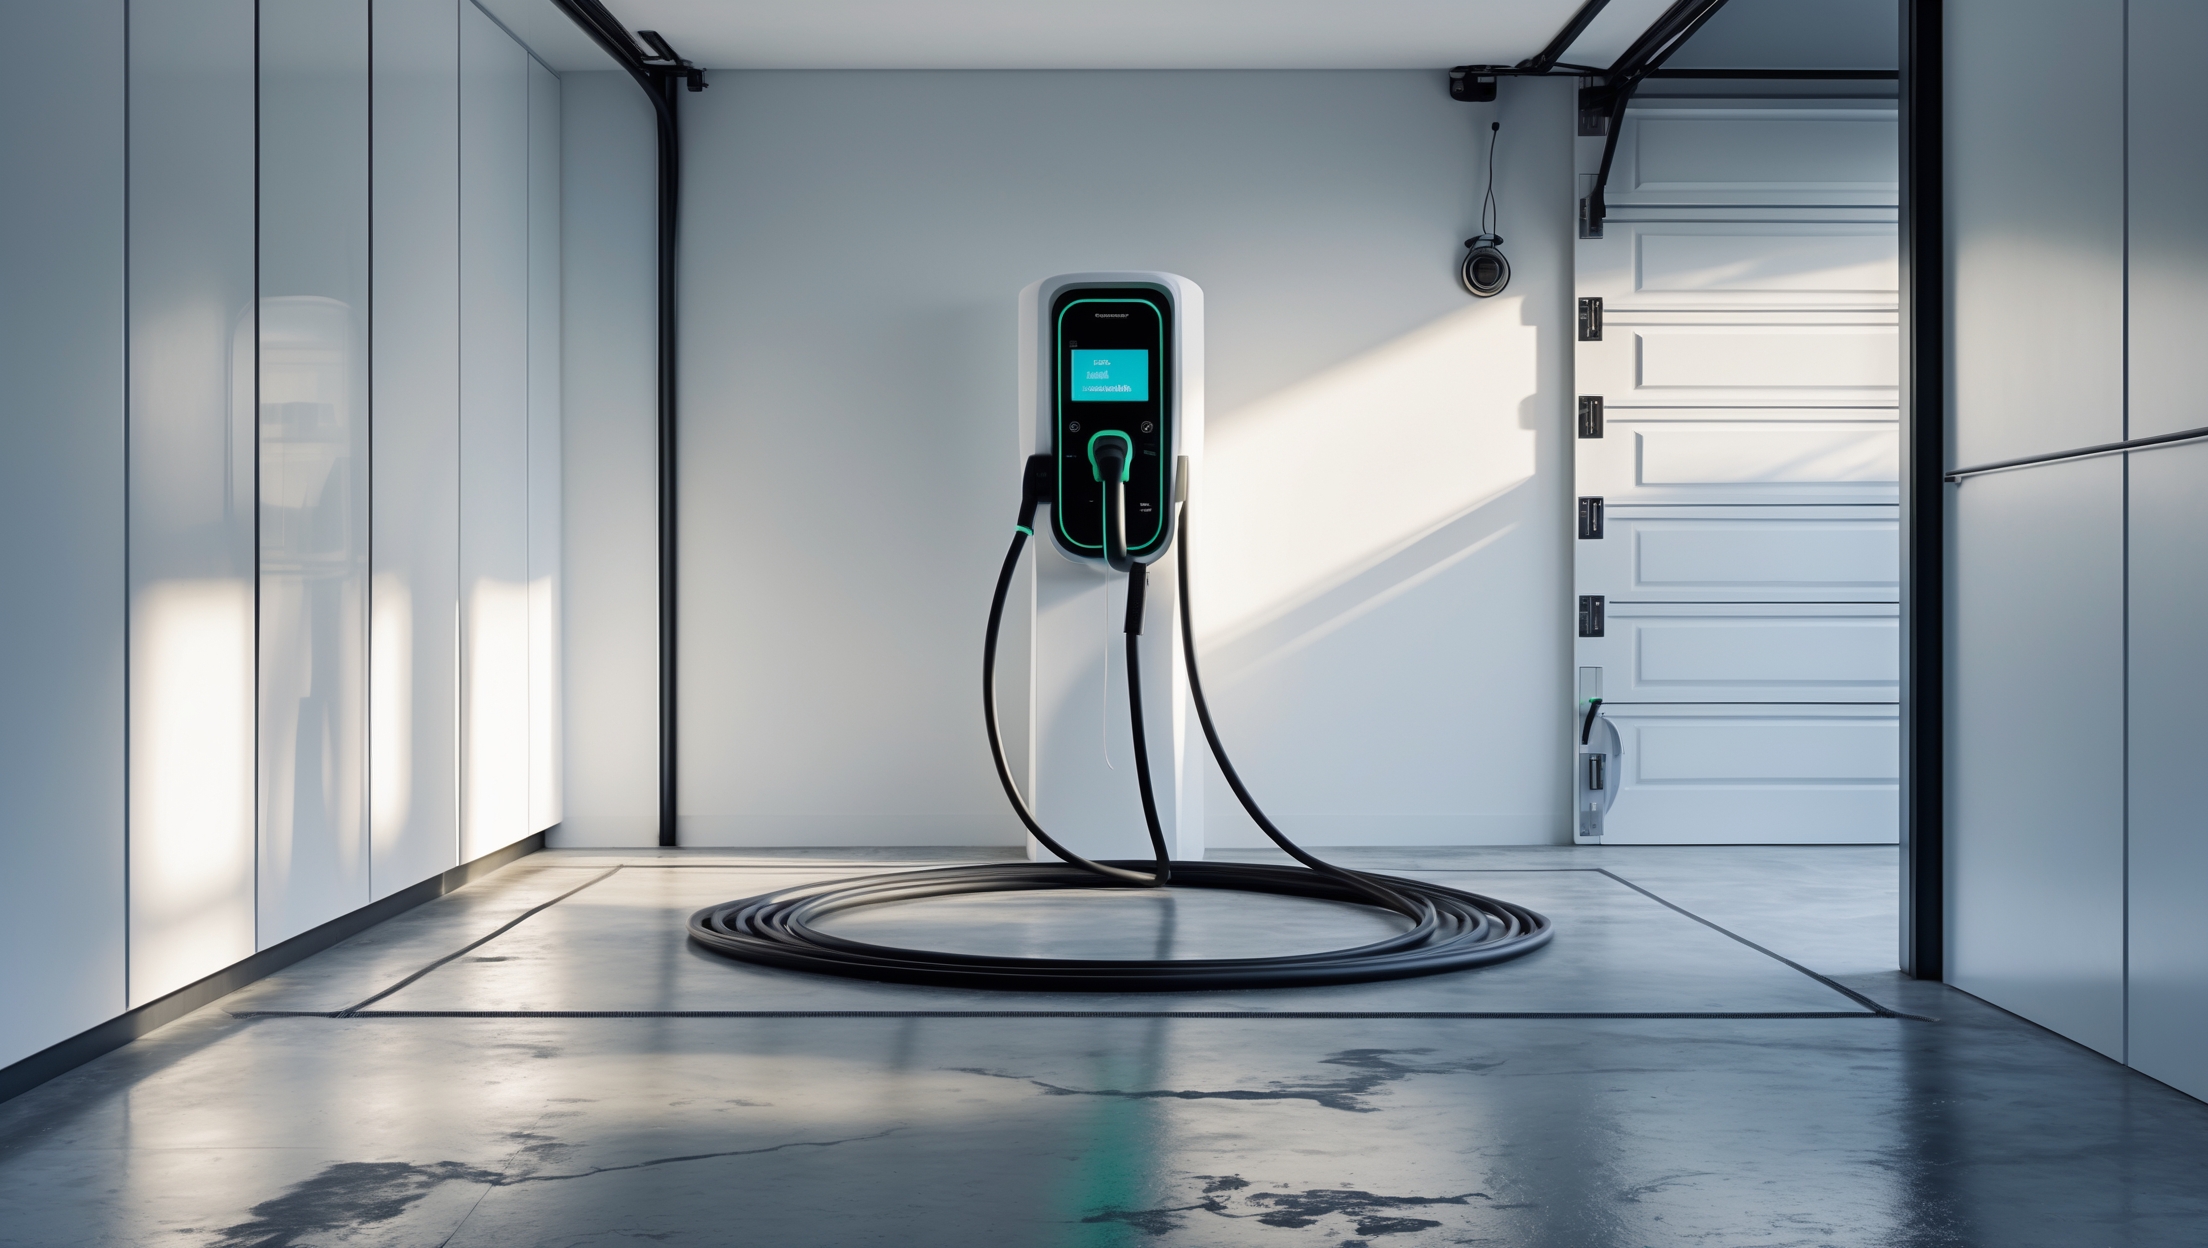
Step-by-Step Tutorial: Installing a Home EV Charging Station—Permits, Cost, and Safety Essentials

Introduction: The Rise of Home EV Charging
The shift toward electric vehicles (EVs) is accelerating, with more homeowners choosing the convenience and cost savings of charging at home. In 2024, installing a residential EV charging station is not just a luxury—it’s rapidly becoming a necessity for EV owners who want to maximize the benefits of their investment. However, the installation process involves more than just mounting a charger on the wall. From navigating local permitting requirements to understanding electrical upgrades, budgeting accurately, and ensuring every step is performed safely, there’s much to consider. This in-depth guide will walk you through the entire process of setting up a home EV charging station, including a practical step-by-step tutorial, essential tools and equipment, compliance and permitting insights, a realistic cost breakdown, and critical safety protocols. Whether you’re considering a DIY approach or hiring a professional, the information here will empower you to make informed decisions and avoid costly mistakes. Let’s get started on electrifying your home the right way.
Types of Home EV Charging Stations
Level 1 Chargers
Level 1 chargers use a standard 120-volt outlet and typically deliver 2–5 miles of range per hour. They require no special installation but are slow, making them best suited for plug-in hybrids or occasional use.
Level 2 Chargers
Level 2 chargers operate on a 240-volt circuit, offering 10–60 miles of range per hour. Most EV owners prefer Level 2 for daily charging due to its speed and convenience. Installation requires dedicated wiring and, in most cases, a permit.
Smart vs. Standard Chargers
Smart chargers offer Wi-Fi connectivity, scheduling, and real-time monitoring, while standard chargers simply deliver power. Smart chargers may increase installation complexity and cost but provide valuable features for energy management.
Permit and Compliance Essentials
Why Permits Matter
Installing a Level 2 EV charging station is an electrical upgrade that almost always requires a permit. Local codes vary, but permits ensure the work is inspected for safety and compliance, protecting your home and insurance coverage.
How to Obtain a Permit
- Contact Your Local Building Department: Ask about residential EV charging station requirements.
- Submit Plans: You may need to provide a diagram of your electrical panel, charger location, and wiring path.
- Pay Fees: Permit fees typically range from $50 to $300, depending on your municipality.
- Schedule Inspections: Most jurisdictions require a post-installation inspection.
HOA and Utility Considerations
If you live in a community with a homeowners association, check for rules regarding exterior modifications or visible equipment. Some utilities offer rebates or require registration for home chargers—review these options before beginning.
Cost Breakdown: What to Expect
Equipment Costs
- Level 2 Charger: $400–$900 for standard models; $800–$1,500 for smart chargers.
- Mounting Hardware: $30–$100.
- Conduit and Wiring: $50–$200 (varies with distance from panel).
Installation Costs
- Professional Labor: $400–$1,000 depending on complexity, region, and panel access.
- Electrical Panel Upgrade (if needed): $1,000–$2,500 (only if your existing panel lacks capacity).
- Permitting and Inspection: $50–$300.
Optional Extras
- Weatherproofing or Outdoor Enclosure: $100–$300.
- Wi-Fi Extender for Smart Chargers: $30–$100.
Total Estimated Cost
Most homeowners invest between $1,000 and $2,500 for a turnkey installation, but the price can rise if significant electrical upgrades are required. Always obtain multiple quotes for professional work and check for local rebates.
Essential Tools and Equipment
- Voltage tester or multimeter
- Drill with masonry/wood bits
- Wire stripper/cutter
- Screwdrivers and nut drivers
- Level and measuring tape
- Stud finder (if mounting on drywall)
- Conduit bender (for longer wiring runs)
- Fish tape for pulling wire
- Personal protective equipment (insulated gloves, safety glasses)
Step-by-Step Tutorial: Installing a Level 2 EV Charger
Step 1: Assess Electrical Panel Capacity
Before purchasing equipment, verify your electrical panel can handle the added load. A Level 2 charger typically requires a 30–50 amp dedicated circuit. If your panel is near capacity, consult a licensed electrician about an upgrade.
Step 2: Select the Charger and Mounting Location
- Choose a location within reach of your EV’s parking spot.
- Ensure proximity to your electrical panel to minimize wiring runs and cost.
- For outdoor installations, select a charger rated for exterior use (NEMA 3R or better).
Step 3: Obtain Permits and Schedule Inspection
Submit your permit application with the charger specifications and installation plan. Wait for approval before starting work. If using a professional, they will typically handle this process.
Step 4: Turn Off Power and Prepare the Site
- Shut off power at the main breaker.
- Confirm with a voltage tester that the panel and intended circuit are de-energized.
- Mark the mounting location on the wall, ensuring the charger will be accessible and compliant with manufacturer’s clearances.
Step 5: Install the Dedicated Circuit
- Install a new breaker in your panel matching the amp rating of your charger.
- Run appropriately sized wire (typically 6 AWG for 50 amp) from the panel to the charger location.
- Secure wire in conduit where required by code.
- If routing through finished walls, use a fish tape and avoid unnecessary bends.
Step 6: Mount and Wire the Charger
- Attach the mounting bracket to the wall studs or masonry using anchors.
- Feed wires into the charger’s enclosure and connect according to the manufacturer’s instructions (usually three wires: hot, hot, ground).
- Ensure all connections are tight and protected by strain reliefs.
- Double-check torque settings on all terminals for safety.
Step 7: Finalize and Test the Installation
- Restore power at the main panel.
- Test the charger with a multimeter to confirm correct voltage at the terminals before plugging in your vehicle.
- Follow the charger’s startup procedure—many smart models require app setup and Wi-Fi connection.
Step 8: Schedule Final Inspection
After installation, arrange for the required electrical inspection. Do not use the charger until your installation passes and you receive sign-off from the inspector.
Safety Checklist for Home EV Charger Installation
- Always shut off power before working on electrical circuits.
- Use only UL-listed chargers and components.
- Install Ground Fault Circuit Interrupter (GFCI) protection as required.
- Maintain proper clearances around the charger for ventilation and fire safety.
- Never overload your panel—consult an electrician if unsure.
- Label the new breaker for emergency responders.
- Keep cords off the ground to prevent tripping hazards and water exposure.
- Inspect the charger and cable regularly for wear or damage.
Maintenance Best Practices
- Routinely inspect the charging cable, connector, and enclosure for cracks, corrosion, or loose fittings.
- Clean the unit with a dry cloth—avoid water or solvents.
- If installed outdoors, check weather seals and mounting hardware seasonally.
- Update charger firmware via the app (for smart chargers) to ensure optimal performance and security.
- Monitor your circuit breaker for nuisance trips, which may indicate a wiring issue.
When to Call a Professional
While some handy homeowners can complete a Level 2 installation, electrical work carries inherent risks. Hire a licensed electrician if:
- Your panel requires an upgrade or relocation.
- Wiring will pass through multiple finished rooms or floors.
- You’re unfamiliar with local code or permit requirements.
- You lack experience working with 240-volt circuits.
Professional installation adds cost but provides peace of mind, code compliance, and warranty protection.
Incentives and Rebates
Many states, cities, and utilities offer incentives for home EV charger installation. These can include:
- Direct rebates on equipment and installation costs
- Tax credits (check current federal and state programs)
- Time-of-use rate discounts for EV owners
Research available programs before purchasing your charger—savings can be substantial, and some rebates require pre-approval.
Conclusion: Powering Your Home for the Future
Installing a home EV charging station is a transformative upgrade that enhances convenience, property value, and your commitment to a greener future. As electric vehicles become mainstream, the demand for safe, reliable, and code-compliant home charging will only grow. By following the steps outlined in this guide—securing the right permits, budgeting accurately, selecting the proper equipment, and adhering to best safety practices—you can ensure your installation delivers years of trouble-free service. Remember, while a DIY approach is possible for those with electrical experience, there’s no substitute for professional help when dealing with high-voltage systems or complex panel upgrades. Take advantage of available rebates, stay current on local code, and don’t overlook ongoing maintenance to protect your investment. With careful planning and attention to detail, your home EV charger will become a seamless part of your daily routine—and a powerful asset for the years ahead.
I noticed the article mentions that installing a Level 2 charger often requires dedicated wiring and a permit. If you’re renting or living in an older house, what steps would you recommend to check if your home’s electrical system can actually handle a Level 2 charger before starting the process?
Before installing a Level 2 charger in a rental or older home, it’s a good idea to first review your electrical panel for available capacity—Level 2 chargers usually need a 240-volt circuit. Next, contact a licensed electrician to perform a load calculation and inspect your wiring and panel condition. They can confirm if upgrades are necessary and help you understand what’s feasible within your rental agreement or building regulations.
If I’m thinking about installing a smart Level 2 charger in my small business parking lot instead of my home, would the permitting and safety requirements differ from what you described for residential installations?
Yes, installing a smart Level 2 charger at your small business will likely involve different permitting and safety requirements compared to a home installation. Commercial properties often have stricter building codes, may require more robust electrical infrastructure, and might need additional inspections. You could also face zoning or accessibility requirements. It’s best to check with your local permitting office and consult a licensed electrician familiar with commercial EV charger installations.
After the initial installation is complete, are there any recommended safety checks or maintenance routines homeowners should perform regularly to ensure the charging station remains safe and efficient?
After installation, it’s wise to periodically inspect your EV charging station for any signs of wear or damage, such as frayed cables or loose connections. Check that the unit is firmly mounted and that there is no water intrusion. Clean dust and debris from vents and connectors, and test the ground fault protection feature if your unit has one. If you notice anything unusual, contact a qualified electrician for further inspection.
You mention that smart chargers can increase installation complexity and cost. Do you have any specific advice for choosing between a standard and a smart charger if I’m concerned about keeping upfront costs low but still want the option to manage energy usage in the future?
If keeping upfront costs low is your priority, you might start with a standard charger—they’re simpler and less expensive to install. However, consider choosing a standard charger that’s easily upgradable or ensure your installation includes extra wiring or conduit for future needs. That way, you can add a smart charger later if you decide you want advanced energy management features.
I’m interested in the differences between standard and smart chargers when it comes to installation complexity. If I opt for a smart Level 2 charger with Wi-Fi features, should I expect a noticeably higher installation cost, or is the main expense still tied to the electrical work?
Choosing a smart Level 2 charger with Wi-Fi features does not usually add a significant amount to the installation cost compared to a standard Level 2 charger. The main expense comes from the electrical work, such as upgrading your panel, running wiring, and installing a dedicated circuit. Setting up the smart features typically involves connecting to your home Wi-Fi, which is a simple process after the charger is installed.