
Avoiding Costly Mistakes: A Beginner’s Guide to Home Crawl Space Encapsulation
Introduction: Why Crawl Space Encapsulation Matters
Many homeowners overlook their crawl space, but this area beneath your home plays a crucial role in your property’s overall health. Crawl space encapsulation—sealing the area with a vapor barrier and sometimes insulation—can prevent moisture intrusion, mold growth, pest infestations, and even structural damage. While the benefits are significant, the process is often misunderstood and, if not done correctly, can lead to expensive remediation down the road. This comprehensive guide is designed specifically for beginners considering DIY or professional crawl space encapsulation. We’ll walk through common mistakes to avoid, essential budgeting tips, compliance matters, and key maintenance practices, so you can protect your home’s foundation and indoor air quality for years to come.
Understanding Crawl Space Encapsulation
What Is Crawl Space Encapsulation?
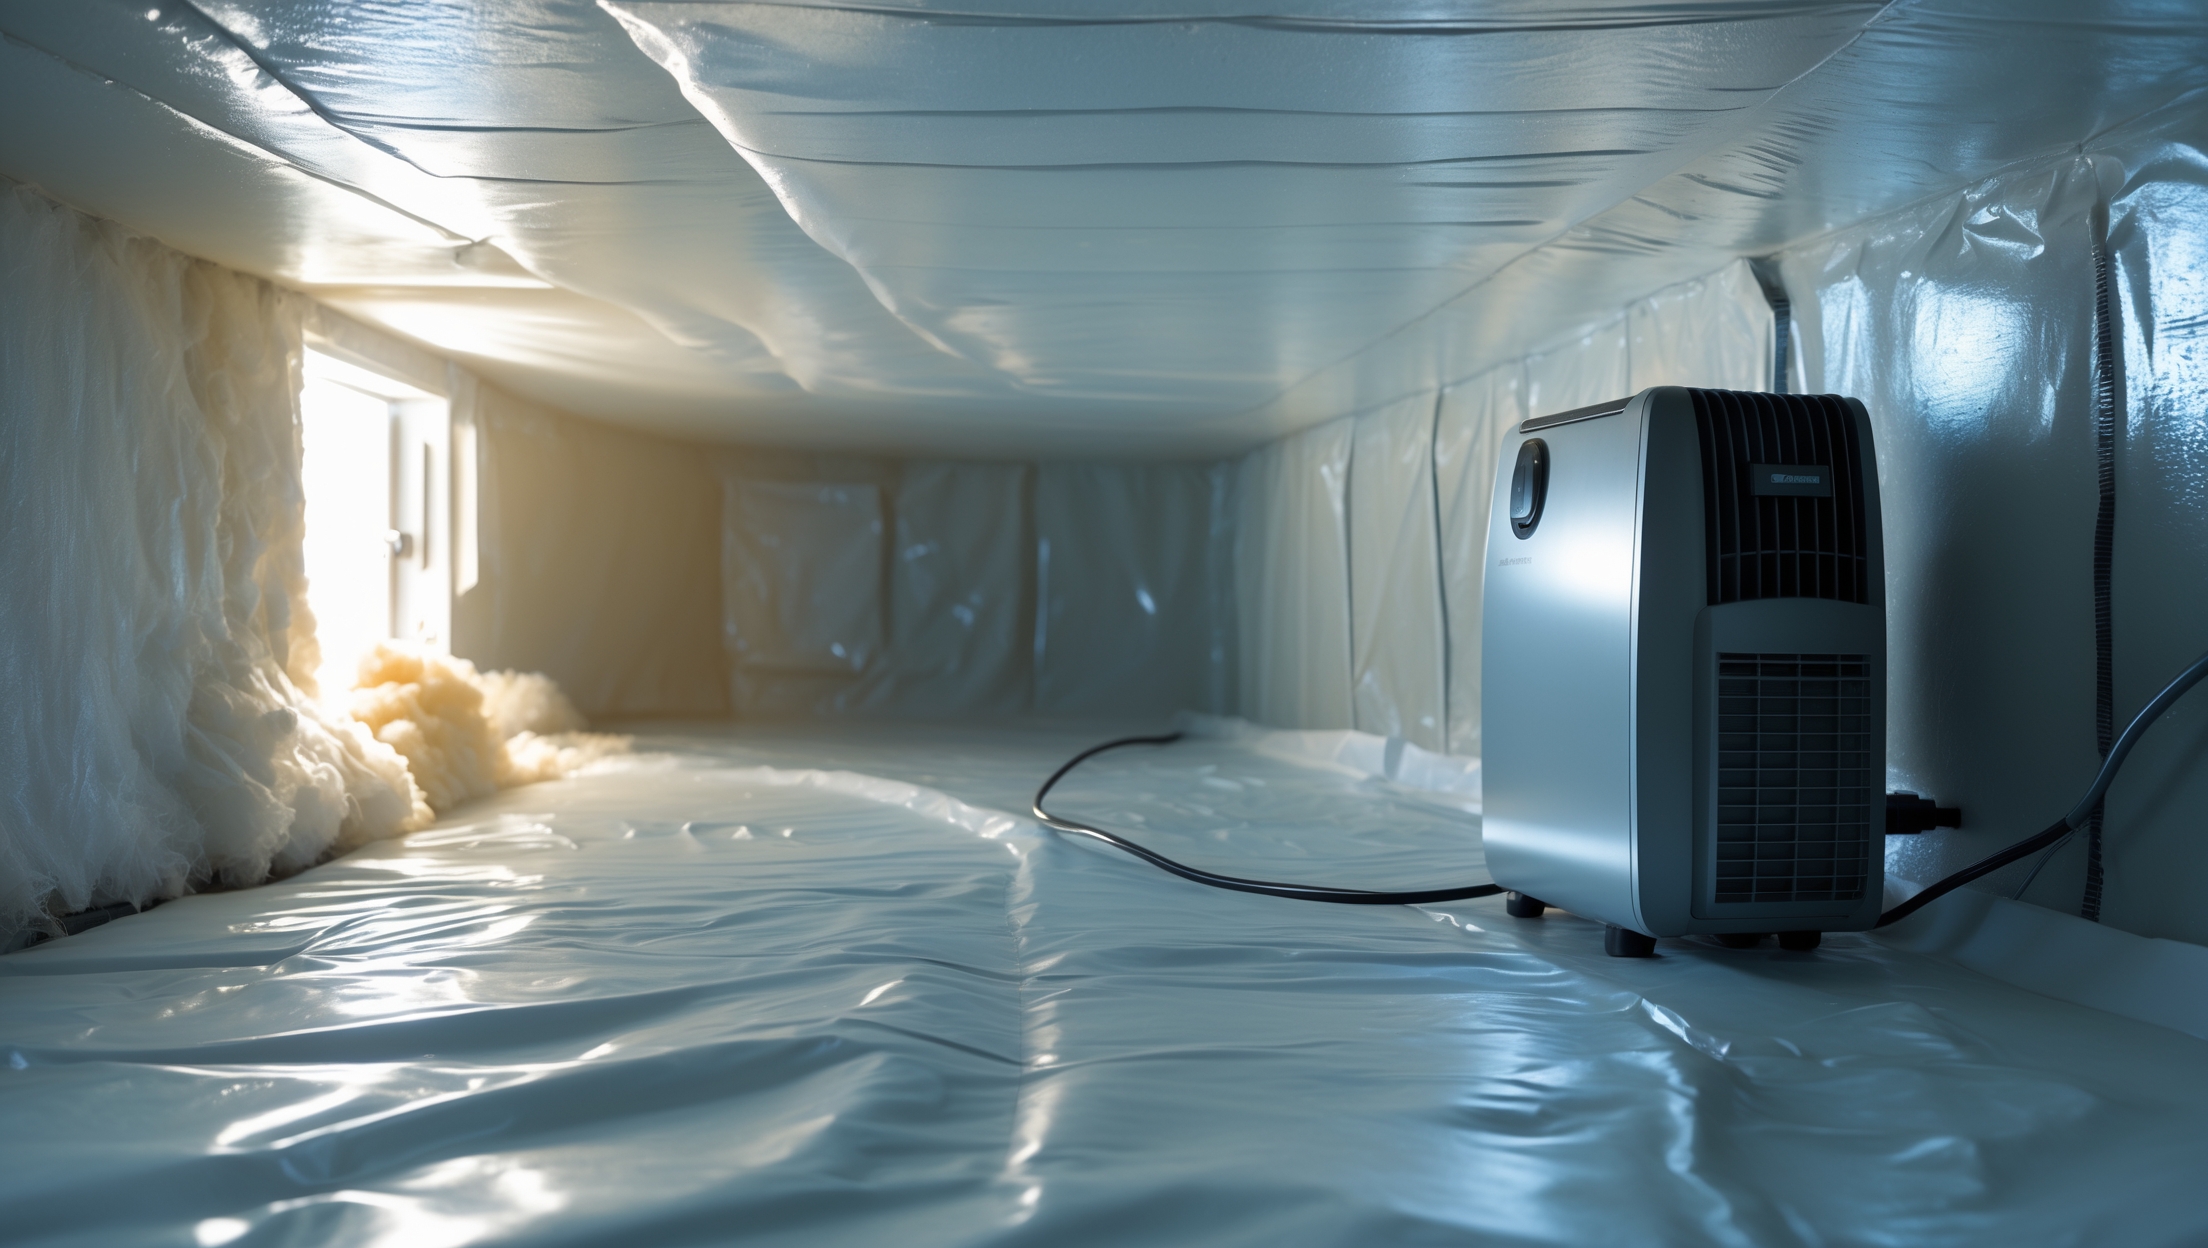
Crawl space encapsulation involves sealing your crawl space with a thick plastic vapor barrier, often combined with insulation and a dehumidification system. The goal is to isolate the space from ground moisture and outside air, turning it into a controlled environment. This helps reduce humidity, prevent mold and wood rot, and deter pests such as termites and rodents.
Key Components of an Encapsulated Crawl Space
- Vapor Barrier: Heavy-duty polyethylene sheets (usually 10–20 mils thick) installed over the ground and up the walls.
- Sealing Tapes and Caulks: Used to secure vapor barriers and close seams around piers and edges.
- Insulation: Rigid foam boards or spray foam applied to crawl space walls in some climates.
- Dehumidifier: Maintains optimal humidity levels.
- Sealed Vents: Existing vents are sealed to prevent outside air and moisture from entering.
- Drainage System: French drains or sump pumps to manage water ingress if needed.
Common Beginner Mistakes in Crawl Space Encapsulation
1. Skipping a Thorough Inspection
One of the most critical steps is inspecting the crawl space for existing problems. Overlooking issues like standing water, wood rot, insect damage, or foundation cracks can compromise your encapsulation from day one.
- Use a flashlight and protective gear to check all corners, joists, and masonry.
- Document any signs of water, mold, or pests.
- Consult a structural engineer if you find foundation problems.
2. Failing to Address Standing Water or Drainage Issues
Encapsulating over a wet crawl space can trap moisture, worsening problems instead of solving them. Before installing a vapor barrier:
- Ensure no standing water is present. If so, install or repair drainage systems.
- Consider a sump pump in areas prone to flooding.
- Grade soil around your home to direct rainwater away from the foundation.
3. Using Inadequate or Improper Vapor Barriers
Some homeowners try to save money by using thin plastic sheeting (less than 10 mils thick), which can tear easily and allow moisture through. For best results:
- Choose a vapor barrier at least 12–20 mils thick, reinforced for puncture resistance.
- Overlap seams by at least 12 inches and seal with specialized tape.
- Run the barrier up walls and around piers, securing it with mechanical fasteners or caulk.
4. Neglecting to Seal Vents and Gaps
Leaving crawl space vents, access doors, or pipe penetrations unsealed defeats the purpose of encapsulation. Air leaks bring in humidity and pests. To prevent this:
- Seal all vents with rigid foam and caulk or foam spray.
- Install weatherstripping on access doors.
- Seal all utility penetrations.
5. Ignoring Local Building Codes and Compliance
Building codes vary by region and often regulate crawl space encapsulation, especially regarding vapor barriers, ventilation, and fire safety. Ignoring these can result in fines, insurance issues, or problems at resale.
- Check with your local building department before starting.
- Some areas require permits, especially if electrical or structural changes are involved.
- Fire codes may require ignition barriers over foam insulation.
6. Forgetting About Radon Mitigation
Encapsulating a crawl space can trap radon—a naturally occurring radioactive gas present in some soils—inside your home. Testing for radon before and after encapsulation is crucial. If levels are high, install a mitigation system before sealing the space.
7. Poor Installation of Insulation
Improperly installed or incompatible insulation can cause condensation and mold growth. Common mistakes include:
- Using fiberglass batts, which absorb moisture and sag over time.
- Failing to air-seal insulation joints.
- Not installing rigid foam boards directly against foundation walls.
8. Not Installing a Dehumidifier (When Needed)
Even after encapsulation, some crawl spaces retain high humidity, especially in humid climates. Skipping a dehumidifier can allow mold to thrive and negate the benefits of encapsulation.
- Choose a crawl space-rated dehumidifier with a built-in humidistat.
- Route the condensate drain to the outside or a sump pump.
9. Overlooking Long-Term Maintenance
Encapsulation is not a one-and-done project. Tear, leaks, or dehumidifier failures can occur over time. Many homeowners forget to:
- Inspect the vapor barrier annually for damage.
- Clean and service the dehumidifier regularly.
- Monitor humidity with a wireless sensor.
Cost Breakdown and Budgeting Tips
DIY vs. Professional Encapsulation
Encapsulation costs vary widely based on materials, square footage, and labor. Here’s a general breakdown:
- DIY: $1,500–$4,000 for materials (vapor barrier, tape, insulation, dehumidifier)
- Professional: $5,000–$15,000 for full-service encapsulation, including drainage and insulation
While DIY saves money, professionals have the expertise and tools to avoid costly errors. Consider your skill level, time commitment, and risk tolerance before deciding.
Major Budget Factors
- Crawl Space Size: Larger spaces require more material and labor.
- Vapor Barrier Thickness: Thicker, reinforced barriers cost more but last longer.
- Drainage Solutions: Installing a sump pump or French drain can add $1,000–$3,000.
- Insulation: Rigid foam boards cost $0.70–$1.00 per square foot installed.
- Dehumidifier: $800–$1,500 for a quality crawl space unit.
- Permits and Inspections: $100–$500 depending on local codes.
Budgeting Tips
- Get multiple quotes if hiring a professional.
- Research material warranties and longevity.
- Plan for annual maintenance costs (filters, inspections, repairs).
- Set aside 10–15% of your budget for unexpected repairs or upgrades.
Tools and Equipment Guide
- Protective Gear: Coveralls, gloves, goggles, and a respirator for safety.
- Utility Knife/Scissors: Cutting vapor barrier to fit.
- Measuring Tape & Chalk Line: Ensuring accurate cuts and placement.
- Heavy-Duty Stapler & Fasteners: Securing vapor barrier to wood framing or masonry.
- Specialized Tape: For sealing seams and edges.
- Caulk Gun & Sealant: Sealing gaps and penetrations.
- Dehumidifier: Must be crawl space-rated, with automatic drainage.
- Moisture Meter: For checking humidity and verifying dryness.
- Radon Test Kit: Essential before and after encapsulation.
Compliance and Permit Considerations
Understanding Local Requirements
Building codes for crawl space encapsulation can cover vapor barrier thickness, insulation type, fire safety, and ventilation. Non-compliance can delay your project or cause problems during home sales.
- Contact your city or county building department for requirements.
- Obtain permits if required. Inspections may be necessary at various stages.
- Ask about radon mitigation obligations in high-risk areas.
Insurance Implications
Homeowners insurance may require documentation of professional work, especially if encapsulation is done after water or mold damage. Failing to comply could limit your coverage.
- Keep records of all work, permits, and inspections.
- Photograph the encapsulation process for future claims or resale.
Maintenance Best Practices for Encapsulated Crawl Spaces
Regular Inspections
Inspect your crawl space every 6–12 months:
- Check for tears, punctures, or seams in the vapor barrier.
- Look for signs of water intrusion or standing water.
- Monitor for pests, especially termites or rodents.
Dehumidifier Maintenance
- Clean or replace filters every 3–6 months.
- Ensure condensate drains are clear and functioning.
- Test humidity controls periodically.
Humidity and Air Quality Monitoring
- Install a wireless hygrometer for real-time monitoring.
- Test for radon annually if you are in a high-risk area.
Case Example: A Crawl Space Encapsulation Success Story
To illustrate best practices, let’s look at a real-world example. The Johnson family in North Carolina noticed persistent musty odors and high humidity in their home. A professional inspection identified excessive moisture and mold in their crawl space. Here’s how they tackled the issue:
- Removed debris and remediated mold growth.
- Installed a 20-mil reinforced vapor barrier, sealed up walls and piers, and used specialized tape for seams.
- Added a perimeter French drain and sump pump to address prior flooding.
- Applied closed-cell foam insulation to the crawl space walls.
- Sealed all vents and installed a crawl space-rated dehumidifier.
- Tested for radon before and after encapsulation, keeping levels safe.
- Scheduled annual checks and dehumidifier servicing.
Six months after completion, the Johnsons reported drier indoor air, no musty smells, and a drop in energy bills, thanks to improved insulation and moisture control.
Conclusion: Setting Yourself Up for Crawl Space Encapsulation Success
Encapsulating your crawl space is one of the most impactful upgrades you can make to protect your home’s foundation, air quality, and energy efficiency. But as we’ve explored, rushing into the project without a clear plan can lead to costly mistakes—poor moisture control, code violations, ineffective barriers, and long-term maintenance headaches. By taking the time to inspect thoroughly, choosing the right materials, addressing drainage and radon, and following local compliance guidelines, you’ll set the stage for lasting benefits.
Budget carefully and don’t cut corners on critical components like vapor barriers, dehumidifiers, and insulation. Whether you tackle the job yourself or hire professionals, prioritize ongoing maintenance—monitoring for tears, leaks, and humidity changes—to keep your encapsulation working as intended. Always document your work and keep lines of communication open with insurance providers and local authorities. With the right approach, your crawl space can go from a neglected liability to a valuable asset, providing peace of mind and tangible improvements in comfort and home value for years to come.
In the article, you mention that rigid foam boards or spray foam can be used for insulation in some climates. Could you elaborate on how to determine which insulation type is best for different regions or climates in the US?
Choosing between rigid foam boards and spray foam depends mainly on your local climate and specific crawl space needs. In colder climates, rigid foam boards are often preferred because they provide a solid, moisture-resistant barrier and are easier to install over concrete walls. In hot, humid regions, closed-cell spray foam is popular for its superior air and moisture sealing. Always consider local code requirements and consult with a professional for the best results in your area.
What kind of ongoing maintenance is recommended once the crawl space has been fully encapsulated? I want to make sure I avoid any long-term issues, especially with the dehumidifier and drainage system mentioned in the article.
After your crawl space is encapsulated, regular maintenance is key to keeping it in good condition. Check the dehumidifier every few months to ensure it’s running smoothly, clean or replace filters as needed, and empty the reservoir if it’s not automatic. Inspect the drainage system for clogs or blockages and make sure sump pumps are operational. It’s also helpful to do a general inspection for any signs of water intrusion or damage at least twice a year.