
Home Rainwater Harvesting Systems: Cost, Compliance, and Long-Term Maintenance Explained

Introduction: Why Rainwater Harvesting Matters for Homeowners
As water scarcity becomes a pressing concern in many regions, homeowners are increasingly interested in sustainable solutions to reduce utility costs and environmental impact. Rainwater harvesting systems offer an effective way to capture and utilize rainwater for landscaping, irrigation, and even some indoor applications. However, installing such systems involves more than simply placing a barrel beneath your gutters. Cost, compliance with local regulations, and ongoing maintenance are critical factors that can influence the success of your rainwater harvesting project.
This comprehensive guide will break down the real costs associated with home rainwater harvesting, demystify permitting and compliance requirements, and provide expert advice on long-term maintenance. Whether you are a sustainability enthusiast or simply looking to cut down your water bill, understanding these elements is crucial to making an informed decision and ensuring your system delivers lasting value.
Understanding Rainwater Harvesting Systems
What Is a Rainwater Harvesting System?
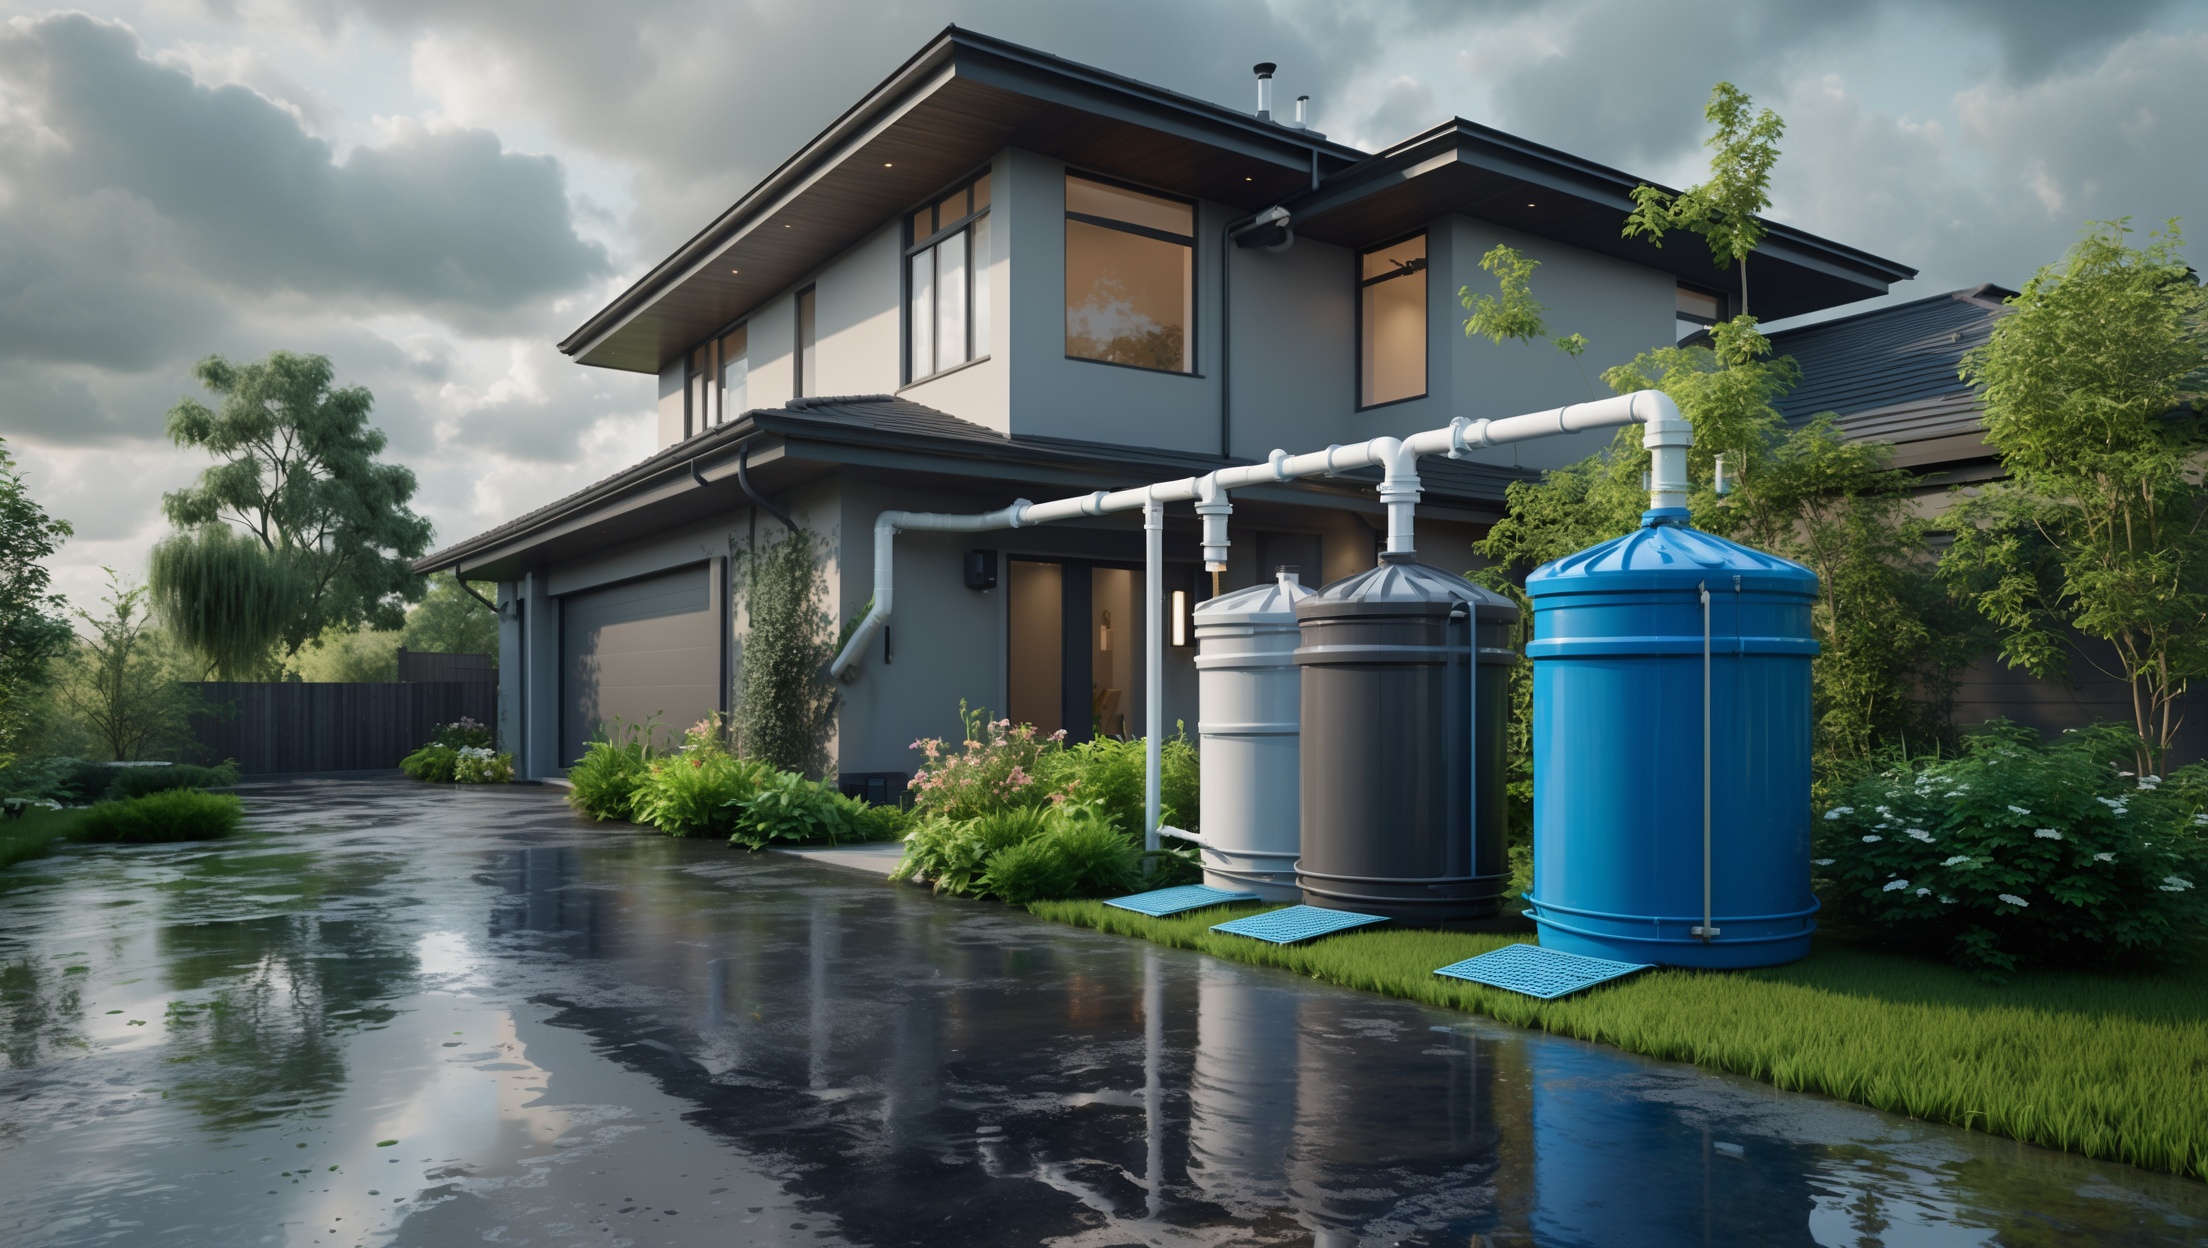
A residential rainwater harvesting system collects and stores rainwater from rooftops and other surfaces for later use. The most basic systems involve simple rain barrels, while advanced setups include large cisterns, filtration units, and pumps for distributing water throughout the property.
Common Uses for Harvested Rainwater
- Garden and landscape irrigation
- Toilet flushing (with proper filtration)
- Laundry (in some regions, with advanced treatment)
- Car washing
- Refilling ponds or decorative water features
Cost Breakdown: What to Expect
1. System Size and Scope
The cost of a rainwater harvesting system depends largely on its capacity and intended use. Small, above-ground rain barrels are affordable and easy to install, while larger underground cistern systems suitable for whole-house use require significant investment.
2. Basic System Components and Costs
- Rain Barrels (50-100 gallons): $50–$200 each
- Cisterns (500–5000+ gallons): $500–$7,000 depending on size and material (polyethylene, fiberglass, concrete)
- Gutter Diverters & First Flush Devices: $20–$200
- Filtration Systems: $100–$800 (simple mesh filters to multi-stage filtration)
- Pumps: $150–$800 for irrigation-grade models
- Distribution Plumbing: $150–$1,000 depending on yard size and complexity
3. Installation Costs
- DIY Installation: Minimal labor cost for rain barrels; basic tools required.
- Professional Installation: $500–$3,000 for above-ground systems, $2,000–$10,000+ for below-ground cisterns including excavation and plumbing.
4. Ongoing Costs
- Annual filter replacements: $20–$100
- Periodic pump maintenance: $50–$200 per service
- Winterizing (in colder climates): $0–$200, especially if hiring a pro
5. Potential Cost Offsets
- Reduced water bills: Savings vary by region and usage, often 20-50% for irrigation-heavy properties
- Rebates and incentives: Some municipalities offer rebates of $50–$1,000 for qualified systems
Sample Cost Scenarios
- Entry-Level (DIY rain barrels): $100–$500 total
- Mid-Range (professional above-ground system): $1,500–$5,000
- High-End (underground cistern, full yard integration): $7,000–$15,000
Permitting and Compliance: Navigating Local Regulations
1. Why Compliance Matters
Rainwater harvesting is subject to various local, state, and sometimes federal regulations. Failing to comply can result in fines, forced system removal, or even legal action in areas with strict water rights laws.
2. Common Regulatory Considerations
- Water Rights: In some western states, water rights laws restrict or prohibit rainwater collection. Always check with your local water authority.
- Permitting: Many municipalities require permits for systems above a certain size or if water will be used indoors.
- Cross-Connection Control: Plumbing codes often require backflow preventers to ensure harvested water cannot contaminate municipal supply.
- Overflow and Drainage: Systems must route overflow safely to prevent property or environmental damage.
- Tank Siting: Placement may be regulated to ensure structural safety and aesthetic standards.
3. How to Obtain Permits
- Contact your local building or environmental health department.
- Submit system plans, including tank location, plumbing diagrams, and intended use.
- Pay any required fees and arrange for inspections, both during and after installation.
4. Documentation and Record-Keeping
Maintain copies of all permits, inspection reports, and system diagrams for future reference—especially when selling your home.
Step-by-Step: Installing a Home Rainwater Harvesting System
1. Assess Your Rainwater Potential
- Calculate average annual rainfall in your area.
- Measure your roof area to estimate potential water yield (1 inch of rain on 1,000 sq ft yields ~623 gallons).
2. Select the Right System
- Choose between rain barrels, above-ground tanks, or underground cisterns based on your budget and needs.
- Decide if you’ll use the water for irrigation only or indoor applications.
3. Prepare Your Site
- Ensure downspouts are accessible and gutters are clean.
- Prepare a level, stable base for barrels or tanks (concrete pads, pavers, or compacted gravel work well).
- Consider sun exposure; shade can extend tank life.
4. Install Collection and Storage
- Attach diverters or first-flush devices to direct cleaner water into your storage container.
- Securely connect containers to downspouts.
- Install overflow outlets and direct excess water away from foundations.
5. Integrate Filtration and Distribution
- Install debris screens on gutters and tank inlets.
- For advanced systems, add multi-stage filters and UV disinfection if water will be used indoors.
- Connect pumps and distribution pipes as needed.
6. Final Inspection and Testing
- Have your system inspected if required by permit.
- Test for leaks, proper flow, and safe overflow operation.
Maintenance Best Practices for Longevity
1. Monthly Checklist
- Inspect and clean debris screens and gutter inlets.
- Check for mosquito or pest breeding; use mosquito dunks if necessary.
- Ensure all connections are tight and leak-free.
2. Seasonal Tasks
- Spring: Clean tanks and flush first-flush devices. Inspect for winter damage.
- Summer: Monitor for algae growth; opaque tanks and shade help mitigate.
- Fall: Clear gutters frequently as leaves drop.
- Winter: Drain and disconnect above-ground systems if freezing is possible; insulate exposed pipes.
3. Annual Maintenance
- Deep-clean storage tanks (follow manufacturer’s recommendations).
- Replace or clean filters.
- Test pumps and replace worn seals or parts.
4. Troubleshooting Common Issues
- Low Water Yield: Check for gutter clogs or leaks in the system.
- Odors or Algae: Increase tank shading, clean more frequently, or add natural treatments.
- Leaks: Tighten fittings or replace cracked hoses and seals.
Safety and Health Considerations
1. Preventing Contamination
- Never use harvested rainwater for drinking or cooking unless advanced purification is installed and permitted.
- Install screens to keep out debris and wildlife.
2. Mosquito and Pest Control
- Keep all openings screened.
- Use mosquito dunks (Bacillus thuringiensis israelensis—safe for plants and pets) as needed.
3. Structural Safety
- Large tanks must be properly supported; a full 1,000-gallon tank weighs over 8,000 pounds.
- Secure all tanks to prevent tipping in high winds or earthquakes.
Case Study: Suburban Rainwater Harvesting Success
The Johnson family in Austin, Texas, installed a 2,500-gallon above-ground rainwater harvesting system for their 0.3-acre property. After consulting with local authorities, they secured a permit and received a $500 municipal rebate. Their upfront cost was $4,200, including professional installation, filtration, and a pump for garden irrigation. Over the first year, they reduced their municipal water bill by 40% during growing season and reported minimal maintenance needs beyond regular filter cleaning. The project increased their home’s sustainability profile and contributed to local water conservation efforts.
Conclusion: Making Rainwater Harvesting Work for You
Home rainwater harvesting systems offer a practical, eco-friendly solution to rising water costs and drought concerns. However, achieving lasting results requires careful planning, a clear understanding of costs, and strict adherence to local compliance requirements. From selecting the right tank size to navigating permits and maintaining your system, each step is essential for maximizing both financial and environmental benefits.
As with any home improvement project, investing time in research and consultation with local authorities or professional installers pays off in the long term. By following best practices for installation and maintenance, you can ensure your rainwater harvesting system remains reliable, safe, and efficient for years to come. Whether your goal is to irrigate a thriving garden or simply reduce your reliance on municipal water, rainwater harvesting is an investment in your home and the planet.
Ready to take the next step? Start by assessing your property’s rainwater potential and reviewing local codes. With proper planning and commitment to maintenance, your system can deliver substantial savings and peace of mind—rain or shine.