
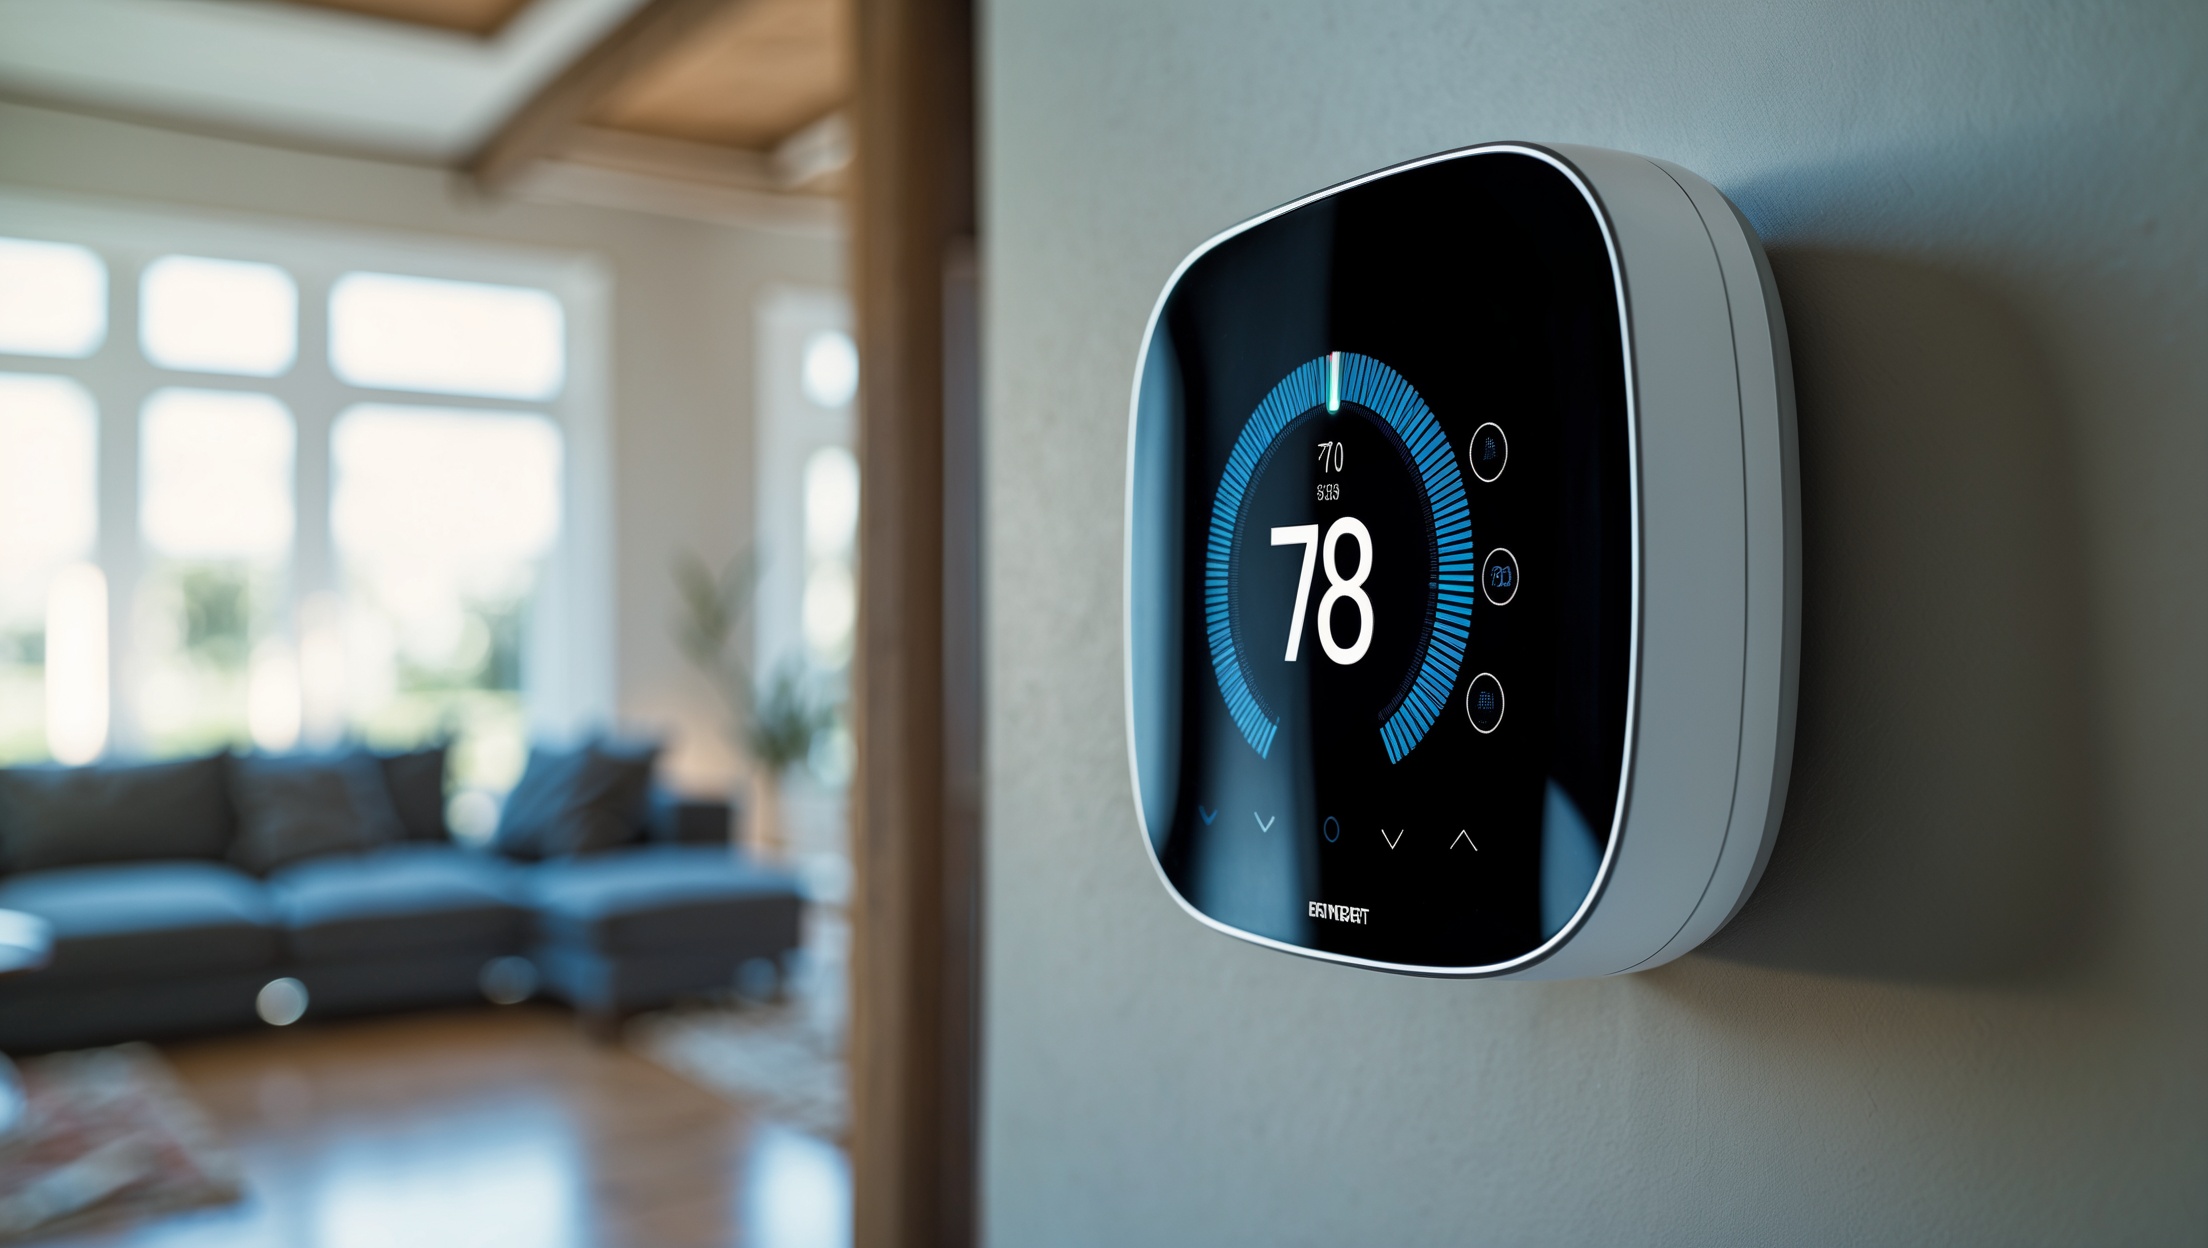
Avoid These Common Mistakes When Upgrading to Smart Home Thermostats

Introduction: The Smart Thermostat Revolution and Its Pitfalls
Smart thermostats have rapidly become one of the most popular home improvement upgrades for modern homeowners. Promising improved comfort, remote control, and significant energy savings, these intelligent devices are revolutionizing how we heat and cool our spaces. However, while the benefits are substantial, the path to a fully optimized smart thermostat system is riddled with potential missteps—many of which can lead to wasted money, compatibility headaches, and underwhelming results.
Whether you’re a DIY enthusiast or a homeowner seeking to boost your property’s efficiency, understanding what can go wrong during a smart thermostat upgrade is essential. From overlooking wiring requirements to underestimating ongoing maintenance, each phase of the process comes with its own set of challenges. This comprehensive guide dives deep into the most common mistakes homeowners make when upgrading to smart thermostats. We’ll explore practical solutions, provide expert tips, and arm you with the knowledge to ensure your investment pays off—not just in energy savings but in comfort and peace of mind for years to come.
Understanding Smart Thermostat Technology
How Smart Thermostats Work
At their core, smart thermostats are internet-connected devices that allow you to control your home’s heating and cooling remotely using a smartphone, tablet, or voice assistant. They use algorithms to learn your preferences, adjust settings automatically, and can often integrate with broader smart home ecosystems.
Key Features to Expect
- Remote control via app or voice
- Learning capabilities and usage analytics
- Integration with other smart devices
- Scheduling and geofencing
- Energy usage reports
- Automatic system diagnostics
Mistake #1: Ignoring Compatibility with Existing HVAC Systems
Why Compatibility Matters
Not all smart thermostats are universally compatible with every heating, ventilation, and air conditioning (HVAC) system. Failing to account for your system’s wiring, voltage, and control requirements can result in a device that simply won’t work—or even damage your HVAC unit.
Common Compatibility Issues
- Missing C-wire: Many smart thermostats require a dedicated common wire (C-wire) for power. Older homes often lack this, leading to installation challenges.
- System type mismatch: Some thermostats are designed for single-stage systems but won’t work with multi-stage or heat pump setups.
- High-voltage systems: Electric baseboard heating (120/240V) typically requires specialized thermostats.
How to Avoid This Mistake
- Check your HVAC system’s specifications before shopping.
- Remove your old thermostat cover and photograph the wiring for reference.
- Use compatibility check tools offered by leading smart thermostat brands.
- Consult an HVAC professional if you’re unsure.
Mistake #2: Underestimating Installation Complexity
DIY vs. Professional Installation
While many smart thermostats are marketed as DIY-friendly, installation can quickly become challenging depending on your wiring, the presence of a C-wire, or unique system quirks. Attempting installation without proper preparation can lead to system malfunctions or even voided warranties.
Installation Steps Often Overlooked
- Power shutdown: Always turn off power to your HVAC system before beginning work.
- Labeling wires: Use the provided labels to mark each wire as you disconnect them.
- Level mounting: An unlevel thermostat can skew temperature readings.
- Secure connections: Loose wiring may cause intermittent operation or device damage.
Expert Tips
- If your system lacks a C-wire, investigate add-a-wire kits or professional installation.
- Have basic tools on hand: screwdrivers, drill, wire stripper, voltage tester.
- Follow manufacturer instructions precisely—each brand varies.
Mistake #3: Overlooking Home Wi-Fi Strength and Security
The Importance of a Reliable Connection
Smart thermostats rely on a stable Wi-Fi network for remote control, software updates, and integration with other devices. Weak or unreliable signals can interrupt functionality, while poor security can expose your home network to risks.
Common Networking Pitfalls
- Installing the thermostat out of Wi-Fi range
- Using unsecured or outdated routers
- Failing to change default passwords
How to Ensure Reliable Connectivity
- Test Wi-Fi signal strength at the thermostat’s intended location using a smartphone.
- Upgrade to a dual-band router if needed.
- Create a strong, unique password for your network.
- Enable WPA3 security when available.
- Consider a Wi-Fi extender for large homes.
Mistake #4: Failing to Optimize Thermostat Settings After Installation
The “Set It and Forget It” Trap
Many homeowners install a smart thermostat and rely on default settings—missing out on significant energy savings and comfort improvements. Smart thermostats are most effective when tailored to your lifestyle and schedule.
Settings to Review and Customize
- Scheduling: Program heating and cooling to match occupancy patterns.
- Geofencing: Use location-based triggers to adjust temperatures automatically.
- Eco modes: Activate energy-saving settings for periods of inactivity.
- Learning features: Allow the thermostat to “learn” your habits, but review and adjust its suggestions as needed.
- Humidity control: If supported, set optimal humidity ranges for comfort and air quality.
Maximizing Energy Savings
- Review energy usage reports regularly to identify trends and opportunities for further savings.
- Adjust settings seasonally to account for changing weather and schedules.
- Integrate with other smart home devices for coordinated energy management.
Mistake #5: Ignoring Firmware Updates and Ongoing Maintenance
Why Updates Matter
Firmware updates deliver bug fixes, security patches, and new features. Failing to keep your thermostat updated can leave you vulnerable to cyber threats or device malfunctions.
Maintenance Best Practices
- Enable automatic updates if supported.
- Periodically check for manual updates via the app or device interface.
- Clean thermostat vents and sensors gently to prevent dust build-up.
- Monitor battery levels in battery-operated models.
- Test connectivity after network changes or power outages.
Mistake #6: Overlooking Utility Rebates and Incentives
How Rebates Can Lower Your Costs
Many utility companies and local governments offer rebates or incentives for installing ENERGY STAR-certified smart thermostats. Skipping this step means leaving potential savings on the table.
How to Find and Claim Rebates
- Check your utility provider’s website for current offers.
- Visit ENERGY STAR Rebate Finder.
- Gather necessary documentation (receipt, installation photos, serial numbers).
- Submit applications promptly—some programs have limited funding.
Mistake #7: Not Considering Household Needs and Accessibility
Every Home Is Different
The best smart thermostat for one household may not suit another. Failing to account for household size, occupant tech-savviness, accessibility needs, or specific climate challenges can result in a frustrating experience.
Factors to Assess
- App usability: Is the mobile app intuitive for all users?
- Physical interface: Are the buttons or touchscreen easy to use for all family members?
- Voice control: Is integration with voice assistants like Alexa or Google Home important?
- Zoning support: Do you need to control multiple zones or rooms?
- Temperature sensors: Would additional remote sensors improve comfort?
Cost Breakdown: What to Expect When Upgrading
Understanding Upfront and Ongoing Costs
Upgrading to a smart thermostat involves more than just the purchase price. Factoring in installation, optional accessories, and potential future service calls will help you budget realistically.
Typical Expense Categories
- Thermostat unit: $100–$300 depending on brand and features
- Professional installation: $75–$200 if needed for wiring or complex systems
- Accessories: C-wire adapters, additional sensors ($20–$100 each)
- Ongoing costs: Occasional battery replacements, potential service fees
Potential Savings
- Average annual energy savings: $50–$150 (varies by climate and usage)
- Additional savings via rebates (up to $100 in some regions)
Safety Considerations When Upgrading
Electrical and System Safety
Although smart thermostat installation is typically low-voltage, improper wiring or handling can still present risks. Ensuring electrical safety is paramount.
Key Safety Tips
- Always turn off power at the breaker before removing your old thermostat.
- Use insulated tools and a non-contact voltage tester.
- Double-check wire placement before powering back on.
- If unsure, hire a licensed professional to avoid voiding warranties or damaging your HVAC.
Expert Recommendations: Choosing the Right Smart Thermostat
Top Features to Prioritize
- Compatibility with your HVAC system
- Ease of use and intuitive app design
- Energy-saving certifications (e.g., ENERGY STAR)
- Integration with smart home platforms
- Support for additional sensors if needed
Popular Models to Consider
- Google Nest Learning Thermostat
- ecobee SmartThermostat with Voice Control
- Honeywell Home T9 Smart Thermostat
- Emerson Sensi Touch Smart Thermostat
Case Study: A Real-World Smart Thermostat Upgrade
Background: The Johnson family, living in a 2,400-square-foot home in a mixed-climate area, decided to upgrade from a traditional programmable thermostat to a smart model. Their main goals were to improve comfort and reduce their $200/month energy bill.
Process: After assessing their HVAC system, they selected an ecobee SmartThermostat and discovered their home lacked a C-wire. Instead of risking a DIY wiring job, they hired a certified HVAC technician for installation. The technician also set up two remote temperature sensors to address hot and cold spots in their home.
Results: Within six months, the Johnsons reported a 16% reduction in energy costs, improved comfort thanks to better temperature balancing, and the convenience of controlling their home climate from their phones. They also claimed a $75 utility rebate, offsetting part of the installation cost.
Conclusion: Your Path to a Successful Smart Thermostat Upgrade
Upgrading to a smart thermostat is one of the smartest investments you can make for your home’s comfort, efficiency, and value. Yet, as this guide has shown, the journey is filled with potential pitfalls—from compatibility oversights and installation errors to missed rebate opportunities and underutilized features. By taking a proactive approach—researching your HVAC system, planning for installation challenges, ensuring robust Wi-Fi connectivity, and customizing your settings—you can avoid the mistakes that trip up so many homeowners.
Remember, the best smart thermostat is the one that fits your household’s specific needs, integrates seamlessly with your existing systems, and is set up to maximize both comfort and savings. Don’t hesitate to consult professionals for complex installations or take advantage of utility incentives to lower your upfront costs. Regular maintenance and keeping your device updated will ensure your smart thermostat continues to deliver value year after year.
Ultimately, with careful planning and attention to detail, your upgrade will pay dividends—not just in dollars saved, but in the daily comfort and convenience that a truly smart home provides. Use the insights and tips from this guide to take full control of your home’s climate and energy future.
I’m curious about ongoing maintenance needs once a smart thermostat is installed. Besides occasional software updates, what regular checks or upkeep should I plan for to make sure the system keeps performing efficiently over time?
Beyond software updates, it’s a good idea to periodically check that your thermostat’s sensors and screen are clean and unobstructed, as dust or debris can affect temperature readings. Review your system’s schedule and setpoints seasonally to match changes in your routine. Also, make sure the device remains securely attached to the wall and that wiring connections are snug. If your thermostat uses batteries, check and replace them as needed, even if it’s primarily wired.
I’m interested in the energy savings aspect discussed here. Based on the article, how quickly do most people actually see noticeable savings after installing a smart thermostat, and is it different for older homes versus newer ones?
According to the article, most people start noticing energy savings within the first one to three months after installing a smart thermostat. However, the amount of savings and how quickly they appear can vary. Older homes, especially those with outdated insulation or HVAC systems, might see more dramatic savings initially compared to newer, energy-efficient homes, which may already have lower baseline energy use.