
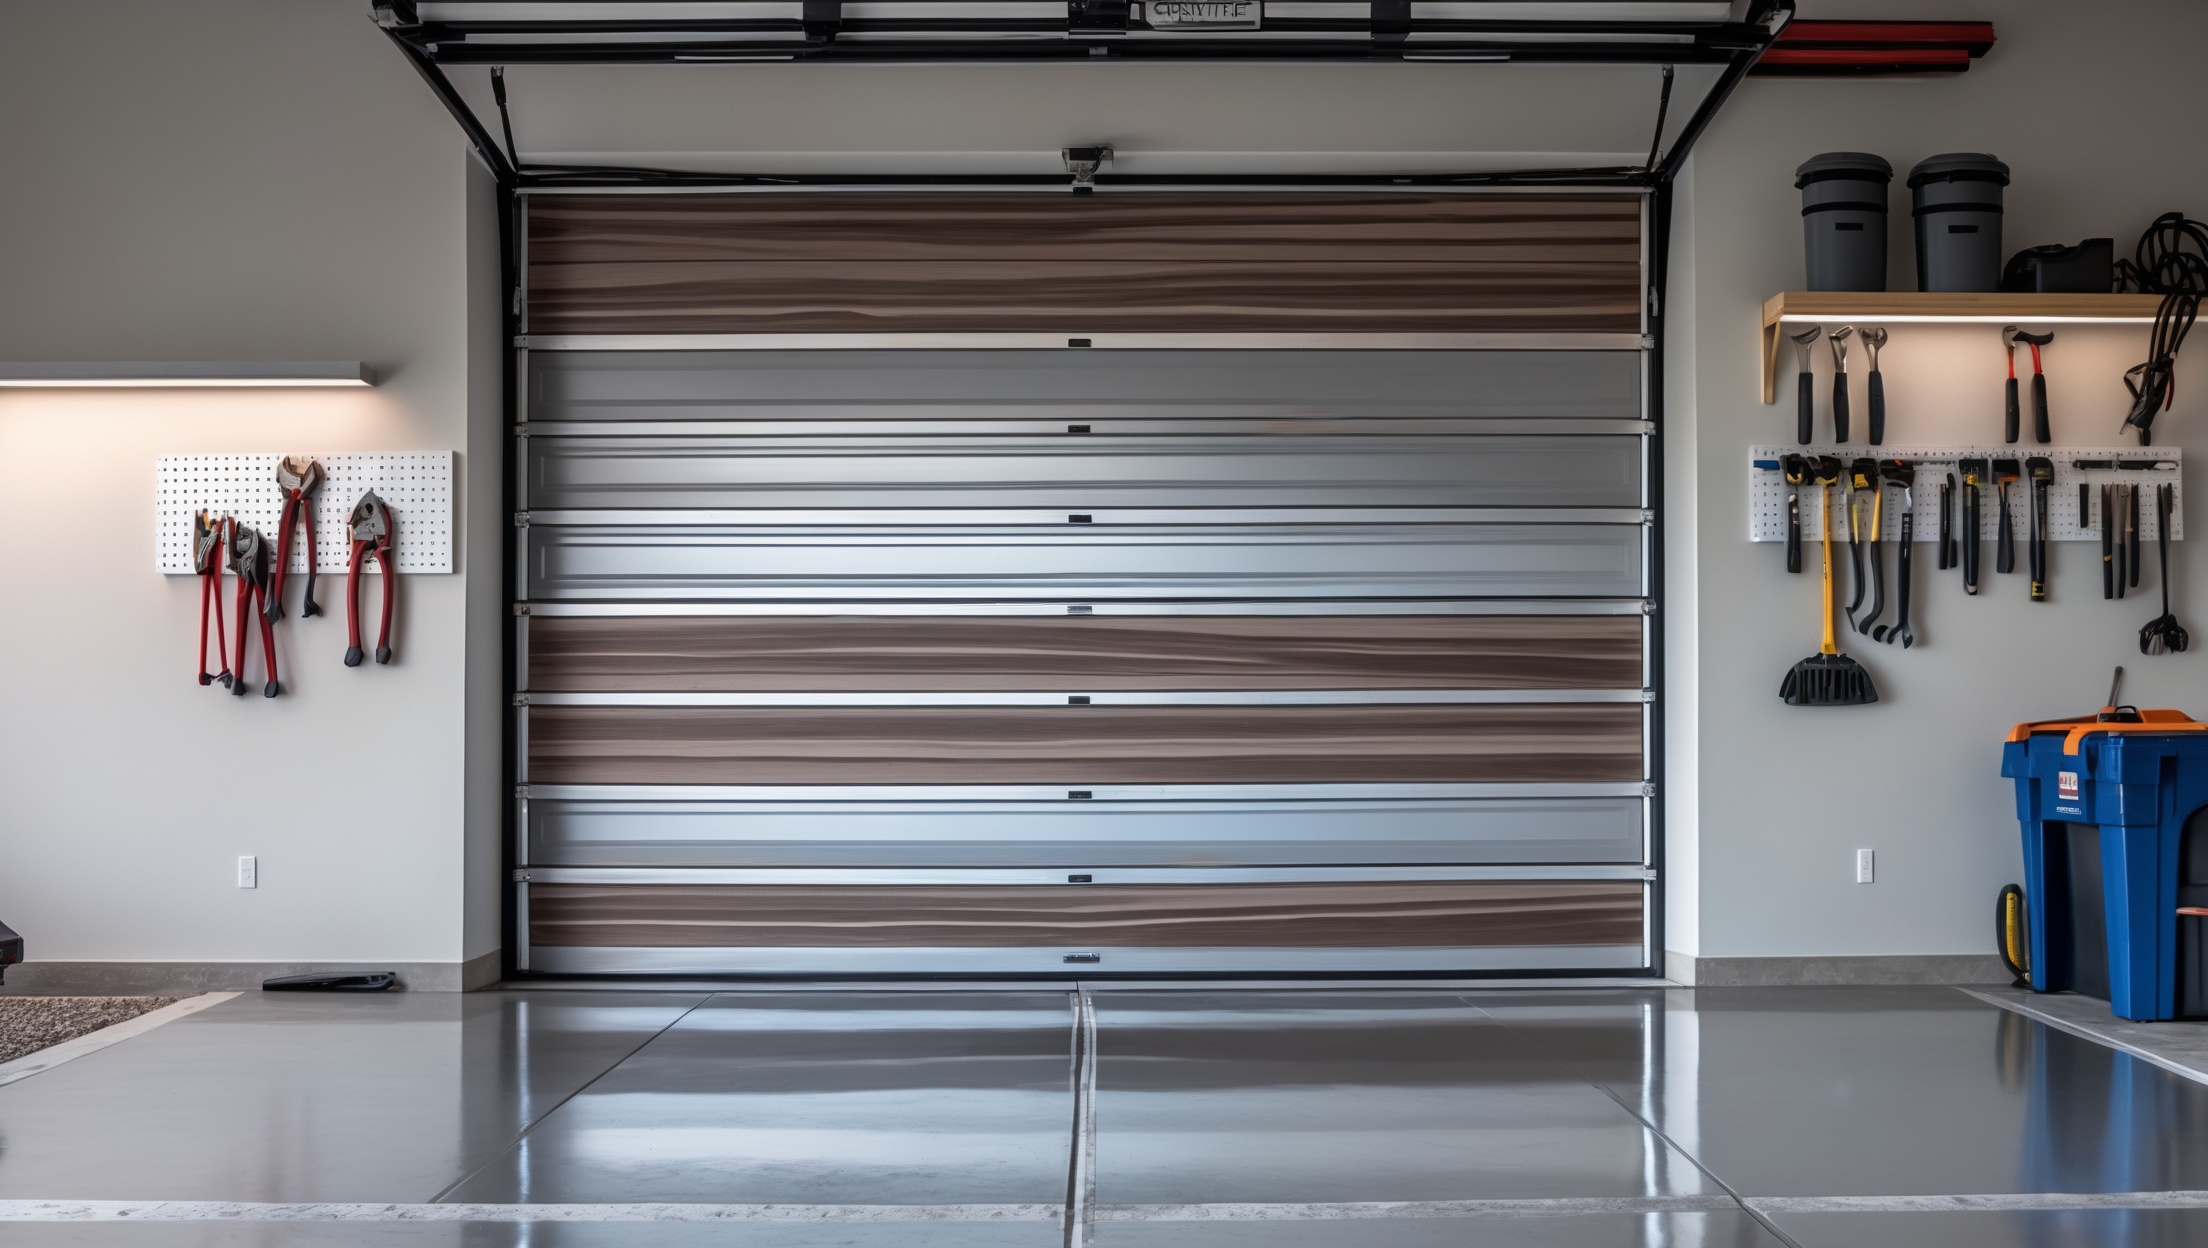
Home Garage Door Replacement: Cost, Permit, and Maintenance Insights

Introduction: Why Garage Door Replacement Deserves Careful Planning
Replacing your home’s garage door might seem like a straightforward upgrade, but this project involves more than selecting a new panel and booking an installer. As one of the largest moving components in a home, your garage door plays a pivotal role in security, curb appeal, energy efficiency, and daily convenience. A poorly chosen or installed door can lead to safety hazards, unexpected costs, and compliance issues with local codes. Whether your current door is aging, malfunctioning, or simply outdated, approaching garage door replacement with a clear understanding of costs, permitting, tools, and ongoing maintenance will ensure a smooth process and lasting results. In this detailed guide, we’ll walk you through essential budgeting considerations, clarify permit requirements, outline the necessary tools and equipment, and provide expert-backed maintenance tips to help you maximize your investment for years to come.
Cost Breakdown: What to Expect When Replacing a Garage Door
Material Choices and Their Impact on Price
Garage door costs vary dramatically based on material, size, and style. Here’s what you can expect:
- Steel Doors: Durable and widely available, steel doors range from $700 to $2,000 for standard models. Insulated, custom, or carriage-style steel doors can exceed $3,500.
- Wood Doors: Known for their classic look, real wood doors start around $1,200 and can surpass $4,000 depending on wood type and craftsmanship. They require more upkeep.
- Aluminum & Glass: Modern and lightweight, these range from $1,500 to $3,500. They offer a contemporary look but may have higher repair costs due to glass panels.
- Composite and Vinyl: Low-maintenance and weather-resistant, these doors typically cost between $900 and $2,800.
Additional Cost Factors
- Size: Single-car (8×7 ft) doors cost less than double-car (16×7 ft) options.
- Insulation: Insulated doors add $200–$600 but improve energy efficiency.
- Windows and Decorative Hardware: Expect to pay $150–$500 extra for custom glass or designer hardware.
- Smart Technology: Wi-Fi enabled openers and security features add $150–$400 to the project.
Installation and Labor
Professional installation is strongly recommended for safety and warranty reasons. Labor costs typically run $300–$600 for standard replacements, but can exceed $800 for complex jobs or custom doors. Removing and disposing of an old door may add $50–$200.
Permit and Inspection Fees
While not all municipalities require permits for garage door replacements, many do—especially if the new door is heavier, changes the opening, or adds electrical components. Permit fees generally range from $50 to $200. Inspections may incur an additional $40–$100.
Unexpected or Hidden Costs
- Structural Repairs: Damaged framing or tracks can add $200–$1,000.
- Electrical Work: Upgrading openers, installing new outlets, or rewiring may increase costs by $100–$500.
- Disposal Fees: Not all installers include removal in their base quote.
Permits and Compliance: Navigating Local Requirements
When Is a Permit Necessary?
Permitting requirements vary by city and county. You are more likely to need a permit if:
- The new door is heavier or larger than the old one
- The installation involves structural changes to the opening or framing
- You are adding or upgrading a powered opener (electrical permit)
- You live in a historic district or HOA-regulated neighborhood
How to Check Local Codes
Contact your city or county’s building department or check their website for garage door replacement guidelines. Some online permit portals allow for easy application. Always ask about:
- Required documentation (door specs, energy ratings, manufacturer info)
- Inspection scheduling
- HOA approval, if applicable
What Happens If You Skip Permits?
Installing a garage door without required permits can lead to:
- Fines or penalties
- Issues with home insurance claims
- Delays or complications during resale
- Required retroactive fixes or removals
When in doubt, spend the time to confirm permit needs to avoid costly headaches down the road.
Compliance with Building and Safety Codes
Modern garage doors must meet wind resistance, impact, and insulation standards in many regions, especially in hurricane- or tornado-prone areas. Verify that your new door is rated for your local climate and complies with International Residential Code (IRC) as well as any state or city amendments.
Essential Tools & Equipment for Garage Door Replacement
Key Tools for the Job
- Socket and ratchet set
- Screwdrivers (flathead and Phillips)
- Adjustable wrench
- Level and tape measure
- Drill and bits
- Ladder (6–8 ft)
- Clamps
- Safety glasses and gloves
- Cordless impact driver (recommended)
- Stepladder or platform for accessing high tracks
Specialized Equipment
- Winding Bars: Required for safe spring adjustments—never use screwdrivers or improvised tools for this task.
- Garage Door Opener Programming Kit: For smart or advanced openers, some models require proprietary tools for setup.
- Track Alignment Jig: Ensures tracks are perfectly parallel for smooth operation.
Hiring a Professional vs. DIY
While ambitious DIYers may be tempted to tackle garage door replacement, the risks associated with high-tension springs, heavy panels, and precise alignment make professional installation the safer and more reliable choice. If you do proceed yourself, always follow the manufacturer’s instructions and use all recommended safety equipment. For most homeowners, hiring a certified technician offers peace of mind and a solid warranty.
Step-by-Step Replacement Overview
Understanding the replacement process helps you communicate with installers and avoid misunderstandings. Here’s how a typical professional replacement unfolds:
- Site Assessment: Installer inspects the opening, framing, and tracks for damage or misalignment.
- Removal of Old Door: Panels are detached, springs unwound, and tracks and hardware removed.
- Preparation: Framing is repaired or reinforced as needed. Tracks and wall mounts are checked for level and plumb.
- Installation of New Door: Panels are set in place, tracks and rollers installed, and hardware secured.
- Spring and Cable Adjustment: Tension is carefully set for smooth, balanced operation.
- Opener Integration: Existing or new opener is connected and programmed.
- Testing and Safety Checks: Door is tested for smooth motion, auto-reverse features are verified, and sensors are calibrated.
- Cleanup and Disposal: Old materials are removed, and the site is cleaned.
Maintenance Best Practices for Long-Lasting Performance
Regular Inspection Checklist
- Check panels and weatherstripping for dents, cracks, or gaps
- Inspect tracks for debris, rust, or misalignment
- Test auto-reverse and safety sensors monthly
- Listen for unusual noises during operation
- Ensure opener lights and remote controls are functioning
Lubrication and Cleaning
Lubricate rollers, hinges, and springs with a garage-door-specific lubricant every six months. Wipe tracks clean with a damp cloth—avoid using grease on tracks, as this attracts dust and debris. Keep weatherstripping supple with silicone spray.
Seasonal Adjustments
- Test and adjust spring tension in spring and fall, as temperature swings can affect balance.
- Inspect and reinforce weather seals before winter to prevent drafts and moisture intrusion.
- Check for insect or rodent activity, especially if your garage is attached.
When to Call a Professional
- If the door becomes unbalanced or slams shut
- Broken or stretched springs
- Persistent electrical or opener issues
- Significant panel or track damage
Annual professional maintenance is recommended for maximizing lifespan and preserving your warranty.
Safety Checklist: Preventing Accidents and Liability
- Always disconnect power before inspecting or adjusting the opener
- Never attempt to adjust or remove torsion springs without proper tools and experience
- Test auto-reverse by placing a 2×4 under the closed door—door should reverse immediately upon contact
- Keep remote controls out of reach of children
- Ensure all sensors are clear of debris and properly aligned
- Install manual release handles in case of power outage
- Secure doors with a deadbolt or slide lock when away for extended periods
Frequently Asked Questions
How long does a garage door replacement take?
Most standard replacements are completed within 3–6 hours, including removal of the old door, installation, adjustments, and testing. Custom or oversized doors may take longer.
Can I reuse my old opener?
In many cases, yes—provided the opener is compatible with the new door’s weight and movement. Upgrading to a new opener is recommended for doors with added insulation or smart features.
Are there energy efficiency benefits?
Absolutely. Modern insulated doors can significantly reduce heat transfer, helping regulate garage and adjacent room temperatures. Look for doors with high R-value ratings for best performance.
Does a new garage door add home value?
Yes—garage door replacement consistently ranks among the top home improvement projects for return on investment, often recouping 90% or more of project costs at resale.
Conclusion: Making Your Garage Door Upgrade a Success
Replacing a garage door is more than a cosmetic upgrade—it’s a strategic investment in your home’s safety, energy efficiency, and value. By understanding the full cost breakdown, you can budget confidently and avoid sticker shock from hidden expenses like structural repairs or permit fees. Navigating local codes and obtaining the right permits ensures your project proceeds smoothly and your home remains insurable and marketable. Whether you choose steel, wood, or a modern glass design, prioritize professional installation for optimal safety and longevity. Equip yourself with the right tools and knowledge, and commit to routine maintenance—this not only extends the life of your new door but also keeps your family and belongings safe. Remember, a well-installed and properly maintained garage door delivers daily convenience, security, and peace of mind. Make informed choices now, and your upgrade will pay dividends for years to come.
For the cost estimates you provided, does that typically include professional installation, or are those just for the garage door materials? If installation is extra, what should homeowners expect to pay on average for labor?
The cost estimates in the article generally refer to the total price, which usually includes both the garage door itself and professional installation. However, prices can vary by provider. If installation is not included, homeowners can expect to pay an additional $200 to $600 for labor, depending on door size, complexity, and local rates.