
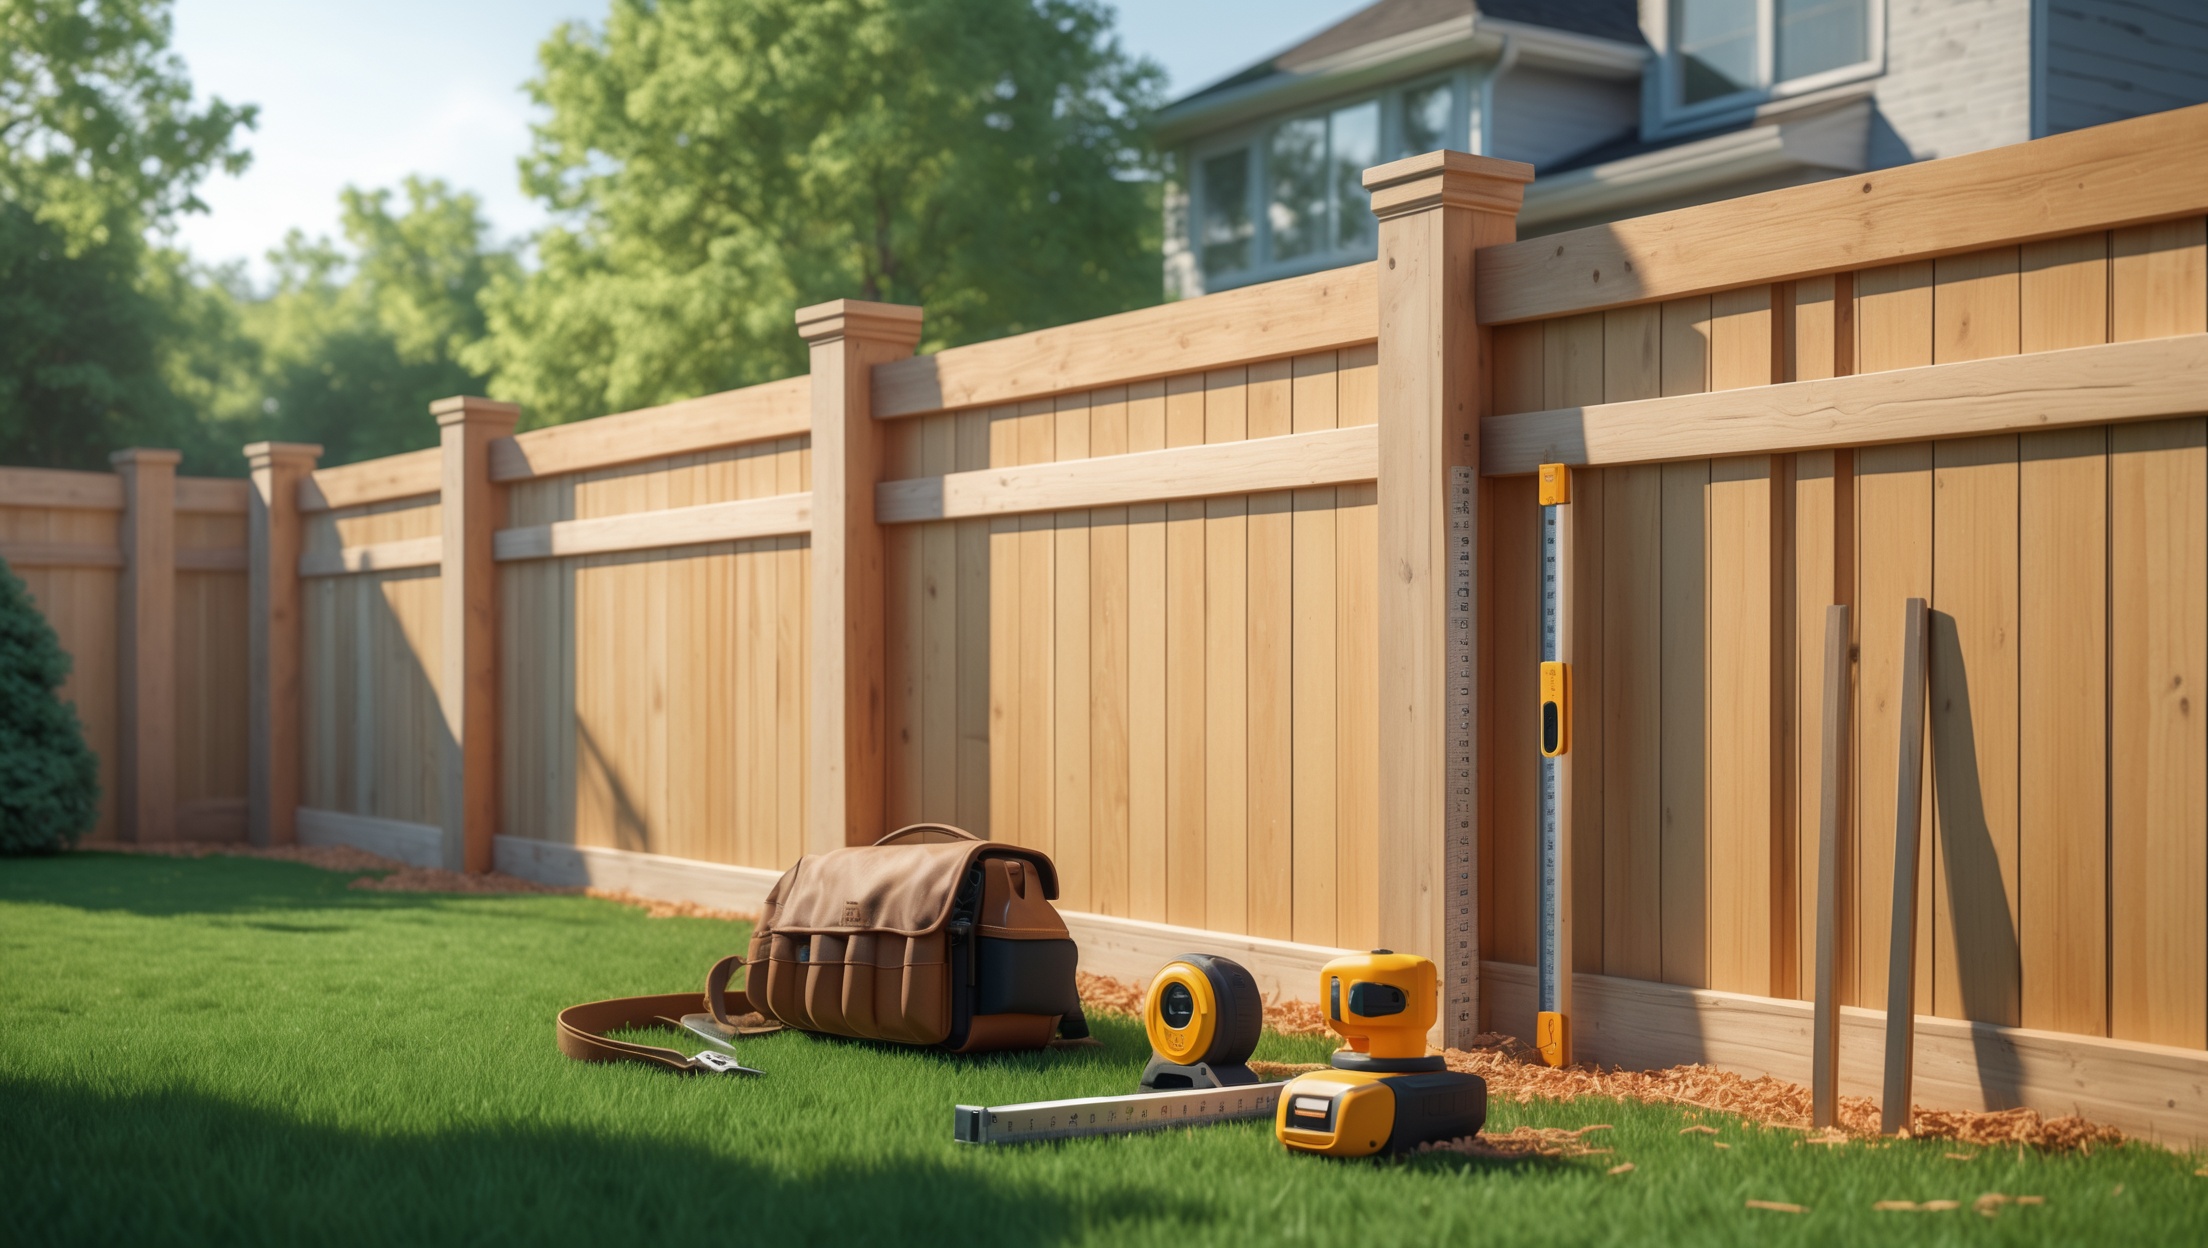
Essential Tools & Equipment Guide for DIY Home Fence Installation

Introduction: Why the Right Tools Are Critical for DIY Fence Installation
Installing a new fence is one of the most satisfying DIY projects a homeowner can tackle. Whether you’re aiming to boost privacy, enhance curb appeal, or keep pets safely in your yard, building a fence yourself can save thousands in labor costs. However, the success of your home fence installation hinges on more than just determination and elbow grease—having the right tools and equipment is absolutely essential. The wrong (or missing) tools can lead to crooked lines, unstable posts, unnecessary rework, or even injury. In this comprehensive guide, we’ll walk you through every tool and piece of equipment you’ll need for a smooth, professional-quality fence build, from layout to finishing touches. Whether you’re erecting a classic wooden privacy fence, a sturdy chain link barrier, or a decorative picket enclosure, this resource will help you plan, source, and use the right tools for every stage. Let’s set up your project for success—starting with your toolbox.
Project Planning: Assess Your Fence and Tool Needs
Determining Fence Type and Material
Before you head to the hardware store, it’s essential to define your fence style and materials. Common options include:
- Wood: Privacy, picket, and split-rail fences; requires saws, levels, and fastening tools.
- Chain Link: Ideal for security; needs specialized stretchers and fence pliers.
- Vinyl: Low-maintenance; often requires fewer tools but precise leveling.
- Metal (Aluminum/Wrought Iron): Decorative or security; may need cutting tools and anchors.
Each material has specific installation requirements. Check product instructions for any specialized tools before beginning.
Measuring and Calculating Materials
- Measuring Tape (at least 100 ft): For plotting fence lines and post spacing.
- Stakes and Mason’s Line: Marking straight lines and corners.
- Spray Paint or Chalk: Indicating post locations and gate positions.
Accurate measurement prevents costly errors and ensures your fence is both attractive and functional.
Essential Tools for Every DIY Fence Installation
Digging and Setting Fence Posts
- Post Hole Digger: Manual or powered auger for digging consistent, deep holes (typically 24–36 inches).
- Shovel and Spade: Removing soil and backfilling around posts.
- Digging Bar: Loosens rocky or compacted soil.
- Wheelbarrow: Hauling soil, gravel, and concrete mix.
For rocky or clay-heavy soils, consider renting a gas-powered auger. Always check for underground utilities before digging—call 811 in the U.S.
Leveling and Aligning
- Carpenter’s Level (2–4 ft): Ensures posts and panels are perfectly plumb.
- Post Level: Clips to posts for hands-free leveling in two directions.
- String Level: Keeps fence lines straight over long distances.
Accurate leveling prevents leaning or uneven fencing, which can compromise stability and aesthetics.
Cutting and Shaping Materials
- Circular Saw or Miter Saw: Cutting wood rails, pickets, or vinyl panels to length.
- Hand Saw or Reciprocating Saw: Precision cuts or trimming notches.
- Hacksaw: For metal fences or chain link components.
- Utility Knife: Trimming vinyl, rope, or landscape fabric.
Sharp, well-maintained blades reduce splintering and ensure clean, safe cuts.
Fastening and Securing
- Power Drill/Driver: For driving screws and pilot holes in wood, vinyl, or metal.
- Hammer: Nailing pickets, rails, or fence brackets.
- Impact Driver (optional): Speeds up assembly for large projects.
- Nail Set: For countersinking nails in finished woodwork.
- Wrench Set: Tightening bolts on metal or vinyl assemblies.
Use exterior-grade fasteners to prevent rust and corrosion, and match fastener types to your fence material.
Specialized Tools for Specific Fence Types
- Fence Stretcher (Chain Link): Tensioning mesh for a taut, professional finish.
- Fence Pliers: Bending, twisting, and cutting wire ties.
- Concrete Mixer (optional): Speeds up mixing for setting many posts.
- Post Caps and Setters: Ensuring consistent post height and protecting wood from weather.
- Notching Tool (Vinyl): For interlocking vinyl panel systems.
Check your fence kit or manufacturer’s guidelines for any tool recommendations unique to your chosen system.
Safety Equipment: Protect Yourself on the Job
- Work Gloves: Prevent blisters and splinters.
- Safety Glasses: Shield eyes from flying debris during sawing, drilling, or hammering.
- Hearing Protection: Especially when using power saws or augers.
- Steel-Toed Boots: Protect feet from heavy falling materials.
- Knee Pads: Reduce strain when working close to the ground.
- Dust Mask or Respirator: When cutting treated wood or concrete.
Never underestimate safety. A few basic precautions can prevent injuries that would derail your project.
Tool Selection: Buy, Borrow, or Rent?
When to Invest
- Frequent DIYers: Investing in quality tools (saws, drill/driver, level) pays off long-term.
- Reusable Equipment: Measuring tapes, hammers, and levels have wide utility.
When to Rent or Borrow
- Large or Specialized Tools: Power augers, concrete mixers, or fence stretchers are often available at tool rental centers.
- Costly Equipment for One-Time Use: Renting saves money and storage space.
Check your local hardware store, tool library, or friends and neighbors to save on seldom-used equipment. Always inspect rentals for safety and function before use.
Preparation and Setup: Laying the Groundwork
Marking Your Fence Line
- Use stakes and mason’s line to outline the fence perimeter.
- Mark post locations with spray paint or chalk at the correct intervals, per your fence plan.
This step is essential for visualizing alignment and confirming property boundaries. Always check local codes and secure any necessary permits before construction.
Organizing Tools for Workflow
- Lay out all tools and fasteners within easy reach before starting each phase (digging, assembly, finishing).
- Organize fasteners and small parts in labeled containers or tool belts.
A tidy workspace boosts efficiency and reduces the risk of lost or misplaced equipment.
Step-by-Step Fence Installation Using the Right Tools
1. Digging and Setting Posts
With your post hole digger or auger, create holes to the required depth and diameter. Use a level to check that each post stands perfectly upright before backfilling with gravel and concrete. Tamp the soil firmly to ensure stability.
2. Installing Rails or Panels
Measure and cut rails or panels as needed. Attach using a power drill/driver and exterior-grade fasteners. Use your carpenter’s level and string line to keep components aligned and straight.
3. Hanging Gates and Accessories
Install gate posts with extra care for stability. Use a wrench set and drill to secure hinges and latches. Check for smooth operation and correct alignment.
4. Final Touches
- Install post caps using a rubber mallet or hammer with a block of wood to avoid splitting.
- Apply sealant, paint, or stain with appropriate brushes or sprayers if using wood.
- Clean up all tools, sweep debris, and inspect the fence for any loose fasteners or sharp edges.
Maintenance Tools: Keeping Your Fence in Top Shape
- Socket Wrench Set: For tightening bolts as wood expands or contracts.
- Replacement Fasteners: Stock up to quickly fix loose boards or rails.
- Pruning Shears: Trim back plants or vines that encroach on the fence line.
- Garden Sprayer: For applying mildew remover or cleaning solution.
- Paint Brushes or Rollers: Touch up paint or stain as needed.
Regularly inspect your fence for signs of wear, rot, or rust, and address issues promptly to extend its lifespan.
Troubleshooting: Common Tool-Related Mistakes and Fixes
- Using Dull Blades: Leads to rough cuts and split wood. Replace or sharpen saw blades before starting.
- Skipping the Level: Results in leaning posts or uneven panels. Check level at every stage.
- Improper Fastener Selection: Causes rust or weak joints. Always use exterior-grade hardware.
- Neglecting Safety Gear: Increases risk of injury. Suit up before you start.
- Forgetting Utility Checks: Risks hitting wires or pipes. Always call before you dig.
Address these issues early to prevent costly repairs or safety hazards.
Conclusion: Equipping Yourself for DIY Fencing Success
Installing your own fence is a rewarding home improvement project that pays dividends in privacy, security, and property value. While determination is important, it’s the right selection and use of tools that truly makes the difference between a fence that stands straight and strong for years—and one that needs constant repair. From digging post holes and cutting rails to fastening hardware and applying finishing touches, each step is easier, safer, and more precise with the proper equipment. Remember to plan your project according to your chosen materials, and don’t hesitate to rent or borrow specialized tools you may not use again soon. Always prioritize safety by wearing protective gear and following best practices. Finally, keep maintenance tools on hand to address issues as soon as they arise, ensuring your new fence remains an asset to your home for decades. With this detailed tools and equipment guide, you’re well-prepared to tackle your DIY home fence installation with confidence and skill—setting the stage for a project you’ll be proud to show off to friends, family, and neighbors.