
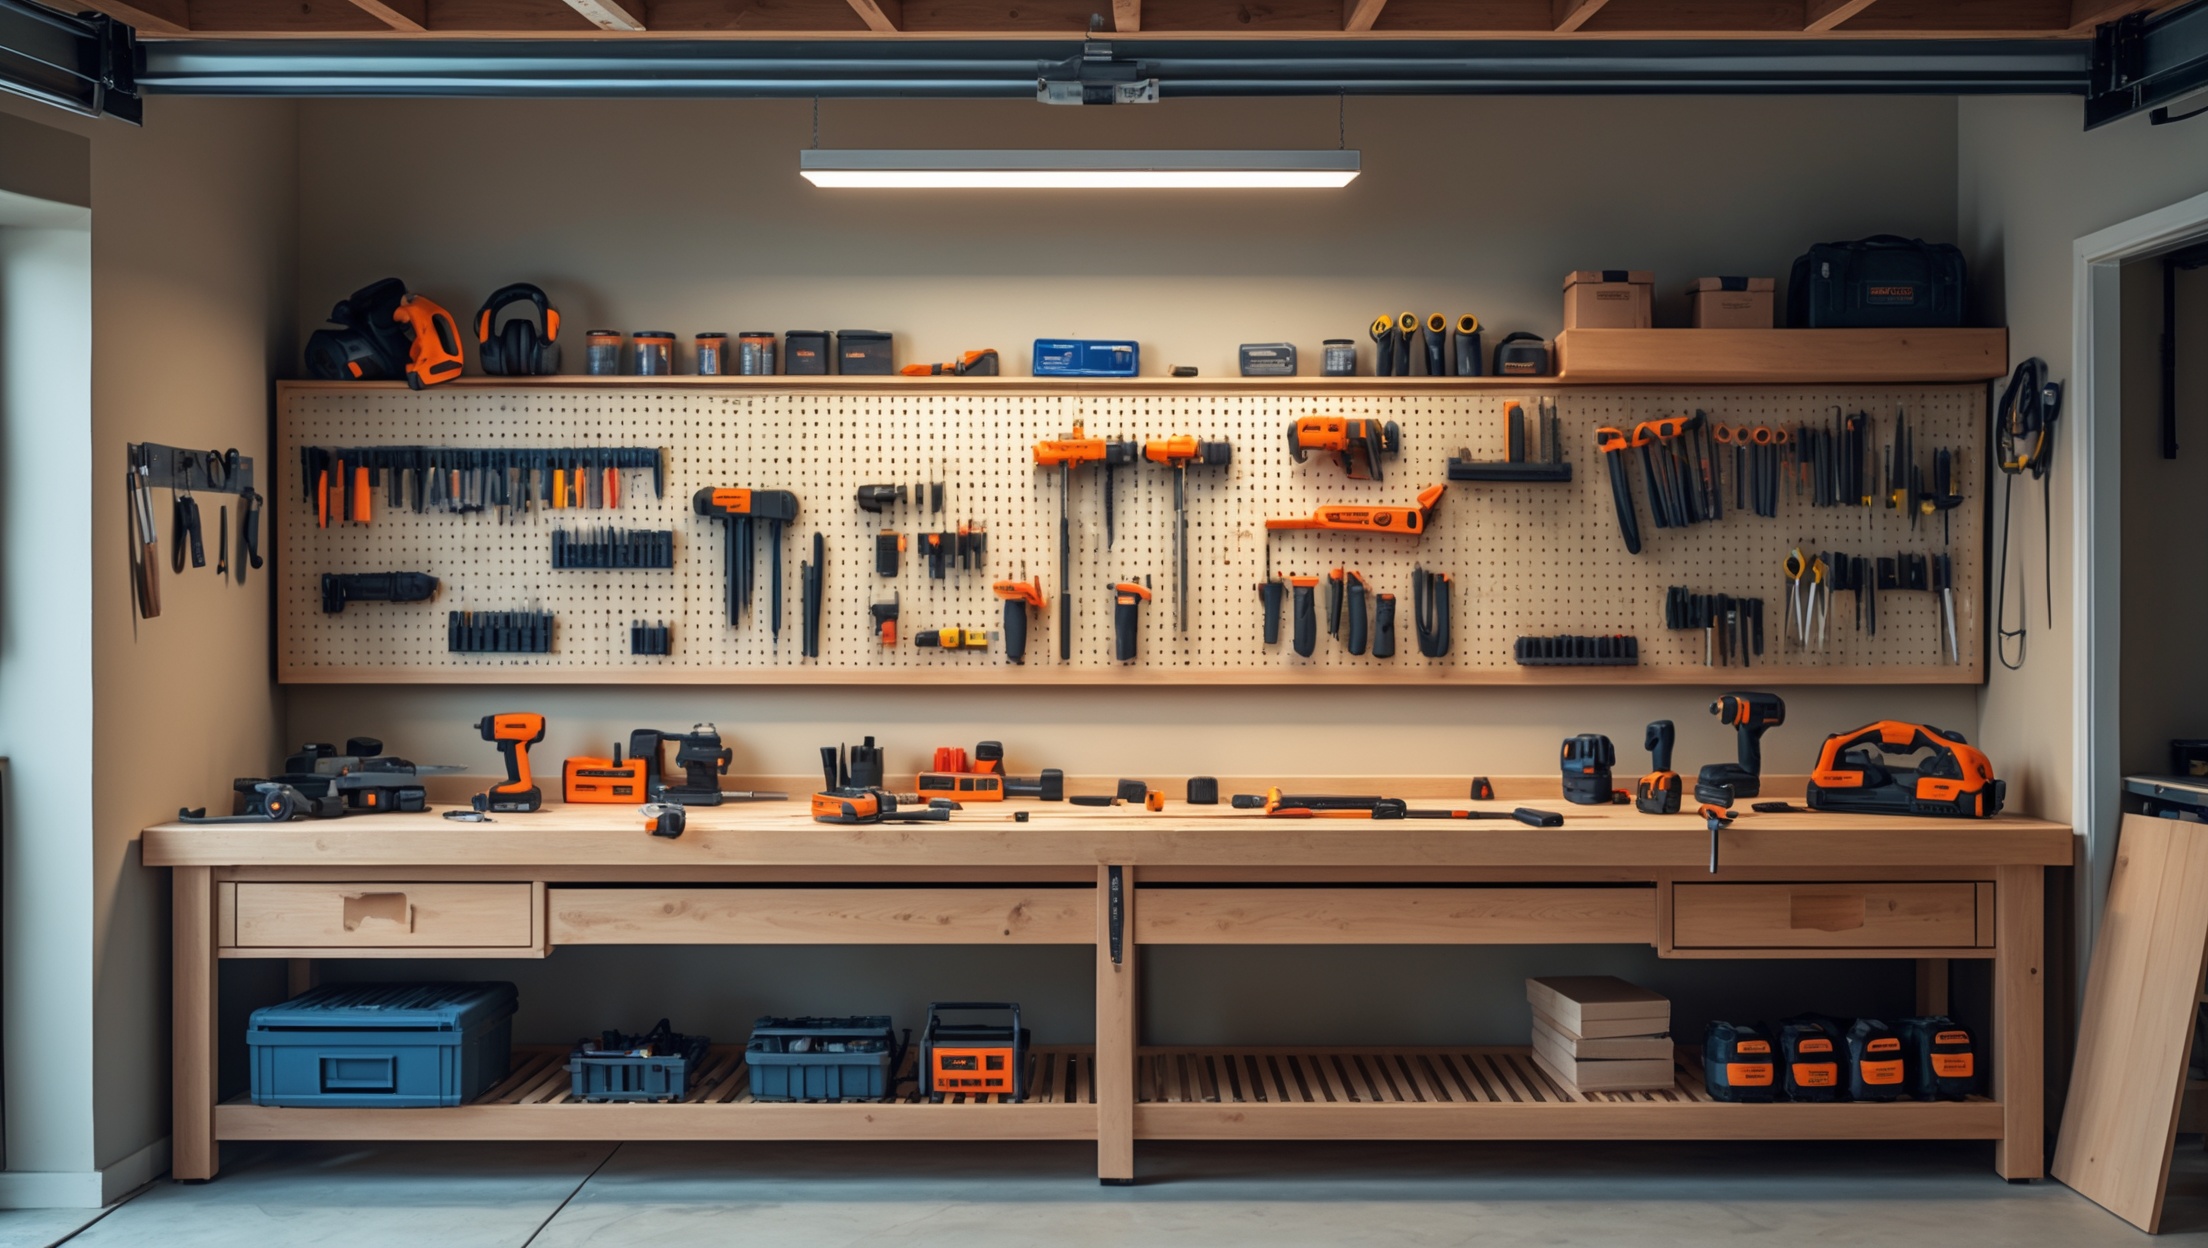
Step-by-Step Guide: Setting Up a Home Workshop for DIY Projects—Tools, Layout, and Safety Essentials

Introduction: Why Every DIY Enthusiast Needs a Well-Planned Home Workshop
Whether you’re a seasoned craftsman or just starting out with weekend projects, a dedicated home workshop can transform your home improvement experience. The right setup doesn’t just make DIY tasks more enjoyable—it improves efficiency, enhances safety, and protects your investment in tools and materials. However, many homeowners underestimate the importance of thoughtful planning when carving out a workshop space. Without a proper layout, essential tools, and strong safety protocols, even simple projects can become frustrating or hazardous. In this comprehensive guide, we’ll walk you through every step of setting up a functional, safe, and inspiring home workshop. From choosing the right location and selecting must-have tools, to optimizing layout for workflow and building in effective safety measures—this article will help you create a space where both creativity and craftsmanship thrive. Whether you’re converting your garage, basement, or a spare room, these expert strategies will ensure you avoid common pitfalls and build a workshop that grows with your skills and ambitions.
Choosing the Right Space for Your Home Workshop
Assessing Available Areas
The first step is evaluating the spaces in your home that could serve as a workshop. Typical options include:
- Garage: Most popular due to easy ventilation and access.
- Basement: Offers isolation from living areas but may need moisture control.
- Spare Room: Suitable for smaller-scale projects and quieter tools.
- Outdoor Sheds: A great choice if you want to keep noise and dust out of the house.
Key Considerations
- Space Requirements: Ensure at least 100-200 square feet for basic woodworking or repair projects. More space is preferable for large tools or multiple workstations.
- Access to Power: Multiple grounded electrical outlets are essential for power tools.
- Ventilation: Good airflow is crucial, especially for painting or sanding.
- Lighting: Ample natural light is ideal, but supplement with LED task lighting.
- Noise: Consider proximity to bedrooms or neighbors if you’ll be using loud tools.
Workshop Layout: Optimizing for Workflow and Efficiency
Principles of Effective Workshop Design
Organization and flow are key for safety and productivity. Start by mapping out zones for different activities:
- Workbenches and Assembly Areas: Central location for hands-on tasks.
- Tool Storage: Keep frequently used tools within arm’s reach; less-used tools can be stored higher up or further away.
- Material Storage: Shelving or wall-mounted racks for lumber, pipe, or sheet goods.
- Power Tool Stations: Dedicated spots for stationary tools like table saws or drill presses, allowing space for in-feed and out-feed of materials.
- Finishing Area: Segregated space for painting, staining, or drying projects.
Sample Layout Strategies
- L-Shaped Layout: Ideal for maximizing corner spaces; keeps tools and workbench in easy reach.
- U-Shaped Layout: Provides maximum counter space and efficient movement between stations.
- Linear Layout: Best for narrow spaces; arrange work areas in a row along one wall.
Ergonomics and Workflow
Arrange your workshop so you can move materials and tools with minimal lifting or awkward maneuvers. Set workbench height to suit your stature (typically 34–36 inches). Place heavy power tools at waist height to minimize strain. Ensure aisles are at least 3 feet wide for safe movement.
Essential Tools and Equipment for a Home Workshop
Basic Hand Tools
- Hammer (claw and mallet)
- Set of screwdrivers (Phillips and flathead)
- Adjustable wrenches
- Measuring tape, square, and level
- Utility knife and scissors
- Pliers (needle-nose, slip-joint, locking)
Power Tools (Starter Set)
- Cordless drill/driver with bit set
- Circular saw (or miter saw for precision cuts)
- Random orbital sander
- Jigsaw
- Shop vacuum for dust control
Workshop Essentials
- Sturdy workbench (consider a model with storage drawers or shelves)
- Pegboard or slatwall for tool organization
- Heavy-duty extension cords and power strips (with surge protection)
- Bench vise
- Clamps (variety of sizes)
- Fire extinguisher (ABC-rated)
- First aid kit
Upgrading Your Toolkit
- Table saw or band saw for advanced woodworking
- Drill press
- Belt/disc sander
- Compressor and pneumatic tools
- Dust collection system for cleaner air
Organizing Your Workshop: Storage Solutions and Tips
Tool Storage
- Pegboards: Hang hand tools for quick access; outline shapes for easy tool return.
- Drawer Cabinets: Ideal for small parts and precision tools.
- Rolling Tool Chests: Provide mobility and safe storage for expensive tools.
Material Storage
- Wall-Mounted Racks: Store lumber, pipes, and longer items horizontally off the floor.
- Shelving: Adjustable shelves accommodate bins of hardware, finishes, and supplies.
- Clear Plastic Bins: Keep screws, nails, and fasteners visible and organized.
Work Surface Management
- Install a magnetic strip for metal tools like screwdrivers and pliers.
- Use stackable trays to segregate ongoing projects.
- Mount power tool chargers on the wall to free up workbench space.
Electrical, Lighting, and Ventilation Upgrades
Electrical Setup
- Install multiple 20-amp outlets along the workbench and tool stations.
- Use GFCI outlets, especially in basements or garages, to prevent electrical shocks.
- Label circuit breakers dedicated to your workshop for quick shutoff in emergencies.
Lighting
- Use bright, flicker-free LED panels or tube fixtures for general illumination.
- Add adjustable task lights directly above workbenches and detailed work areas.
- Consider motion sensor lighting for energy savings and convenience.
Ventilation
- Install an exhaust fan or window fan to remove dust and fumes.
- Use portable air purifiers with HEPA filters for fine dust control.
- For painting or finishing, set up a dedicated area with a vented spray booth or box fan in a window (with filter).
Workshop Safety: Essential Protocols and Equipment
Personal Protective Equipment (PPE)
- Safety glasses or goggles
- Hearing protection (earmuffs or plugs)
- Respirators or N95 masks for dusty or chemical-heavy tasks
- Cut-resistant gloves for handling sharp tools
- Steel-toed boots for heavy work
Fire and Chemical Safety
- Store flammable liquids in approved safety cans, away from heat sources.
- Keep a fire extinguisher and first aid kit visible and accessible.
- Label chemicals and never store incompatible substances together (e.g., solvents and oxidizers).
- Dispose of oily rags in a sealed metal container to prevent spontaneous combustion.
Tool Safety Practices
- Read manuals and follow manufacturer safety guidelines.
- Unplug power tools when changing blades or bits.
- Keep blades and bits sharp to reduce the risk of binding or kickback.
- Use push sticks and guards on saws whenever possible.
- Never bypass safety switches or remove guards.
General Workshop Safety
- Maintain clear walkways and keep floors free of cords and debris.
- Install non-slip mats in standing areas.
- Post emergency contact numbers and workshop rules for quick reference.
Maintenance: Keeping Your Workshop Pristine and Productive
Routine Cleaning Schedule
- Sweep or vacuum workshop daily after use.
- Wipe down surfaces and tool handles to prevent buildup of dust and grime.
- Empty dust collection systems and shop vacuums regularly.
Tool Maintenance
- Sharpen and oil hand tools and blades as needed.
- Check cords and plugs for wear; replace damaged parts immediately.
- Lubricate moving parts on power tools as recommended by the manufacturer.
- Store tools in dry conditions to prevent rust.
Safety Systems Inspection
- Test fire extinguishers and replace if expired.
- Inspect PPE for damage or wear and replace as needed.
- Test GFCI outlets and reset as necessary.
- Check ventilation systems for blockages or reduced flow.
Expanding and Upgrading Your Workshop Over Time
Modular Additions
- Add mobile work carts for flexibility in project setups.
- Upgrade to specialized tools as your interests and skills evolve (e.g., router table, lathe).
- Consider adding Wi-Fi or smart home integration for tool tracking and security.
Noise Control
- Install acoustic panels or rubber mats to dampen sound.
- Seal doors and windows with weatherstripping to reduce noise leakage.
Climate Control
- Use portable heaters or air conditioners for year-round comfort.
- Install a dehumidifier in basements to prevent rust and mold.
Conclusion: Building a Workshop That Grows With You
Setting up a home workshop is more than just stacking tools and plugging in a workbench—it’s about creating a space that supports your creativity, keeps you safe, and evolves as your skills develop. By carefully choosing your workshop location, investing in the right tools, and organizing your workspace for optimal efficiency, you lay the foundation for years of satisfying DIY accomplishments. Prioritizing safety and maintenance ensures your workshop remains a productive and secure environment, preventing accidents and extending the life of your equipment. Remember, your home workshop is a living space—one that should adapt as your interests grow, whether that means adding advanced tools, upgrading your storage, or simply rearranging the layout for new projects. With thoughtful planning and a commitment to best practices, your workshop will become a source of pride, productivity, and personal growth. Start small, stay organized, and never stop improving your workspace. Your future projects—and your peace of mind—will thank you.