
Essential Safety Checklist for DIY Tile Installation: Prevent Accidents and Ensure Lasting Results

Introduction: The Overlooked Risks of DIY Tile Installation
Tile installation is one of the most popular home improvement projects for DIY enthusiasts. It promises transformational results—sleek new floors, updated backsplashes, or a refreshed bathroom—often at a fraction of the cost of hiring a professional. However, while many guides focus on the technical steps of mixing mortar or cutting tiles, the critical topic of safety is frequently overlooked. From sharp tools and heavy materials to dust inhalation and tricky surfaces, tile installation presents a range of hazards that can lead to serious injuries or costly damage if not properly managed.
This comprehensive guide is your essential safety checklist for DIY tile installation. Whether you’re a first-time tiler or have tackled a few projects before, these expert-backed practices will help you avoid common accidents, ensure your workspace is hazard-free, and deliver professional-quality results that last. We’ll cover everything from personal protective equipment (PPE) and safe tool handling to substrate preparation, lifting techniques, and post-installation cleanup. By integrating these safety measures into your workflow, you’ll not only protect yourself but also enhance the longevity and appearance of your newly tiled surfaces.
1. Preparing Your Workspace for Safety
1.1 Clear the Area
Before you even open a box of tiles, start by thoroughly clearing the workspace. Remove all unnecessary furniture, rugs, and debris. Ensure pets and children cannot access the area during the project. A clutter-free environment reduces tripping hazards and allows for safer movement of materials and tools.
1.2 Ventilation Matters
Many tile adhesives, grout, and cleaning agents contain volatile organic compounds (VOCs) that can cause dizziness or respiratory irritation. Open windows or use exhaust fans to maintain airflow, especially if you’re working in a small bathroom or basement. If mechanical ventilation isn’t possible, take regular breaks to get fresh air.
1.3 Adequate Lighting
Good lighting is non-negotiable for both safety and quality. Use overhead lights supplemented by work lamps or portable LED floodlights. Shadows can hide debris or wet spots, increasing the risk of slips or missteps. Proper lighting also helps you spot tile alignment issues before adhesive sets.
2. Personal Protective Equipment (PPE): Don’t Skimp
2.1 Eye Protection
Wear ANSI-rated safety glasses or goggles whenever cutting, grinding, or mixing materials. Flying tile shards and dust are serious risks to your eyes, and even a moment’s lapse can cause permanent damage.
2.2 Hand and Skin Protection
- Gloves: Use cut-resistant gloves when handling tiles and mixing mortar. Nitrile or latex gloves are suitable for chemical protection during grouting and sealing.
- Long Sleeves and Pants: Protect your skin from sharp edges, adhesives, and irritants.
2.3 Respiratory Protection
Tile cutting and mixing can generate fine silica dust, a known health hazard. Wear a NIOSH-approved N95 (or better) respirator when cutting tiles, mixing powdered adhesives, or grouting. Never rely solely on disposable dust masks for these tasks.
2.4 Knee and Foot Protection
- Knee Pads: Invest in thick, gel-cushioned knee pads for long periods spent kneeling. This protects your joints and prevents fatigue-related accidents.
- Sturdy Footwear: Wear closed-toe shoes with slip-resistant soles to prevent injuries from dropped tiles or tools.
3. Safe Handling and Setup of Tools & Materials
3.1 Lifting and Carrying Tiles
Boxes of tiles can weigh over 50 pounds. Always lift with your legs, not your back. Get help with large loads. Use a dolly or cart for transporting materials whenever possible to reduce strain and prevent dropped tiles.
3.2 Power Tool Safety
- Wet Saws: Always read the manufacturer’s manual before use. Keep cords and water reservoirs away from foot traffic. Wear eye and ear protection, and never remove safety guards.
- Angle Grinders & Manual Cutters: Secure tiles firmly before cutting. Let the tool do the work; don’t force it. Always disconnect power tools when changing blades or making adjustments.
3.3 Storage of Tools and Materials
Keep sharp tools out of reach of children. Store adhesives and chemicals in original containers with lids tightly closed. Place tools and materials on stable surfaces, not on top of boxes or in walkways.
4. Substrate Preparation: Prevent Future Hazards
4.1 Assessing the Subfloor or Wall Surface
Uneven or unstable substrates can cause tiles to shift, crack, or fail prematurely. Use a level to check for dips or high spots, and repair with self-leveling compound or patching material as needed. For wall tiles, ensure drywall or backer board is securely anchored and free of moisture damage.
4.2 Moisture Testing
Excess moisture in floors or walls can lead to adhesive failure, mold growth, and slippery surfaces. Use a moisture meter to check for safe levels, especially in basements or bathrooms. Address leaks or dampness before starting your project.
5. Mixing and Applying Adhesives Safely
5.1 Ventilation and Mixing Precautions
Always mix adhesives in a well-ventilated area. Add powder to water (not the reverse) to minimize dust clouds. Use a low-speed mixer to prevent splattering, and never use your hands to mix caustic materials.
5.2 Application Tips
- Use only as much adhesive as you can cover with tiles in 15-20 minutes.
- Clean spills immediately to avoid slippery spots.
- Keep buckets and trowels off active walkways.
6. Tile Cutting: Risk Mitigation Steps
6.1 Planning Cuts
Plan all cuts before starting; measure twice and mark tiles clearly with a pencil or washable marker. This reduces unnecessary handling and minimizes mistakes.
6.2 Cutting Safety Protocols
- Always cut tiles on a stable surface away from edges.
- Wear safety glasses and a dust mask.
- Keep hands clear of blades and never bypass safety guards.
- Use a wet saw with adequate water flow to minimize dust.
7. Laying Tiles: Avoiding Common Hazards
7.1 Proper Spacing and Alignment
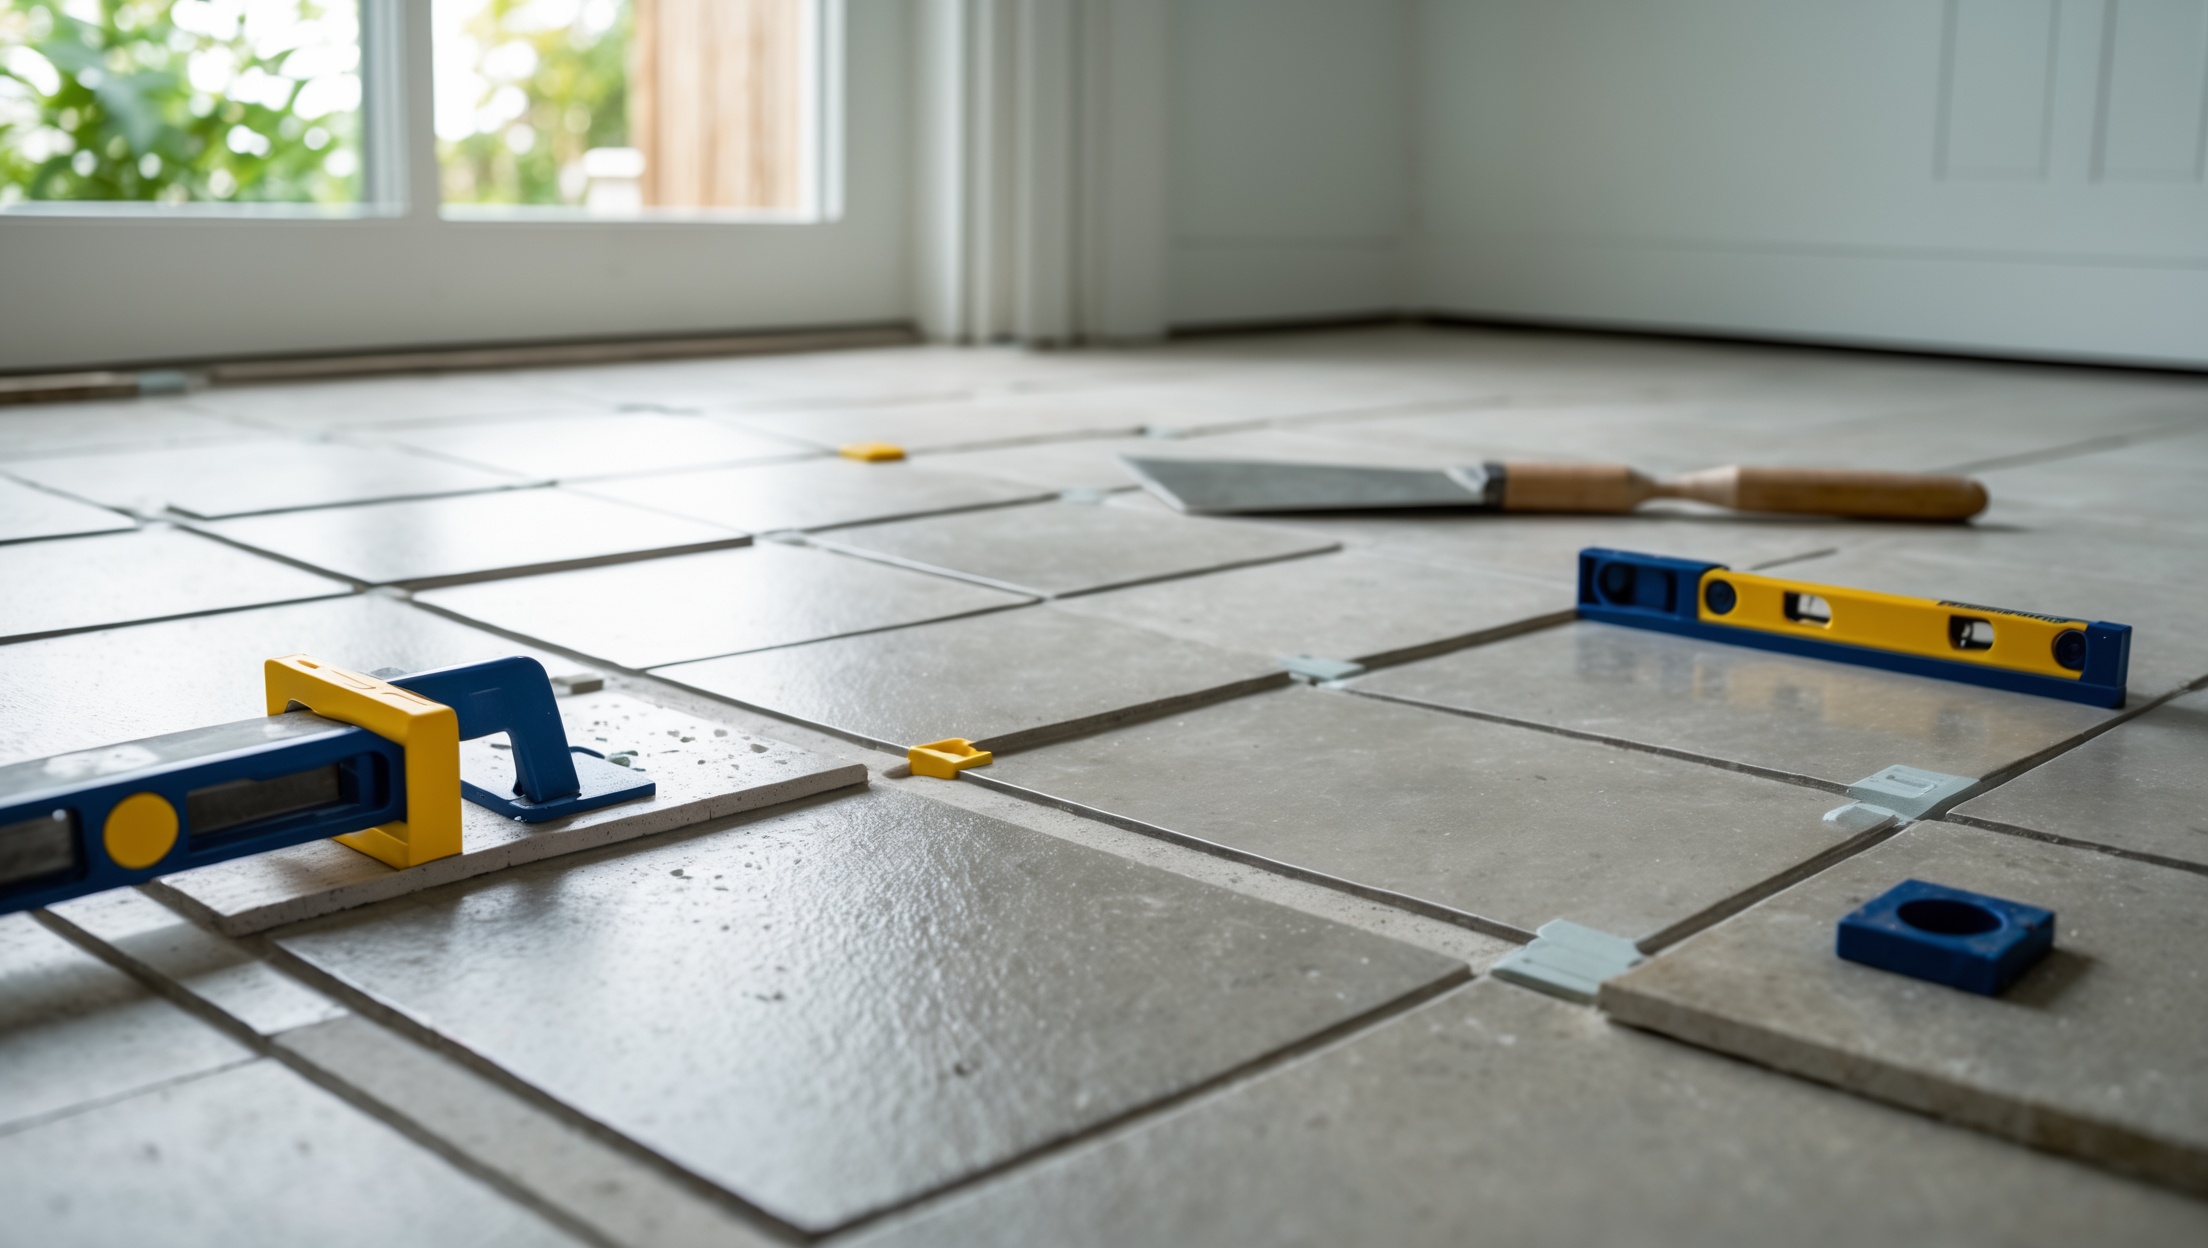
Use spacers to maintain even grout lines and prevent crowding, which can lead to pressure fractures. Check alignment frequently with a level or laser guide.
7.2 Safe Movement and Access
- Work in sections and plan an exit path to avoid stepping on freshly laid tiles.
- Mark wet areas with painter’s tape as a visual reminder.
- Don’t rush—haste is a leading cause of slips and misaligned tiles.
8. Grouting and Sealing: Chemical Safety
8.1 Safe Mixing and Application
Use gloves and a respirator when mixing grout, as the fine powder can irritate lungs and skin. Avoid direct contact with wet grout or sealant.
8.2 Venting Fumes
- Open windows and use fans to disperse fumes from sealants or epoxy-based products.
- Allow adequate curing time before occupying the area; check manufacturer recommendations.
9. Cleanup: Preventing Post-Installation Hazards
9.1 Safe Disposal of Waste
Collect all tile shards, adhesive buckets, and chemical containers for proper disposal. Never wash leftover grout or adhesive down household drains, as they can harden and clog pipes.
9.2 Thorough Cleaning
- Sweep and vacuum all dust and debris, especially in corners and under cabinets.
- Remove painter’s tape and spacers carefully to avoid chipping tiles.
- Return tools to storage and check for any lingering hazards (wet spots, loose tiles).
10. Emergency Preparedness
- Keep a first aid kit on hand, stocked with bandages, antiseptic, and eye wash.
- Have emergency contact numbers accessible.
- Know the location of your home’s circuit breakers and water shutoff valves.
- In case of chemical splashes, flush immediately with water and seek medical attention if needed.
Conclusion: Safe DIY Tile Installation Is Smart DIY
Tile installation is a rewarding way to update your home, but safety must always be the foundation of your project. Every year, thousands of DIYers sustain injuries that could have been prevented by following a simple but thorough safety checklist. By preparing your workspace, using the right personal protective equipment, and handling tools and materials with care, you dramatically reduce the risk of accidents and ensure that your efforts yield lasting, professional-quality results.
Don’t think of safety as a barrier—it’s an investment in your project’s success and your well-being. Each step, from clearing the area to post-installation cleanup, plays a role in protecting you and your home. Whether you’re tiling a kitchen backsplash or a full bathroom floor, these best practices will help you avoid the pitfalls that derail so many DIY projects.
Remember, no project is worth compromising your health. Take the extra time to plan, gear up, and work methodically. Your finished tile job will not only look great but will also stand as a testament to your commitment to doing things the right—and safe—way. Happy tiling!
Could you clarify what type of masks you recommend for handling tile adhesives and grout with high VOC content? I want to make sure I’m using the best PPE to avoid any respiratory issues, especially in a small workspace.
For handling tile adhesives and grout with high VOC content, use a respirator mask rated for organic vapors, such as an NIOSH-approved half-face respirator with organic vapor cartridges. Disposable dust masks are not enough for VOC protection. Also, make sure the mask fits well and create as much ventilation as possible in your workspace to further reduce exposure.