
Step-by-Step Setup Tutorial: Installing a Whole-House Surge Protector for Reliable Home Electronics

Introduction: Why Install a Whole-House Surge Protector?
Power surges can strike at any time—whether from lightning, grid switching, or even large appliances cycling on and off. These sudden spikes in voltage can silently damage or destroy your home’s sensitive electronics, from your refrigerator and HVAC system to computers and smart TVs. While plug-in surge strips offer some protection for individual devices, they leave most of your home’s electrical infrastructure vulnerable. That’s why installing a whole-house surge protector is a smart upgrade for modern homeowners looking to safeguard their investments and maintain peace of mind. In this comprehensive guide, we’ll walk you through every step of selecting, permitting, and installing a whole-house surge protector. You’ll learn about the essential tools, safety practices, potential compliance pitfalls, and long-term maintenance tips—empowering you to protect your entire home from damaging surges and costly repairs.
Understanding Whole-House Surge Protectors
What is a Whole-House Surge Protector?
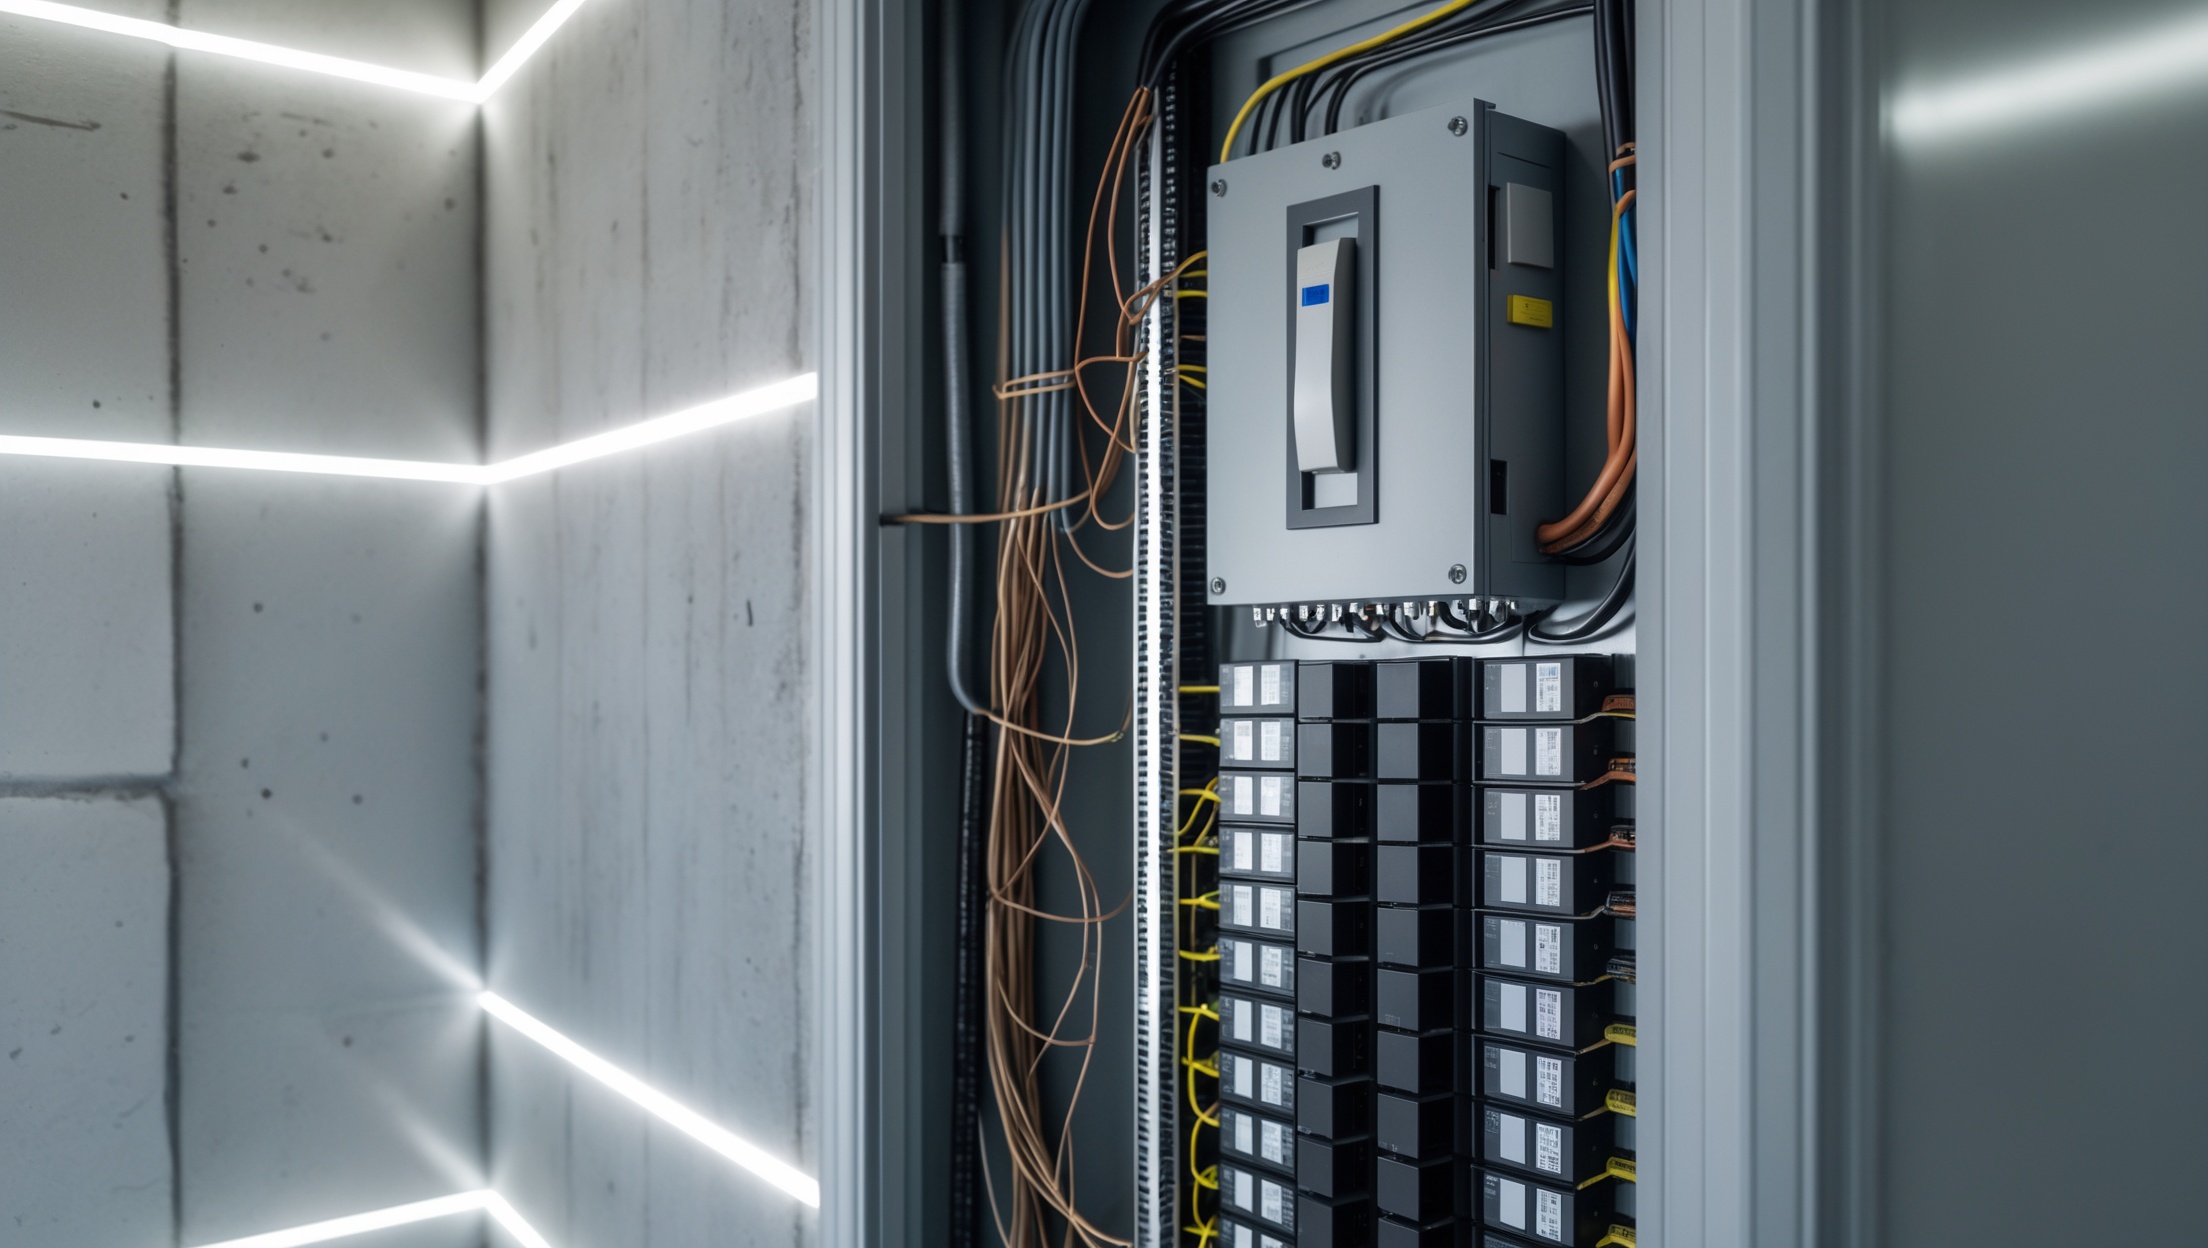
A whole-house surge protector is a device installed directly onto your home’s main electrical panel. It acts as a gatekeeper, blocking or dissipating excessive voltage before it can travel through your wiring and reach your appliances and electronics. Unlike power strips that protect only whatever is plugged into them, a whole-house unit shields your entire electrical system, including hardwired devices like HVAC units, ovens, and built-in lighting.
How Do Surges Occur?
- Lightning strikes: Even a distant strike can cause a voltage spike through power lines.
- Utility grid switching: When the electrical grid is switched or restored after an outage, surges can occur.
- Large appliances cycling: Devices like refrigerators or air conditioners turning on/off can create internal surges.
Types of Whole-House Surge Protectors
- Type 1: Installed before the main breaker, often used in commercial and new-build residential settings.
- Type 2: The most common for existing homes. Mounted inside or beside the main electrical panel.
- Type 3: Point-of-use, such as plug-in surge strips. Best used in combination with Type 2 for layered protection.
Choosing the Right Surge Protector for Your Home
Key Features to Look For
- Surge Capacity (Measured in kA): Look for units rated at least 20kA; 40kA or higher is ideal for most homes.
- Clamping Voltage: Lower is better (typically 400V or less). This is the voltage at which the protector diverts the surge.
- Response Time: Should be less than 1 nanosecond for fast protection.
- UL 1449 Listing: Ensures the device meets safety and performance standards.
- Indicator Lights: Shows status and if replacement is needed.
- Warranty: Some manufacturers offer equipment warranties if the device fails to stop a surge.
Sizing the Protector
Choose a surge protector that matches your panel’s amperage (typically 200A or 100A in most homes) and is compatible with your breaker panel brand. Always check the manufacturer’s compatibility chart or consult your electrician.
Preparation: Tools, Equipment, and Safety
Essential Tools and Supplies
- Whole-house surge protector (Type 2, panel-mount)
- Compatible double-pole breaker (if required by your protector model)
- Non-contact voltage tester
- Wire strippers/cutters
- Insulated screwdrivers
- Drill (if mounting externally)
- Protective gloves and eyewear
- Electrical tape
- Manufacturer’s installation manual
Safety First: Precautions and Best Practices
- Always turn off the main breaker before opening the panel.
- Test for live voltage on all wires with a non-contact tester.
- Never work alone. Have someone nearby in case of emergency.
- Wear rubber-soled shoes and keep the work area dry.
- If you are uncomfortable or inexperienced, hire a licensed electrician.
Compliance and Permitting: What You Need to Know
Do You Need a Permit?
In most municipalities, any work involving the main electrical panel—especially modifications or additions—requires a permit. Check with your local building department before starting the project. Working without a permit can result in fines and potential insurance issues.
Electrical Codes and Standards
- Ensure the surge protector is UL 1449 listed.
- Follow National Electrical Code (NEC) Article 285 for surge protection.
- Use only approved breakers and connection methods as specified by your panel’s manufacturer.
- Maintain clear labeling of any additions inside the panel.
Inspection Process
Most jurisdictions will require a final inspection. Be prepared to show:
- Manufacturer’s installation instructions
- Permit documentation
- Panel labeling for the new device
- Proper wire connections and breaker usage
Step-by-Step Installation Guide
Note: The following steps are for informational purposes. If you are not confident or experienced with electrical work, it is strongly recommended to hire a licensed electrician.
Step 1: Turn Off Main Power
- Locate your home’s main breaker and switch it completely to the “Off” position.
- Use a non-contact voltage tester to confirm that all circuits are de-energized.
Step 2: Prepare the Panel
- Remove the panel cover using an insulated screwdriver.
- Identify an available knockout (a removable circular section) for mounting the surge protector or its wires.
Step 3: Mount the Surge Protector
- Internal mount: Attach the protector directly inside the panel using screws provided.
- External mount: Secure the protector to the wall next to the panel and feed its wires through the knockout hole.
Step 4: Wiring the Device
- Connect the surge protector’s wires according to the color code and manufacturer’s instructions:
- Black (hot) wires to a double-pole breaker
- White (neutral) wire to the neutral bus bar
- Green (ground) wire to the ground bus bar
- If a dedicated breaker is required, install it in the panel and connect the hot wires.
- Tighten all connections securely and use electrical tape as needed.
Step 5: Secure and Label
- Reinstall the panel cover, ensuring wires are neatly routed and not pinched.
- Label the new breaker (e.g., “Surge Protector”).
Step 6: Restore Power and Test
- Switch the main breaker back to “On.”
- Check the surge protector’s indicator light to confirm it’s operational.
- If there are any issues (no indicator light, tripped breaker), turn power off and double-check all connections.
Maintenance and Long-Term Care
Visual Inspections
- Check the surge protector’s status indicator monthly.
- Look for signs of scorching, melted insulation, or strange odors.
- Inspect after major storms or power outages.
Replacement Schedule
- Most surge protectors last 3–7 years, but heavy surges can shorten their life.
- If the indicator shows failure or after a known event (like a lightning strike), replace the unit promptly.
- Keep the installation manual and warranty information accessible for reference.
Layering Protection
- For maximum safety, use plug-in surge strips for sensitive electronics in addition to your whole-house protector.
- Consider surge protection for telephone and cable lines if your protector supports it.
Common Mistakes to Avoid
- Skipping permits: Can lead to failed inspections and insurance headaches.
- Poor grounding: Ineffective or unsafe surge protection.
- Miswiring: Can cause device failure or electrical fires.
- Ignoring maintenance: A dead surge protector offers no protection.
- Relying solely on power strips: Leaves critical home systems unprotected.
Cost Breakdown and Budgeting
Typical Costs
- Surge protector unit: $75–$350 depending on capacity and features
- Professional installation: $150–$400 (variable by region and panel type)
- Permit fees: $25–$100
- Total typical project cost: $250–$850
DIY vs. Hiring a Pro
- DIY savings: Possible for experienced homeowners, but only if permitted and inspected.
- Professional benefits: Ensures code compliance, safety, and often includes warranty on labor.
Insurance Considerations
- Check with your insurer—some may offer discounts for homes with professionally installed surge protection.
- Document your installation with photos, permit receipts, and inspection sign-off.
- Store manufacturer’s warranty and any relevant paperwork for future claims.
Conclusion: Peace of Mind and Long-Term Value
Installing a whole-house surge protector is one of the most effective—and surprisingly affordable—ways to shield your home’s electronic infrastructure from unpredictable voltage spikes. Unlike plug-in strips, this device quietly guards every circuit, from major appliances to delicate electronics, and can save you thousands by preventing costly repairs or replacements. While the installation process may seem daunting, careful planning, strict adherence to safety protocols, and attention to compliance requirements can make it a smooth and rewarding project. Remember, if in doubt, hiring a licensed electrician is always the best policy for your safety and peace of mind. By proactively protecting your home with a quality surge protector, you’re investing in the reliability of your everyday life—and ensuring that your most valuable devices and appliances remain safe, year after year. Take pride in this upgrade: it’s a smart, forward-thinking improvement that delivers both immediate reassurance and long-term value for your home.
You mention that surges can come from lightning, the grid, or even big appliances cycling on and off. Does a whole-house surge protector handle all these types equally well, or do some situations still require extra plug-in surge strips for sensitive devices like computers?
A whole-house surge protector does offer broad protection against most surges, including those from lightning, the power grid, and large appliances cycling on and off. However, for highly sensitive electronics like computers, it’s still wise to use plug-in surge strips as an added layer of defense, especially against smaller surges or any that might get through the main protector.
Could you clarify how often you need to check or replace a whole-house surge protector once it’s installed, and are there any warning signs that indicate the unit isn’t protecting your home properly anymore?
You should check your whole-house surge protector at least once a year, or after any major power surge or lightning event. Most units have an indicator light that shows if they’re working—if this light goes out or changes color, it’s a sign the protector needs to be replaced. Unusual buzzing sounds, visible damage, or frequent tripped breakers can also mean it’s no longer protecting your home effectively.
How long does the typical installation process take for a homeowner with some basic DIY skills and all the necessary tools? I’m wondering if this can realistically be done in a weekend or if professional help is strongly advised.
If you have basic DIY skills and all the tools ready, installing a whole-house surge protector typically takes about 2 to 4 hours. This includes shutting off power, mounting the device, wiring, and testing. Many homeowners finish within half a day, so it’s realistic to tackle this on a weekend. However, if you’re not comfortable working inside your main electrical panel, hiring a licensed electrician is the safer option.
When you mention installing the surge protector onto the main electrical panel, does that mean I need to completely shut off power to my house before starting? If so, is there a safe way to do this as a homeowner, or should I call in an electrician just for that part?
Yes, for safety, you need to shut off power to your entire house before installing a surge protector onto the main electrical panel. This usually means switching off the main breaker. However, there can still be live wires inside the panel even with the main breaker off, so if you’re not experienced or confident working with electrical panels, it’s safest to hire a licensed electrician for this step.
I noticed you mention both Type 1 and Type 2 surge protectors. For an existing home, is there a meaningful advantage to installing a Type 1 unit before the main breaker, or would Type 2 at the panel cover most real-world scenarios?
For most existing homes, a Type 2 surge protector installed at your main panel provides effective protection against the majority of surges caused by internal and external sources. Type 1 units, which go before the main breaker, mainly handle large surges from utility side events like lightning strikes. Unless your area sees frequent severe lightning or utility surges, a quality Type 2 unit at the panel is generally sufficient and more practical for typical households.