
Step-by-Step Setup Guide: Installing a Smart Irrigation System for Water-Saving Yards
Introduction: Why Smart Irrigation Systems Matter for Modern Homeowners
Water conservation has become a top priority for homeowners who want to maintain beautiful yards without wasting resources or incurring high utility bills. Traditional sprinkler systems often water too much or too little, leading to brown patches, soggy spots, and wasted money. Enter smart irrigation systems—technology-driven solutions designed to optimize watering schedules based on your yard’s specific needs, local weather patterns, and soil conditions. But how do you actually install one in your own home? This comprehensive guide walks you through every phase, from initial planning and budgeting to compliance checks and maintenance best practices. Whether you’re upgrading an outdated sprinkler or starting from scratch, you’ll find actionable steps, essential tools, and expert tips to help you create an efficient, sustainable watering system that keeps your landscape thriving year-round—while helping you do your part for the environment and your wallet.
Understanding Smart Irrigation Systems: Features and Benefits
What Makes an Irrigation System ‘Smart’?
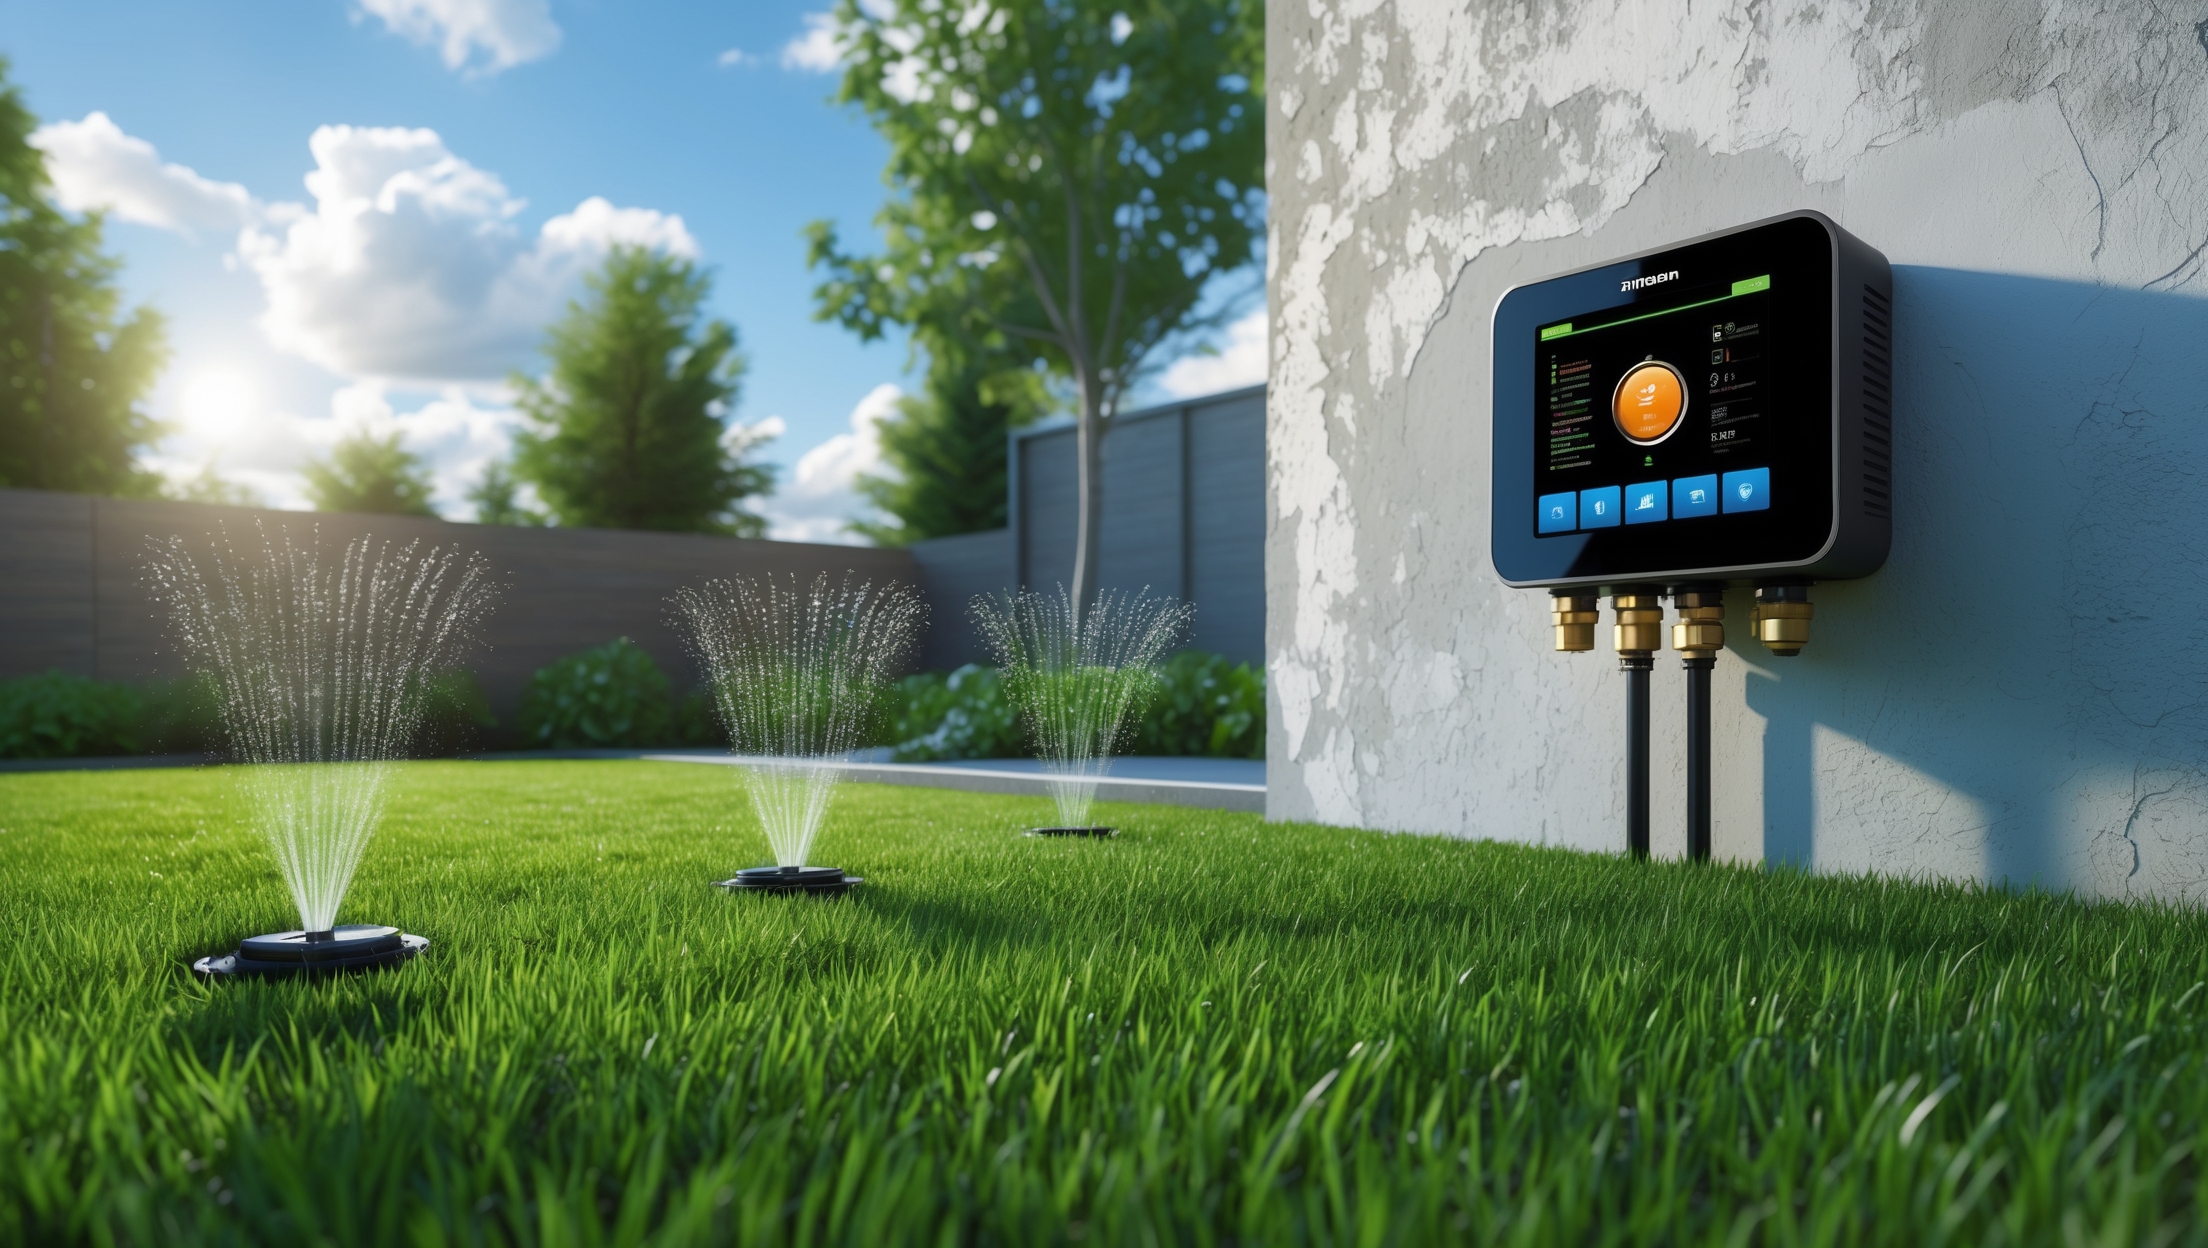
Smart irrigation systems use sensors, controllers, and connectivity to automate and optimize watering. Unlike analog timers, these systems adjust schedules based on real-time data like rainfall, temperature, soil moisture, and plant type. Many allow remote control via smartphone apps, providing greater flexibility and oversight.
- Weather-Based Controllers: Adjust watering based on local weather data.
- Soil Moisture Sensors: Prevent overwatering by monitoring soil saturation.
- Flow Meters: Detect leaks and measure water usage.
- App Integration: Control and monitor your system from anywhere.
Key Benefits
- Water Savings: Reduces unnecessary watering, often saving 30-50% over conventional systems.
- Healthier Lawns and Gardens: Plants receive the precise amount of water they need.
- Convenience: Automatic adjustments mean less manual intervention.
- Cost Efficiency: Lower water bills and potential rebates from local utilities.
Planning Your Smart Irrigation System
Evaluate Your Yard’s Needs
Begin by assessing your landscape:
- Zones: Divide your yard into zones based on sun exposure, plant types, and soil conditions.
- Existing Infrastructure: Note any current irrigation lines, valves, or controllers you might reuse.
- Water Source: Identify your connection point—typically an outdoor spigot or dedicated irrigation line.
System Design
Sketch your yard, marking all planting beds, turf areas, and hard surfaces. Plan for:
- Sprinkler Head Placement: Ensure even coverage without overspray onto sidewalks or driveways.
- Drip Irrigation: For garden beds or shrubs, consider drip lines for targeted watering.
- Zone Valves: Group similar plants together to allow customized watering schedules.
Selecting the Right Smart Controller
Look for controllers with these features:
- EPA WaterSense certification (for water savings and possible rebates)
- Wi-Fi or Bluetooth connectivity
- Integration with weather services
- Expandable zones (future-proof your system)
- User-friendly interface and mobile app compatibility
Budgeting and Cost Breakdown
What to Expect
- Smart Controller: $100–$300
- Sprinkler Heads: $2–$15 each (quantity depends on yard size and zones)
- Piping and Fittings: $0.50–$2 per linear foot
- Valves and Manifold: $15–$50 per valve
- Soil Moisture Sensors: $30–$100 each
- Rain/Freeze Sensors: $20–$60
- Labor (if hiring a pro): $500–$2000 depending on yard complexity
- Permits (if required): $50–$200
DIYers can usually install a basic system for $400–$1200, while full-featured setups with professional installation may run $2000–$4000. Check for local utility rebates, which can offset controller or sensor costs.
Compliance and Permit Essentials
Do You Need a Permit?
Requirements vary by municipality. Most areas require a permit for new system installations that involve tapping into the main water line or running underground pipes. Replacing a controller or upgrading heads typically does not require a permit.
- Contact your local building or water authority for specific regulations.
- Some HOAs have rules about visible hardware or watering times; check guidelines before installing.
- Backflow preventers are often mandatory to prevent contaminating the municipal supply.
Backflow Prevention and Code Compliance
Smart irrigation systems must be equipped with a backflow prevention device—often a pressure vacuum breaker or double check valve. Many areas require an annual inspection and certification.
Essential Tools and Equipment
- Shovel and trenching tool (manual or power trencher)
- Pipe cutter and PVC cement (for assembly of lines)
- Wire strippers and waterproof wire connectors (for valve wiring)
- Drill (for mounting the controller)
- Level (to install the controller evenly)
- Smart controller, valves, sprinkler heads, pipes/tubing, sensors
- Pressure gauge (to test system pressure)
Step-by-Step Installation Guide
1. Mark and Dig Trenches
Use spray paint or flags to outline the planned piping routes. Dig trenches 6–12 inches deep, depending on local frost depth and code.
2. Lay Out Pipes and Install Valves
Lay PVC or poly tubing along the trenches. Group zones by plant type and exposure. Install zone valves in a valve box near your water source for easy access. Use Teflon tape on threaded connections to prevent leaks.
3. Connect Sprinkler Heads and Drip Emitters
Attach risers or swing joints to the pipe ends, then connect your chosen sprinkler heads. For garden beds, install drip tubing and secure emitters at each plant.
4. Wire the Valves to the Smart Controller
Run low-voltage irrigation wire from each valve to the location where your controller will be mounted. Follow the manufacturer’s wiring diagram, using waterproof connectors and burying the wire with the pipe.
5. Install the Smart Controller
Mount the controller on an exterior wall within Wi-Fi range. Plug it into a GFCI outlet and connect the valve wires to the corresponding terminals. Power up and follow app instructions to configure zones, watering schedules, and sensor integration.
6. Integrate Sensors
Place soil moisture sensors in representative areas of each zone. Mount rain or freeze sensors where they are exposed to the elements but protected from sprinklers. Pair each sensor to the controller following manufacturer guidance.
7. Test and Adjust the System
Turn on the water supply and run each zone through a full cycle. Check for leaks, coverage gaps, and overspray. Adjust heads or emitter placement as needed. Use the app to fine-tune runtimes and schedules based on plant requirements and sensor feedback.
Setting Up and Programming Your Smart Controller
Initial Configuration
Download the controller’s app and follow prompts to connect to your home Wi-Fi. Enter details for each zone: plant type, sun exposure, soil condition, and slope. This data allows the system to calculate optimal watering times.
Weather and Sensor Integration
Enable weather-based adjustments and link your rain or soil moisture sensors. Most apps allow you to set skip rules—for example, pausing irrigation if rainfall exceeds a set threshold.
Customizing Schedules
Set watering windows to comply with local watering ordinances or HOA regulations. Some controllers offer seasonal adjustment features, increasing or decreasing watering based on time of year.
Maintenance Best Practices
Routine Checks
- Monthly: Inspect sprinkler heads for clogs or misalignment. Clean filters and check for leaks.
- Quarterly: Test valve operation and sensor accuracy. Update firmware in your controller app.
- Seasonally: Adjust schedules for weather changes. Winterize the system if you live in a freeze-prone area by draining or blowing out lines.
Troubleshooting Common Issues
- Uneven Coverage: Adjust head placement, pressure, or switch to more efficient nozzles.
- Controller Offline: Check Wi-Fi signal and update the app or firmware as needed.
- Unexpected Watering: Review sensor calibration and check for stuck valves.
Maximizing Water Savings and System Efficiency
Fine-Tuning for Your Landscape
Use your system’s reporting features to track water usage by zone. Fine-tune runtimes and frequency based on plant health and local climate. Experiment with cycle and soak strategies for clay or sloped areas to prevent runoff.
Staying Informed
Sign up for notifications from your controller app to alert you to leaks, skipped cycles, or sensor errors. Many utilities offer rebates for smart system upgrades—register your purchase and track savings over time.
Conclusion: Smart Irrigation—A Modern Upgrade with Lasting Impact
Installing a smart irrigation system is an investment in your home’s value, your landscape’s health, and the planet’s resources. Unlike outdated analog setups, these systems offer precise, data-driven control that adapts to changing weather and plant needs, ensuring every drop counts. While the upfront installation requires planning, careful budgeting, and adherence to local codes, the long-term payoff is significant—lower water bills, reduced maintenance, and a lush, resilient yard that flourishes even during dry spells. By following this step-by-step guide, homeowners can confidently tackle the setup themselves, leveraging modern tools and technology to create a sustainable oasis right outside their door. Remember, regular maintenance and occasional fine-tuning will keep your system running optimally for years to come. As smart home technology continues to evolve, integrating water-saving solutions like these isn’t just a trend—it’s a responsible, rewarding choice for today’s eco-conscious homeowner. With the right preparation and ongoing care, your smart irrigation system will deliver convenience, savings, and beauty for seasons to come.