
Seasonal Roof Inspection Checklist: Prevent Leaks and Costly Repairs
Introduction
Your roof is your home’s first line of defense against the elements, yet it’s one of the most neglected parts of the house until something goes wrong. Seasonal roof inspections are critical for preventing leaks, identifying potential issues early, and avoiding expensive repairs down the line. Even minor roof damage—like missing shingles or clogged gutters—can quickly escalate if left unchecked, leading to water infiltration, structural rot, and even mold growth.
This guide equips homeowners with a detailed, practical seasonal roof inspection checklist. Whether you’re a seasoned DIYer or a first-time homeowner, you’ll learn exactly what to look for, what tools to use, and which warning signs demand immediate attention. We’ll also cover safety best practices and explain when it’s time to call a professional. By following this systematic approach at the start of every season, you can extend your roof’s lifespan, boost your home’s energy efficiency, and sidestep costly surprises.
Why Inspect Your Roof Seasonally?
The Impact of Weather on Roof Integrity
Each season brings unique challenges for your roof. Heavy rains, wind, ice, and sun exposure can all cause wear and tear in different ways:
- Spring: Freeze-thaw cycles can open cracks, while storms may dislodge shingles or tiles.
- Summer: UV rays and heat can warp or dry out materials, especially asphalt shingles.
- Fall: Falling leaves clog gutters and downspouts, causing water to back up under roofing materials.
- Winter: Ice dams and snow accumulation increase the risk of leaks and structural strain.
Benefits of Regular Roof Inspections
- Early Problem Detection: Spotting issues early means lower repair costs.
- Insurance Compliance: Many policies require proof of maintenance.
- Warranty Protection: Some roofing warranties are voided by neglect.
- Peace of Mind: You’ll know your home is protected, whatever the season brings.
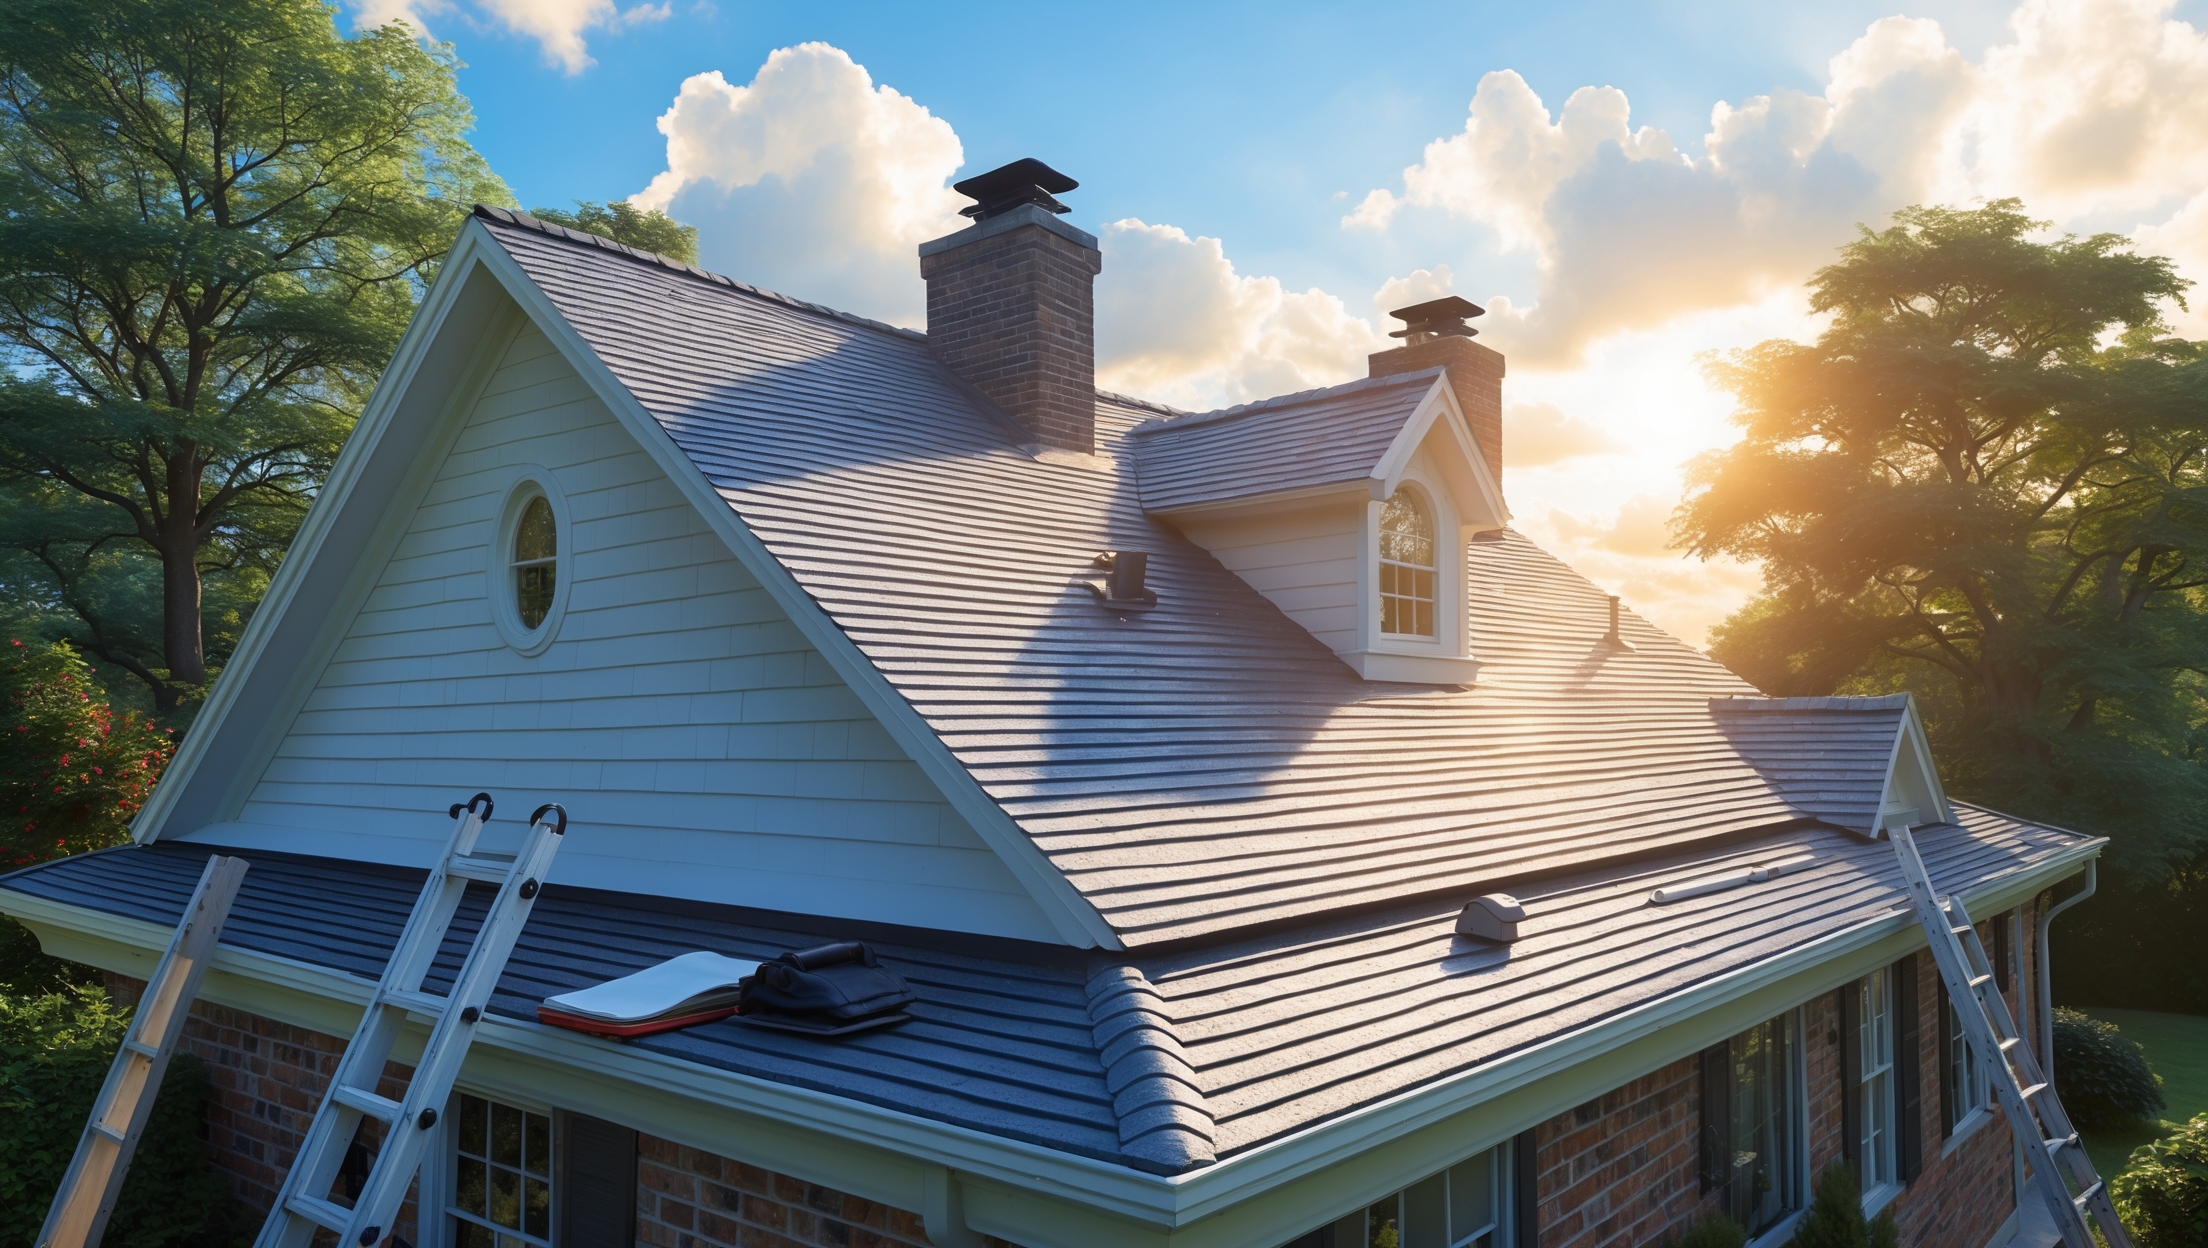
Essential Tools and Safety Gear
Inspection Tools
- Sturdy ladder with stabilizer arms
- Binoculars (for ground-level checks)
- Work gloves
- Flashlight (for attic checks)
- Roofing hammer or pry bar
- Chalk or wax pencil (to mark trouble spots)
- Camera or smartphone (for documentation)
Safety Equipment
- Non-slip shoes or boots
- Safety harness and lanyard (for steep roofs)
- Protective eyewear
- Hard hat (for complex or multi-level roofs)
Never attempt a roof inspection in wet, icy, or windy conditions. If you’re uncomfortable with heights or your roof is especially steep, hire a licensed professional instead.
Spring Roof Inspection Checklist
1. Examine Shingles or Roofing Tiles
- Look for cracked, curled, or missing shingles.
- Check for granule loss (bald spots on asphalt shingles).
- Inspect tiles for chips or displacement.
2. Inspect Flashing and Roof Joints
- Ensure metal flashing around chimneys, vents, and skylights is intact and sealed.
- Look for rust, gaps, or lifting edges.
3. Gutters and Downspouts
- Clear out leaves, twigs, and debris.
- Check for sagging sections or leaks.
- Ensure downspouts direct water away from the foundation.
4. Check for Moss, Algae, or Lichen
- Identify any green or black growth, especially on shaded sections.
- Remove gently with a soft brush or appropriate cleaner—never pressure wash.
5. Inspect Attic for Signs of Leaks
- Look for water stains, mold, or damp insulation.
- Check for daylight peeking through the roof boards.
Summer Roof Inspection Checklist
1. UV and Heat Damage
- Search for blistering, cracking, or fading on shingles or membrane roofs.
- Check for dried-out caulk at flashing and joints.
2. Evaluate Roof Ventilation
- Ensure ridge and soffit vents are clear of debris.
- Check for signs of overheating in the attic (warped wood, musty smell).
3. Check for Animal or Pest Intrusion
- Look for nests, chewed materials, or droppings near eaves and vents.
- Seal entry points with appropriate materials.
4. Inspect Roof Seals and Caulking
- Reapply exterior-grade sealant to any cracked or compromised seams.
Fall Roof Inspection Checklist
1. Remove Leaves and Organic Debris
- Clean gutters, valleys, and flat roof sections thoroughly.
- Trim overhanging branches to prevent future accumulation.
2. Inspect for Storm Damage
- Check after major wind or hail events for dents, missing shingles, or broken tiles.
- Document all findings with photos in case of insurance claims.
3. Prepare for Winter
- Ensure all flashing and seals are tight and waterproof.
- Install heat cables if ice dams are a recurring problem.
- Insulate attic properly to prevent ice dam formation.
Winter Roof Inspection Checklist
1. Visual Inspection from the Ground
- Look for excessive snow buildup or ice dams at roof edges.
- Check for icicles, which may indicate poor insulation or ventilation.
2. Monitor for Interior Leaks
- Check ceilings and attic after snowstorms for water stains or drips.
- Address leaks immediately to prevent mold and rot.
3. Remove Heavy Snow Loads (If Safe)
- Use a roof rake with a telescoping handle—never climb onto a snow-covered roof.
- Prioritize removal at eaves and valleys where snow accumulates most.
Warning Signs: When to Call a Professional
- Widespread shingle loss or curling
- Multiple leaks or significant water damage in the attic
- Sagging or uneven rooflines
- Chimney or flashing pulling away from the roof
- Visible mold growth or persistent musty odors
- Large hail or storm impact damage
Professional roofers have the training, equipment, and insurance to safely address major repairs or structural issues. Annual professional inspections, especially on older roofs, are wise even for diligent DIYers.
Maintenance Best Practices to Extend Roof Life
- Keep gutters and downspouts free of debris year-round.
- Trim trees and remove overhanging branches to limit leaf buildup and storm damage.
- Address minor repairs promptly—replace cracked shingles, re-seal flashing, and patch small leaks.
- Maintain proper attic insulation and ventilation to regulate temperature and moisture.
- Schedule a professional roof cleaning every few years to remove algae and moss.
- Keep detailed records of all inspections, repairs, and material warranties.
Documentation and Insurance Tips
Why Documentation Matters
Photographing your roof’s condition before and after each inspection is invaluable. Not only does it help you track changes over time, but it also provides critical evidence should you need to file an insurance claim. Keep a digital folder with:
- Date-stamped photos
- Inspection checklists
- Receipts for repairs and professional services
Working with Your Insurance Provider
- Review your policy annually to understand coverage gaps.
- Report significant damage promptly and document all communication.
- Some insurers require proof of regular maintenance—your inspection records can prevent claim denial.
Conclusion
Seasonal roof inspections are an essential, proactive part of homeownership that pays off in peace of mind, lower long-term costs, and a safer, healthier home. By following a systematic checklist throughout the year, you can identify vulnerabilities before they escalate, protect your investment, and even enhance your property’s curb appeal.
Remember: while many inspection tasks are DIY-friendly, don’t hesitate to call in a professional for steep roofs, complex repairs, or when you spot warning signs of serious damage. Consistent maintenance—paired with thorough documentation—also strengthens your position with insurance providers, ensuring you’re covered when you need it most.
Make roof inspections a seasonal habit. Set reminders at the start of each season, gather your tools, and use this checklist as your guide. Your roof takes a beating so your family and belongings stay safe and dry. With a little diligence, you’ll save money, avoid emergencies, and enjoy the security of a well-protected home all year long.
This is my first time doing a roof inspection and I’m a little nervous about safety. Can you explain what specific safety gear I should use, and are there any tips for using a ladder safely when checking the roof each season?
For a safe roof inspection, wear non-slip shoes, a hard hat, and safety gloves. If your roof is steep or high, use a safety harness attached to a stable anchor point. When using a ladder, make sure it’s on firm, level ground, angled correctly (1 foot out for every 4 feet up), and always maintain three points of contact—two hands and one foot or two feet and one hand.