
Seasonal Garage Door Maintenance: Prevent Costly Repairs with This Expert Checklist
Introduction: Why Seasonal Garage Door Maintenance Matters
Your garage door is one of the hardest-working components of your home, opening and closing hundreds of times each year. Yet, it’s often overlooked until something goes wrong—whether that’s a squeak, a jam, or, worse, a total failure. Homeowners who treat garage doors as “install-and-forget” features often face unexpected repair bills, inconvenient breakdowns, and even safety hazards. Proactive, seasonal maintenance is the key to reliable performance, longevity, and safety. In this comprehensive guide, you’ll find a detailed, season-by-season checklist designed by experts for homeowners who want to prevent costly repairs and keep their garage door operating at its best year-round.
This guide covers everything from inspecting door balance and lubricating moving parts to weather-stripping, cleaning, and testing safety features. Each section details practical steps tailored to the demands of spring, summer, fall, and winter. Whether you’re a DIY enthusiast or simply want to be prepared for your next service call, this checklist empowers you to spot issues early and tackle maintenance tasks with confidence. Let’s dive in and keep your garage door in top shape—no matter the season.
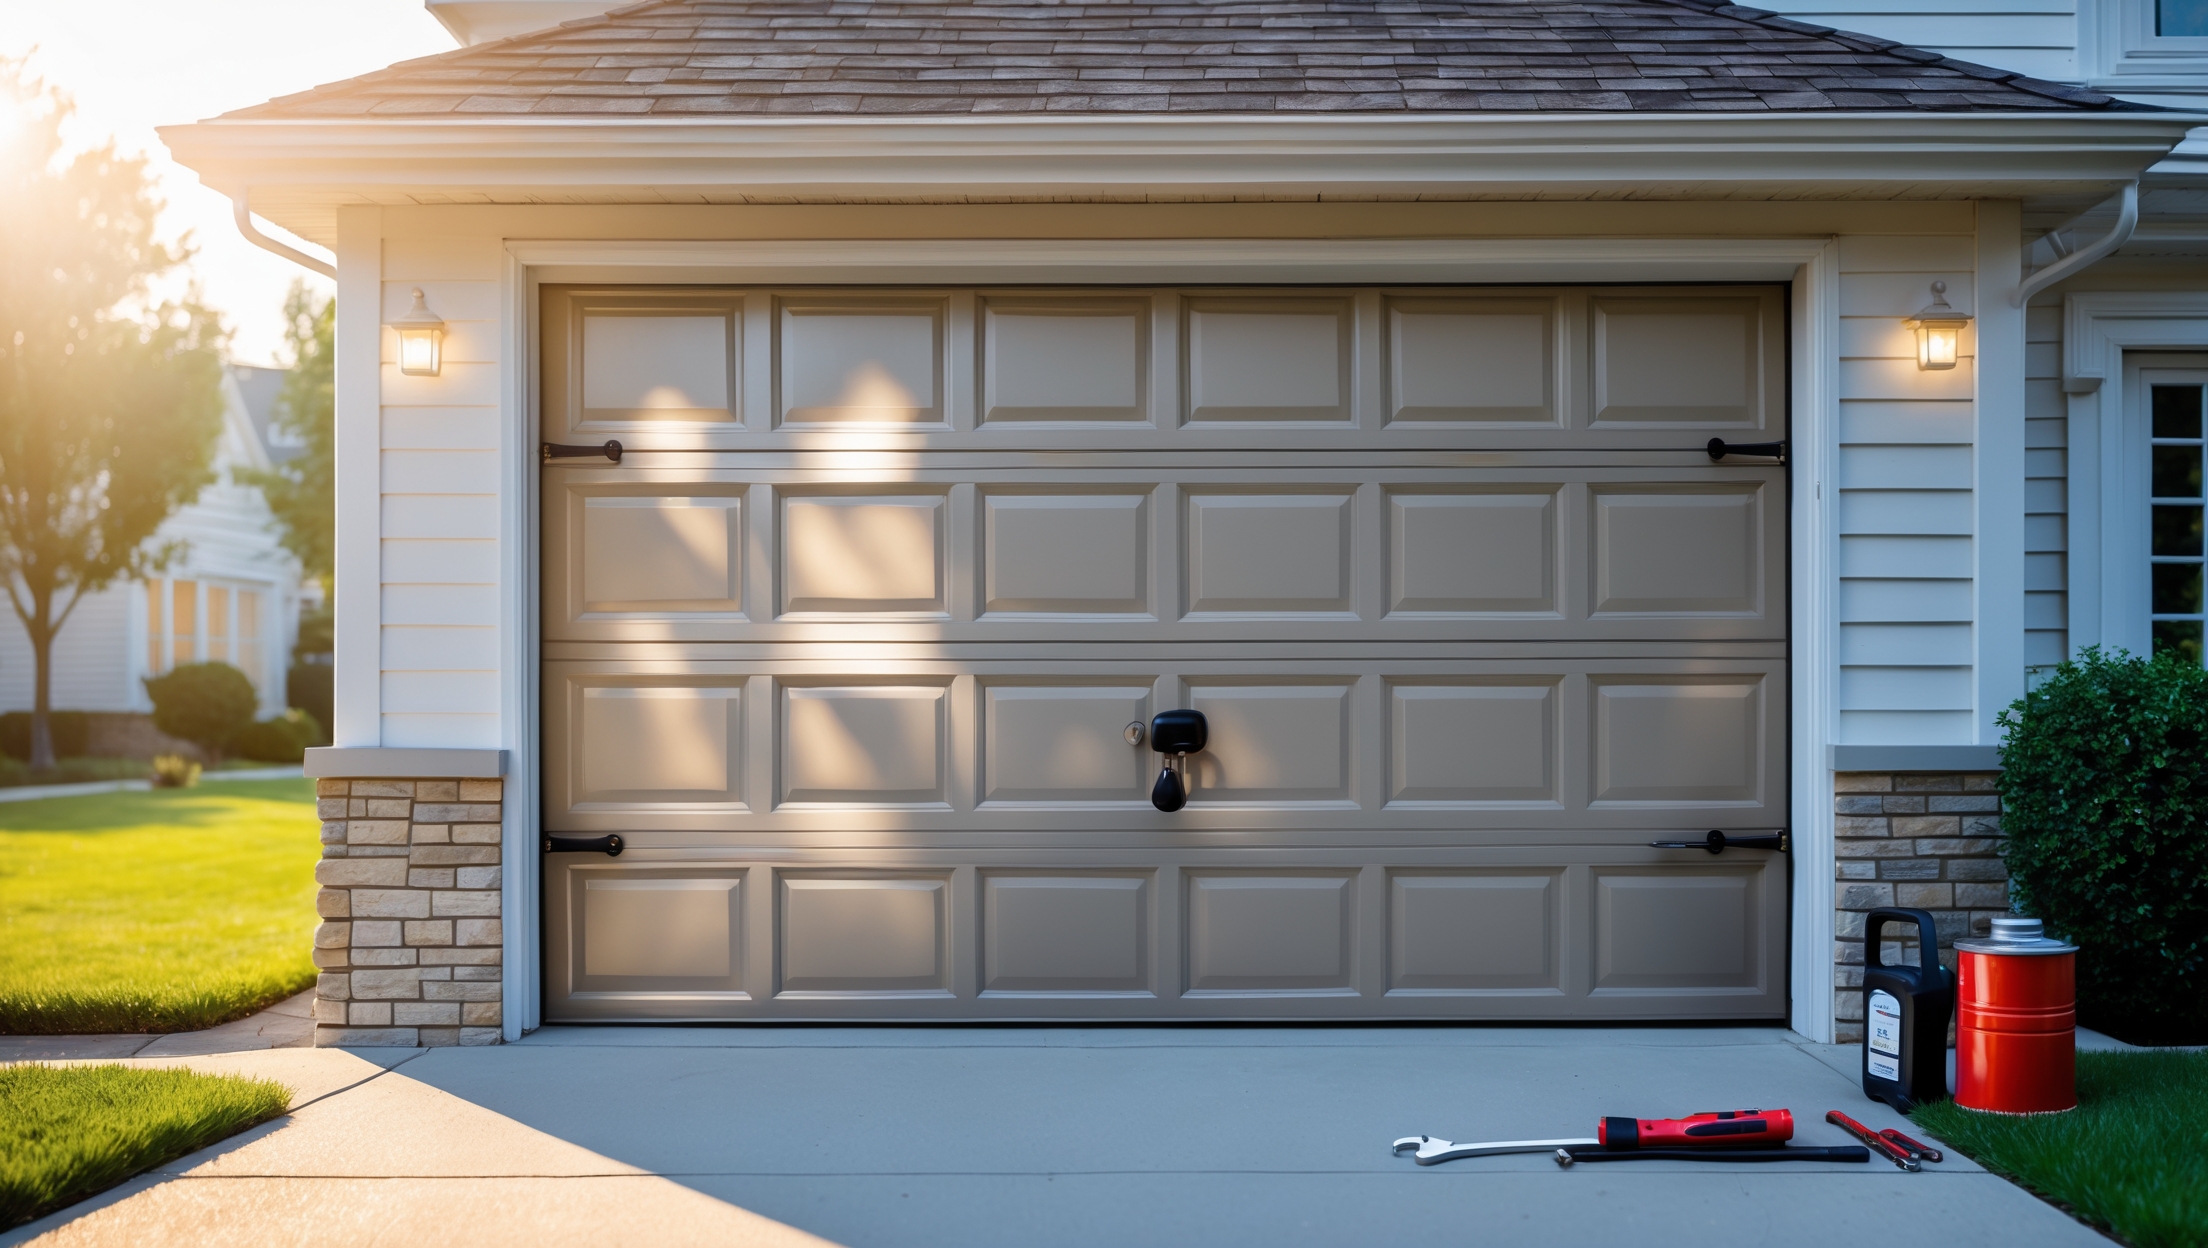
Understanding Garage Door Anatomy: The Essentials
Before you begin seasonal maintenance, it’s important to understand the basic components of your garage door system. Familiarity with these parts will help you identify issues, perform maintenance confidently, and communicate clearly with professionals if needed.
- Panels: The sections that make up the door itself. Materials range from steel and aluminum to wood and composite.
- Tracks: Metal rails running vertically and horizontally, guiding the door’s movement.
- Springs: Torsion or extension springs counterbalance the door’s weight, making it easier to lift.
- Rollers: Wheels that move along the tracks, supporting smooth motion.
- Hinges: Connect the panels and allow the door to bend as it opens and closes.
- Weatherstripping: Seals edges to prevent drafts, moisture, and debris.
- Opener: The motorized unit that automates opening and closing.
- Safety Sensors: Infrared devices at the base of the door that prevent accidental closing on objects or people.
Spring Maintenance: Refresh and Inspect After Winter
1. Inspect Door Balance and Alignment
Extreme winter temperatures can affect garage door components, causing misalignment. To test balance, disconnect the opener (usually by pulling the release cord) and manually lift the door halfway. If it stays in place, it’s balanced. If it falls or rises, the springs may need adjustment. Never attempt spring adjustment yourself—this is a job for professionals due to high tension.
2. Clean Door Panels and Tracks
Salt, grime, and debris accumulate during winter months. Use a mild detergent and soft cloth to clean the door’s exterior and interior. Vacuum tracks to remove dust and grit—avoid using water on tracks, as moisture can encourage rust.
3. Lubricate Moving Parts
Apply a garage door lubricant (never WD-40, which is a cleaner, not a lubricant) to the following:
- Hinges
- Rollers (metal only, avoid lubricating nylon wheels)
- Springs
- Bearing plates
- Pulleys
Wipe away excess to prevent drips.
4. Inspect Weatherstripping
Check the bottom seal and perimeter weatherstripping for cracks, tears, or flattening. Replace any damaged sections to keep out spring rains and pests.
5. Test Auto-Reverse Safety Features
Place a 2×4 piece of wood flat on the ground where the door closes. Close the door—if it doesn’t reverse immediately upon contact, adjust the opener’s force and travel settings or consult a professional. Also, test photo-eye sensors by waving an object in their path as the door closes; it should reverse direction.
Summer Maintenance: Combat Heat and Humidity
1. Inspect and Tighten Hardware
Vibration from frequent use can loosen bolts, nuts, and screws. With a socket wrench, tighten all visible fasteners on the tracks, hinges, and opener mounting brackets.
2. Examine Door Finish and Paint
Sun exposure can fade paint, especially on wooden and steel doors. Inspect for peeling, bubbling, or bare spots. Sand and repaint or reseal as needed to prevent moisture intrusion and rust.
3. Check for Track Alignment Issues
Heat can cause expansion, potentially warping tracks. Using a level, ensure tracks are plumb and straight. Minor adjustments can be made by loosening mounting brackets, gently tapping tracks into place, and retightening. For severe misalignment, call a professional.
4. Clean and Lubricate Opener Chain/Belt
Dust and debris can build up on the opener’s drive mechanism. Wipe the chain or belt with a dry cloth and apply a small amount of recommended lubricant (chain drive only; belt drives rarely require lubrication).
5. Inspect Cables for Fraying or Wear
Examine lift cables for broken strands or rust. Do not attempt to repair cables yourself—if you see damage, schedule professional replacement immediately to avoid sudden failure.
Fall Maintenance: Prepare for Cold and Wet Weather
1. Deep Clean Tracks and Rollers
Leaves, dust, and autumn debris can clog tracks and rollers. Use a vacuum and damp cloth to remove buildup. Check rollers for chips, cracks, or excessive wobble; replace if necessary.
2. Test Door Insulation
If your garage is attached to your home, insulation is vital for energy efficiency. Inspect the door’s insulation panels for gaps or water damage. Add or replace insulation as needed to keep cold air out and utility bills down.
3. Replace Weatherstripping and Thresholds
With winter approaching, a tight seal is essential. Re-examine seals installed in spring and replace any that have worn out or pulled away from the frame. Consider installing a new door threshold for added protection against drafts and water.
4. Check Opener Battery and Backup Systems
Many modern openers include battery backups to ensure operation during power outages. Test the battery by unplugging the opener and attempting to open the door. Replace batteries as needed, and verify manufacturer-recommended service intervals.
5. Confirm Auto-Close and Security Settings
Fall is a good time to confirm that automatic closing timers and security lighting are functioning. Check that remote controls and keypads are responsive, and change codes if necessary for added security.
Winter Maintenance: Ensure Reliable Cold-Weather Operation
1. Remove Ice and Snow Buildup
Clear snow and ice from around the door’s base and tracks after each storm. Frozen obstructions can cause door misalignment, strain the opener, and damage weatherstripping.
2. Lubricate in Cold Temperatures
Cold weather thickens lubricants, leading to noisy operation and increased wear. Reapply a silicone-based lubricant to moving parts as needed, and operate the door a few times to distribute oil evenly.
3. Monitor Door Movement and Listen for Noises
Winter stresses components—listen for grinding, squeaking, or jerky movement. If you observe unusual sounds or resistance, inspect for ice, debris, or worn parts.
4. Inspect for Water Intrusion
Check the door’s perimeter for water leaks after heavy snow or ice melt. If moisture is detected, inspect seals and thresholds for gaps and replace as needed to prevent mold and corrosion.
5. Test Manual Release Mechanism
In case of power outages, the manual release allows you to open the door by hand. Test it to ensure smooth disengagement and re-engagement—frozen or stuck releases should be thawed and lubricated immediately.
Essential Tools and Supplies for Garage Door Maintenance
- Socket and adjustable wrenches
- Screwdrivers (Phillips and flat-head)
- Level
- Soft rags and cleaning cloths
- Vacuum cleaner or handheld shop vac
- Garage door lubricant (silicone or lithium-based)
- Replacement weatherstripping and seals
- Paint or wood sealant (for wooden doors)
- Safety glasses and gloves
- Step ladder
Safety Precautions: Don’t Skip These Steps
- Unplug the opener before performing any work on the opener unit.
- Never adjust torsion springs or cables—these are under extreme tension and can cause severe injury. Always hire a professional for spring or cable repairs.
- Wear safety glasses and gloves when cleaning, lubricating, or tightening hardware.
- Keep children and pets away from the work area.
- Test the door’s safety features after any maintenance to ensure they function correctly.
Troubleshooting Common Garage Door Issues
1. Door Won’t Open or Close
Check for obstructions in the tracks, dead opener batteries, and tripped safety sensors. If the opener motor runs but the door doesn’t move, the trolley may be disengaged or the springs may have failed (call a professional).
2. Noisy Operation
Squeaks are often caused by dry hinges or rollers; apply lubricant. Grinding or popping sounds may indicate worn bearings or rollers, which should be replaced.
3. Sagging or Crooked Door
This usually points to spring or cable issues—do not attempt DIY repair. Call a qualified technician.
4. Door Reverses Before or After Touching Floor
Adjust the opener’s travel and force limits according to the manufacturer’s instructions, and clean the photo-eye sensors.
5. Remote Control or Keypad Not Responding
Replace batteries, check for signal interference, and reprogram devices as needed. If issues persist, consult your opener’s manual or manufacturer support.
When to Call a Professional
While many maintenance tasks are DIY-friendly, certain issues require a trained technician:
- Broken or unbalanced springs
- Frayed or snapped cables
- Severely bent or misaligned tracks
- Repeated opener malfunctions
- Major door or panel damage
Do not attempt repairs on high-tension components. Professional servicing may also be required for annual tune-ups, especially if your door is used multiple times daily or is more than five years old.
Conclusion: Keep Your Garage Door Reliable with Seasonal Care
Garage door maintenance is one of the most cost-effective ways to protect your home, your safety, and your investment. By following this expert seasonal checklist, you can prevent most common issues before they become expensive repairs. Regular cleaning, inspection, and lubrication help ensure smooth operation, extend the lifespan of your door, and reduce the risk of inconvenient breakdowns.
While many tasks are well-suited to the average homeowner, always remember that certain components—especially springs and cables—require professional handling due to the dangers involved. Don’t hesitate to call a qualified technician for major adjustments or if you encounter persistent problems. With a little time and attention each season, your garage door will continue to provide secure, reliable access for years to come.
Set reminders for these maintenance steps, keep tools and supplies on hand, and make garage door care a regular part of your home improvement routine. The peace of mind, energy savings, and repair cost avoidance are well worth the small investment of effort each season.
When it comes to weather-stripping as part of fall maintenance, do you recommend any particular materials or installation tips that hold up best in areas with harsh winters?
For harsh winters, I recommend heavy-duty rubber or vinyl weather-stripping, as these materials stay flexible in cold temperatures and seal out drafts effectively. Make sure to clean the surface thoroughly before installation and press the strip firmly in place. For extra durability, use screws instead of just adhesive, especially on the bottom seal. Regularly check for cracks or gaps before winter sets in.
When inspecting the torsion or extension springs for seasonal maintenance, is there a safe way for a homeowner to check their condition without risking injury, or should this always be left to a professional?
Inspecting garage door springs can be dangerous because they are under high tension. Homeowners can visually check for signs like rust, gaps, or stretched coils from a safe distance, but should not touch or adjust the springs themselves. For any hands-on inspection, adjustment, or replacement, it’s safest to call a professional to avoid potential injury.