
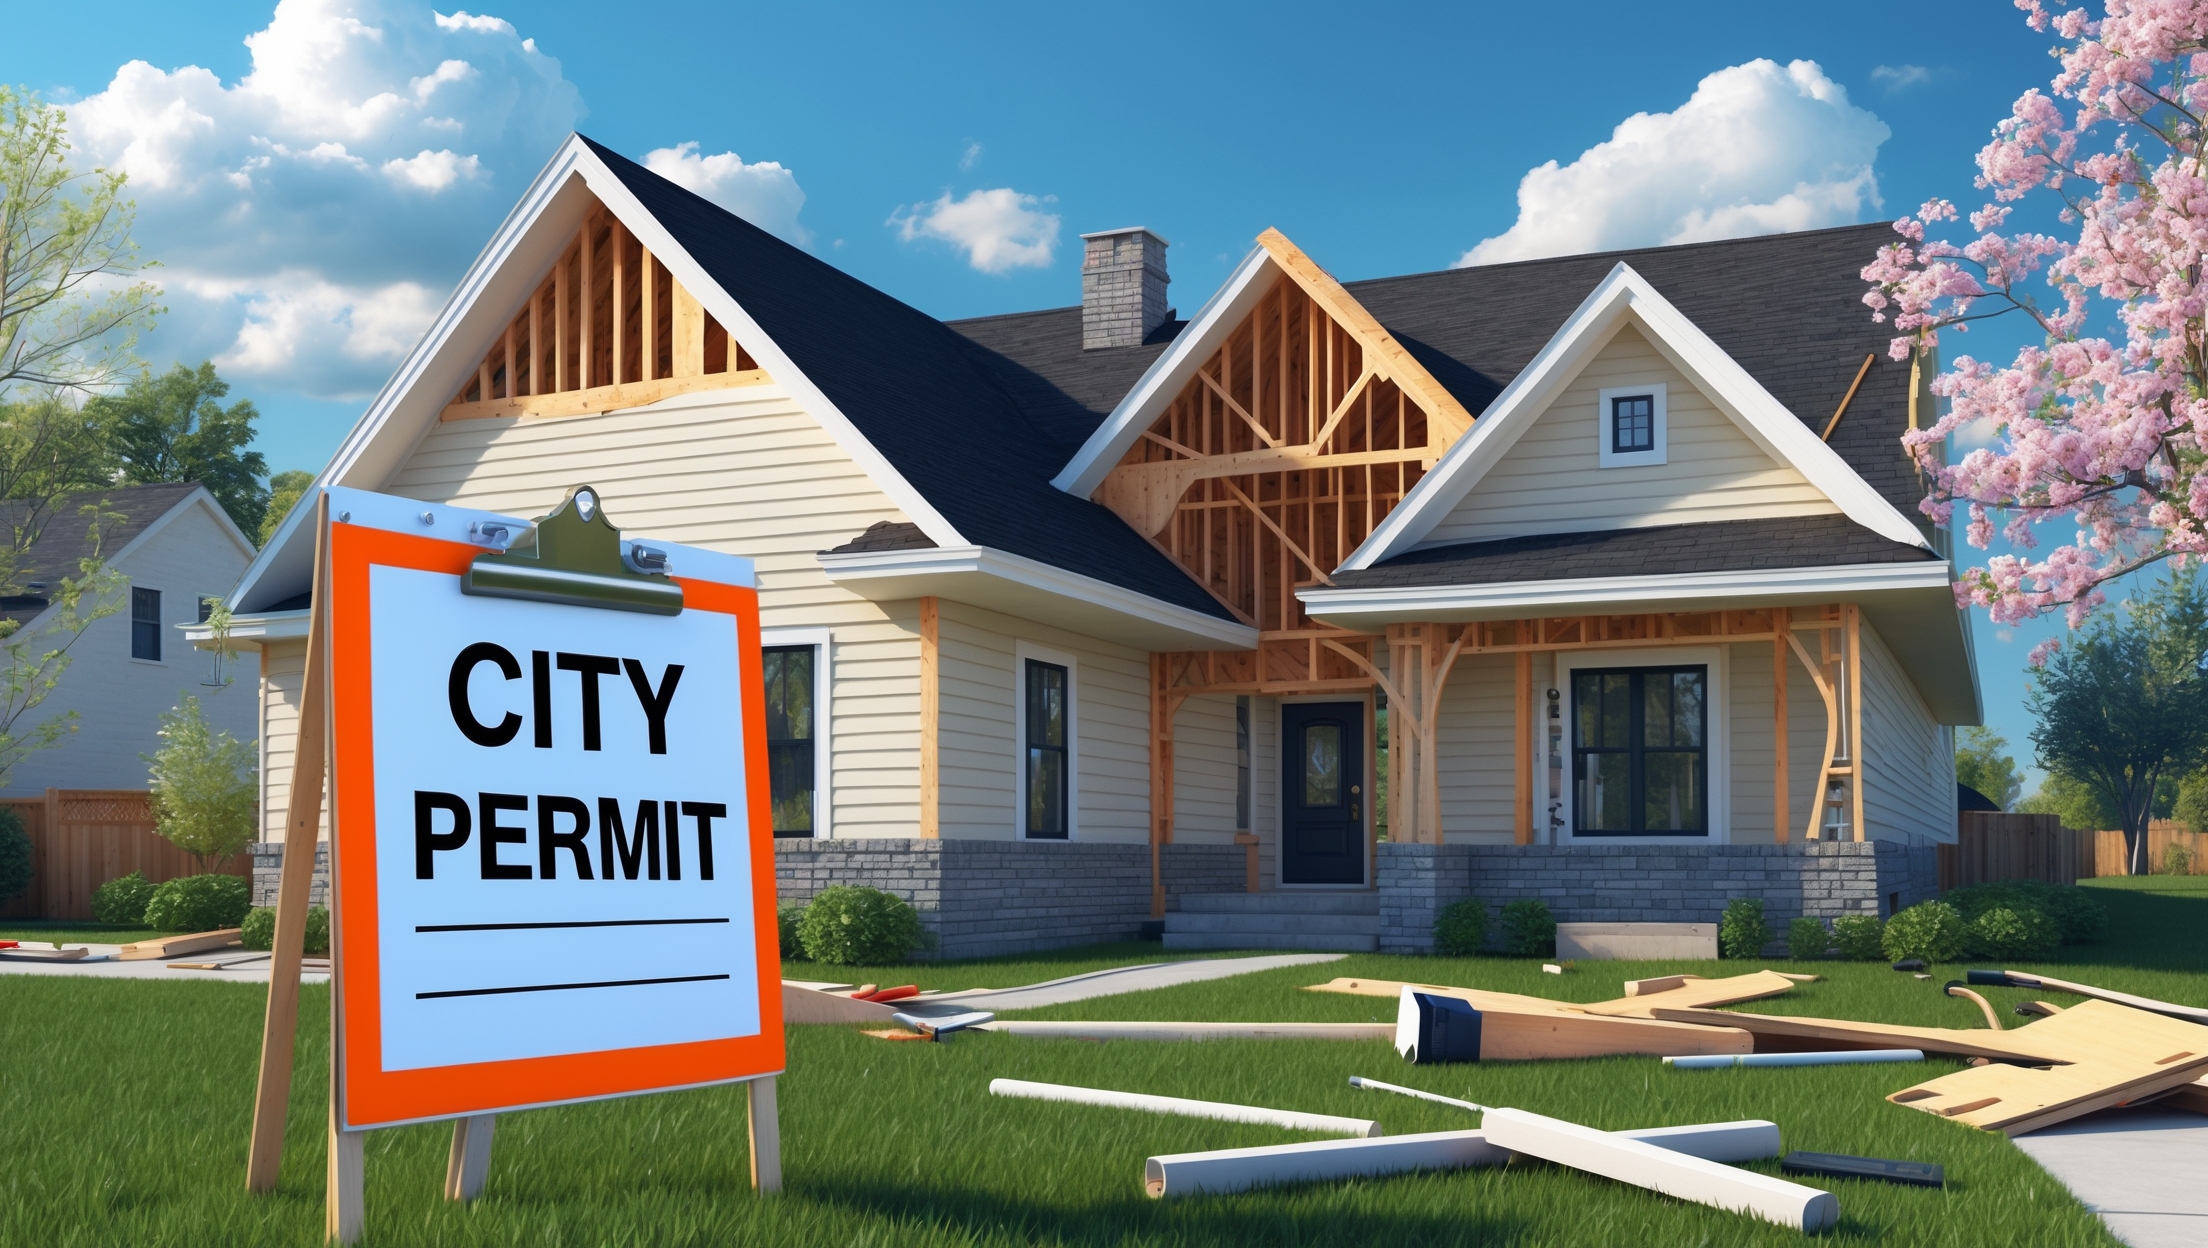
Home Improvement Permit Inspections: What to Expect, Prepare, and Avoid
Introduction: Demystifying the Home Improvement Permit Inspection
Undertaking a home improvement project can be both exciting and daunting, especially when local regulations require official permits and inspections. For many homeowners, the inspection phase is the most nerve-wracking part of the process. Will your project pass muster, or will you be sent back to the drawing board with a list of corrections? Understanding what to expect during a permit inspection—and how to prepare for it—can mean the difference between a smooth, on-time renovation and costly setbacks.
This guide provides a comprehensive look into the world of home improvement permit inspections. Whether you’re adding a new room, updating electrical systems, or installing a deck, the inspection process is a crucial checkpoint designed to ensure work is safe, up to code, and compliant with local ordinances. We’ll break down who inspects your project, what inspectors are looking for, how to prepare, and the common pitfalls homeowners encounter. By equipping yourself with this knowledge, you’ll not only reduce stress but also increase your project’s chances of passing the first time—saving you both time and money.
Understanding the Permit Inspection Process
Why Inspections Are Required
Permit inspections exist to protect homeowners, future occupants, and the wider community. They ensure that construction, remodeling, or repair work adheres to established safety standards, building codes, and zoning regulations. Skipping or failing an inspection can result in fines, forced rework, or even legal action. Most insurance policies also require code-compliant work for continued coverage.
When Inspections Are Needed
Inspections are typically required at various milestones during a project, not just at the end. Common inspection points include:
- Foundation: Before pouring concrete or setting posts.
- Framing: After structural work but before walls are closed.
- Rough-In: For plumbing, electrical, and HVAC systems before they’re concealed.
- Insulation: Before drywall installation.
- Final: After all work is completed, before occupancy or use.
The exact sequence and number of inspections depends on your local jurisdiction and the scope of your project. Always consult your permit documentation or local building department for specifics.
Who Performs the Inspections?
Inspections are carried out by licensed officials employed by your city or county’s building department. Inspectors are typically specialists in structural, electrical, plumbing, or mechanical systems. Depending on your project, you may have multiple inspectors visit at different stages.
Inspectors are not adversaries; their role is to ensure your project is safe, code-compliant, and properly documented. Treat them as partners in the process, and don’t hesitate to ask questions.
What Inspectors Look For: Key Focus Areas
- Code Compliance: Does the work meet current building, electrical, plumbing, and energy codes?
- Safety: Are critical safety elements—like fire blocking, egress, and GFCI outlets—properly installed?
- Proper Materials and Methods: Are approved materials used, and are they installed according to manufacturer and code requirements?
- Plan Consistency: Does the completed work match the approved plans and permit scope?
- Documentation: Are permits and plans available on-site for review?
Inspectors may also look for unpermitted work, which can lead to additional scrutiny or citations.
How to Prepare for Your Inspection
1. Review Approved Plans and Permit Documents
Before your inspection, carefully review your approved plans, permit conditions, and any notes provided by the building department. Make sure all required work is completed up to the inspection point. Any deviation from the approved plans should be formally documented and, if necessary, pre-approved by the building department.
2. Complete Required Work and Clean the Area
Ensure that all work scheduled for inspection is fully complete. Partial or rushed work is a common reason for failed inspections. Remove debris, tools, and materials from the area to give inspectors clear access to all relevant components.
3. Make Documentation Readily Available
Have your approved plans, permits, inspection checklist, and any manufacturer’s installation instructions on-site and easily accessible. Some inspectors may require you to show product labels, certifications, or energy compliance forms.
4. Double-Check Critical Details
Some of the most frequently cited issues during inspections come down to small but critical errors, such as missing fasteners, improper clearances, or incorrect wiring connections. Use a detailed checklist tailored to your project type to catch these before the inspector arrives.
5. Schedule the Inspection Appropriately
Don’t rush to schedule the inspection before you’re ready. Many building departments have online portals or hotlines for scheduling. Provide accurate details about the type of inspection and stage of work so the appropriate inspector is assigned. Be present, or have your contractor present, during the inspection to answer questions in real time.
Common Mistakes That Lead to Inspection Failures
- Work Not Ready: Calling for an inspection before the stage is truly complete.
- Obstructed Access: Inspectors can’t see what they need due to materials, locked doors, or poor lighting.
- Missing Documentation: No plans, permits, or manufacturer instructions available for review.
- Unapproved Changes: Field changes to design or materials without updated approval.
- Code Violations: Improper spacing, fasteners, electrical connections, or fire safety measures.
- Unpermitted Work: Additional work done without necessary permits, leading to stop-work orders.
- Poor Craftsmanship: Sloppy or unsafe workmanship, such as exposed wiring or loose railings.
Detailed Step-by-Step: Preparing for a Typical Inspection
Step 1: Understand the Scope and Requirements
Consult your permit application and approved plans to confirm what will be inspected. For example, a rough electrical inspection will focus on wiring, boxes, and panel connections before walls are closed up.
Step 2: Use a Tailored Inspection Checklist
- For electrical: Check wire gauge, breaker sizes, GFCI/AFCI placement, box fill, and labeling.
- For framing: Verify lumber size, fastener placement, header spans, and fire blocking.
- For plumbing: Confirm pipe supports, pressure testing, vent locations, and fixture placement.
- For decks: Ensure correct footing depth, ledger attachment, and guardrail height.
Many building departments provide sample checklists online. Review them thoroughly.
Step 3: Prepare the Site
- Clear away all debris, tools, or personal items from inspection areas.
- Ensure access to crawl spaces, attics, or panels.
- Provide adequate lighting—even during daytime hours, bring a work light if needed.
- Secure pets in another area.
Step 4: Review Documentation
- Have all plans and permits printed and on-site, not just digital versions.
- Include any required engineering letters or product certifications.
- If you made minor field changes, attach approved amendment documentation.
Step 5: Be Present and Prepared to Answer Questions
During the inspection, be available to answer questions, demonstrate features, or provide additional documentation. Avoid arguing with the inspector; if you disagree with a finding, ask for clarification or request the code section in question. Most inspectors are willing to explain their rationale.
What Happens During the Inspection?
On inspection day, the inspector will arrive during the scheduled window. They will check in with the homeowner or contractor, review your plans and permits, and then proceed to methodically inspect the relevant work. They may use ladders, meters, or other tools. Inspections typically last 15–60 minutes, depending on complexity.
If the work passes, you’ll receive a written approval or digital record, and you can proceed to the next stage. If issues are found, the inspector will issue a correction notice, detailing what must be fixed before re-inspection. Significant code violations or unpermitted work can result in stop-work orders.
How to Handle Failed Inspections
Review the Correction Notice
Read the inspector’s notes carefully. Make sure you understand each required correction and the code section cited. If something is unclear, contact the inspector or building department for clarification.
Document Corrections
Take photos and keep records of all corrections made. This can help resolve disputes or demonstrate compliance during re-inspection.
Reschedule Promptly but Only When Ready
Avoid rescheduling until all corrections are complete. Multiple failed inspections can lead to additional fees and closer scrutiny of your project.
Tips for a Smooth Inspection Experience
- Be polite, prepared, and flexible—inspectors appreciate professionalism.
- Keep a running log of all inspections, corrections, and approvals for your own records.
- Ask for advice or clarifications; most inspectors are happy to provide guidance for compliance.
- If you’re unsure about code requirements, consult with a licensed contractor or building official before inspection day.
- Don’t attempt to cover or conceal work before it’s inspected and approved.
Special Considerations for DIY Homeowners
If you’re acting as your own contractor, you bear full responsibility for compliance. Some tips include:
- Attend free code seminars or online workshops offered by your local building department.
- Ask for pre-inspection walk-throughs if available—some offices offer this for complex projects.
- Document every stage of your work with photos and notes, especially before closing up walls or foundations.
- Don’t hesitate to hire a licensed professional for critical tasks—especially electrical, plumbing, or structural work.
After the Final Inspection: Next Steps
Once your project passes the final inspection, you’ll typically receive a certificate of occupancy or completion. This document is critical for insurance, refinancing, or future sales. File all inspection records, permits, and approvals in a safe place, as you may need them years down the line.
If you plan further improvements, use this experience to build a smoother process next time. Stay up-to-date with code changes, as requirements can evolve every few years.
Conclusion: Turning Inspection Anxiety into a Smoother Project
The permit inspection process doesn’t have to be a source of stress or uncertainty. By understanding what inspectors look for, preparing diligently, and approaching the process with professionalism, you can dramatically increase your odds of a successful outcome. Remember, inspections are not a bureaucratic hurdle—they are a vital safeguard for your safety, investment, and peace of mind. They protect you from hidden hazards, ensure your work is up to standard, and provide valuable documentation for the future.
Whether you’re a first-time DIYer or a seasoned renovator, taking the time to prepare for inspections will pay off in fewer delays, lower costs, and a smoother path to project completion. Use the tips, checklists, and best practices outlined here as your roadmap. With the right approach, you’ll find that inspections are not obstacles, but milestones on your journey to a safer, more beautiful home.