
Essential Safety Checklist for DIY Electrical Projects at Home
Introduction: Why Electrical Safety Is Non-Negotiable
Embarking on a DIY electrical project can be both empowering and cost-effective, but it is not an area where shortcuts are ever safe. Home electrical work—whether as simple as swapping a light fixture or as involved as installing new outlets—demands a meticulous approach to safety and compliance. Mistakes can result not just in property damage or failed inspections, but in serious injuries or even fatalities. According to the National Fire Protection Association (NFPA), electrical failures or malfunctions are a leading cause of home fires in the United States, many of which are preventable with proper precautions. This comprehensive guide provides an actionable, step-by-step safety checklist for homeowners planning electrical improvements. Whether you’re a seasoned DIYer or a beginner eager to learn, this post covers essential personal protective equipment, code compliance, tool safety, common pitfalls, and final testing. By following these best practices, you can dramatically minimize risks and ensure your project meets both your expectations and your local building codes.
Understanding Your Project’s Scope and Risks
Assessing Project Complexity
Before touching a single wire, define the exact scope of your project. Are you replacing an existing light fixture, adding outlets, or running new circuits? Each task varies in complexity and risk. For anything beyond minor repairs, consult your local building department about permit requirements and consider professional help for high-voltage or service panel work.
Common DIY Electrical Hazards
- Electrical Shock: Even household currents can be fatal. Never assume a wire is dead without testing.
- Arc Flash: Faulty connections can cause dangerous arcs, leading to burns or fires.
- Overloading Circuits: Poor planning or improper upgrades can result in overloaded circuits, tripped breakers, or fire hazards.
- Code Violations: Non-compliant work risks legal issues, failed inspections, and insurance denial.
Essential Pre-Project Safety Steps
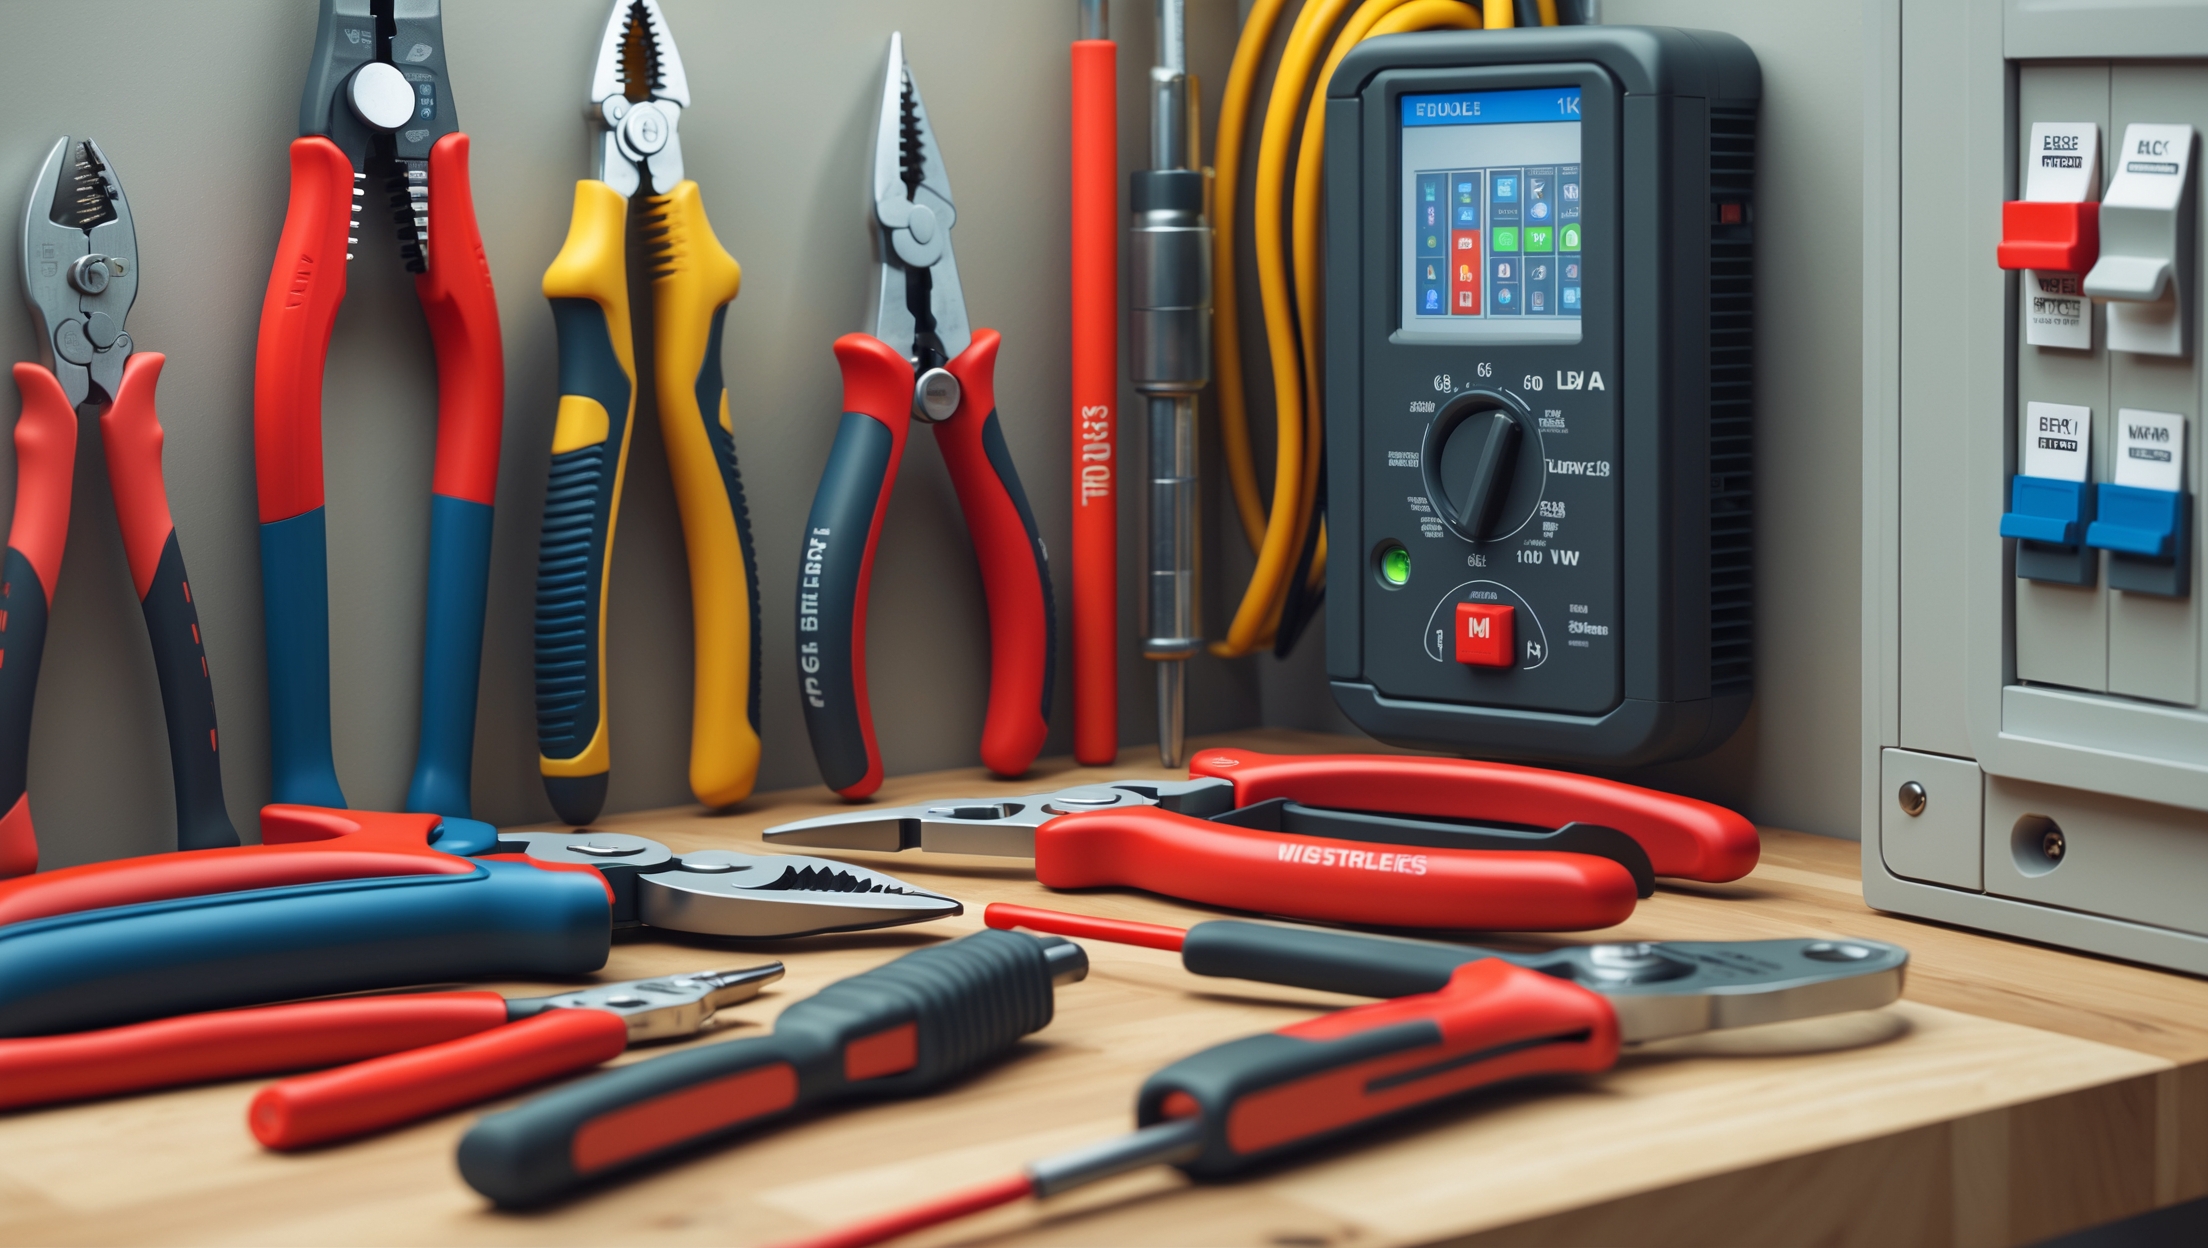
1. Gather Required Tools and Safety Gear
- Insulated Screwdrivers and Pliers: Only use tools rated for electrical work (look for VDE or ASTM certification).
- Voltage Tester/Non-Contact Voltage Detector: Absolutely essential for confirming circuits are de-energized.
- Wire Strippers and Cutters: Choose a size-matched tool for your project’s wire gauge.
- Personal Protective Equipment (PPE): Safety glasses, dielectric gloves, and rubber-soled shoes reduce shock risk.
- Headlamp or Portable Work Light: Ensures visibility in dark or cramped spaces.
2. Understand Local Electrical Codes and Permits
Electrical codes exist to protect you and future occupants. Contact your local building department or review the National Electrical Code (NEC) for:
- Permit requirements for your project type
- Wire sizing and type
- GFCI/AFCI protection mandates
- Box fill calculations and grounding rules
Failure to follow code can result in unsafe installations and costly redo work. Never skip this step.
3. Plan Your Work Area
- Clear the workspace of clutter and moisture.
- Inform household members about the work schedule and areas to avoid.
- Lay out tools and materials for easy access—never fumble for parts with wires exposed.
Step-by-Step DIY Electrical Safety Checklist
1. Shut Off Power at the Breaker Panel
- Identify the correct circuit breaker for your project area using the breaker panel’s directory.
- Switch off the breaker and tape it down with a warning label (“Do Not Turn On — Working On Circuit”).
- If working on multiple circuits, shut off the main breaker for ultimate safety.
2. Verify Power Is Off—Twice
- Use a non-contact voltage tester at the fixture, outlet, or junction box before touching any wires.
- Test your tester on a known live outlet first to confirm it’s functioning.
- Recheck after moving wires or breaking connections.
3. Inspect Existing Wiring and Connections
- Look for damaged insulation, corrosion, burnt marks, or loose connections.
- If you find aluminum wiring (common in homes built 1965-1973), consult a licensed electrician before proceeding.
- Do not attempt repairs with undersized or mismatched wires.
4. Use Proper Wire and Component Sizing
- Check the ampacity (current-carrying capacity) of both the new and existing wiring.
- Match wire gauge to the circuit’s breaker/fuse rating (e.g., 14 AWG for 15-amp, 12 AWG for 20-amp circuits).
- Use only UL-listed outlets, switches, and junction boxes.
5. Ground Everything
- Connect grounding wires securely using approved connectors or screws.
- Install GFCI (Ground Fault Circuit Interrupter) outlets in kitchens, bathrooms, garages, basements, and outdoor locations.
- If upgrading outlets, ensure “self-grounding” types or connect a ground wire to the box if metallic.
6. Secure and Protect All Wiring
- Route wires through code-compliant conduit or behind walls—never leave exposed cable in living areas.
- Use cable clamps and bushings to prevent abrasion.
- Follow box fill calculations: overfilling junction boxes is a fire hazard and code violation.
7. Make Solid, Neat Connections
- Strip wires to the correct length (typically 3/4 inch).
- Twist wires together tightly before applying wire nuts or push-in connectors.
- No bare copper should show outside the connector.
- Label wires if there’s any likelihood of confusion during reassembly.
8. Double-Check Before Energizing
- Inspect all connections for tightness and correct color coding (black/hot, white/neutral, green or bare/ground).
- Secure all device covers and plates.
- Remove tools and debris from the work area.
9. Restore Power Safely
- Stand to the side of the panel and turn breakers back on one at a time.
- Listen and look for any signs of trouble: buzzing, smoke, or tripped breakers indicate a problem—shut off power immediately if detected.
10. Test Everything Thoroughly
- Use a receptacle tester to verify correct wiring and GFCI/AFCI function.
- Test light fixtures and switches for proper operation.
- Check outlets for both power and ground continuity.
Critical Do’s and Don’ts for Home Electrical Safety
Do:
- Keep a fire extinguisher (Class C) nearby.
- Work during daylight hours or strong artificial light for maximum visibility.
- Take breaks. Fatigue increases mistakes.
- Document your work with photos for future reference or inspections.
- Consult an electrician if you’re unsure about any step—there’s no shame in asking for help.
Don’t:
- Work on energized circuits. Ever.
- Bypass fuses or breakers, or use “cheater” plugs.
- Use electrical tape as a substitute for proper connectors.
- Mix copper and aluminum wires without approved connectors.
- Force wires into undersized boxes.
Special Considerations: Older Homes and Unique Challenges
Identifying Outdated Wiring Systems
Homes built before the 1970s may feature knob-and-tube or cloth-insulated wiring, which are not suitable for modern electrical loads and often lack grounding. These systems require special handling and, in many cases, replacement. Do not attempt to modify or extend these systems without professional assessment.
Dealing with Limited Panel Capacity
If your breaker panel is already fully loaded or frequently trips, DIY upgrades may not be feasible without a panel upgrade. Overloading an undersized panel is a fire risk. Consult a licensed electrician for evaluation and possible expansion.
Compliance and Final Inspection Tips
Preparing for Inspection
- Have permit documentation available.
- Leave all connections accessible until the inspector approves.
- Be ready to explain materials and methods if requested.
Common Inspection Failures and How to Avoid Them
- Improper wire gauge for breaker size
- Lack of GFCI/AFCI protection
- Missing grounding conductors
- Overfilled boxes or inaccessible junctions
- Unlabeled or unclear panel directories
Address these issues in advance to ensure a smooth approval process.
Frequently Asked Questions About DIY Electrical Safety
Do I always need a permit for small projects?
It depends on your locality. Some areas exempt simple fixture swaps, but most require permits for new wiring, circuit extensions, or panel work. Always check first—unpermitted work can create problems during home sales or insurance claims.
Is it safe to upgrade outlets to GFCI myself?
In most cases, yes—if you follow all safety and code procedures. GFCI outlet installation is a common DIY upgrade, but always test after installation and ensure proper grounding.
Can I mix old and new wiring?
It’s possible, but only with compatible conductors and code-approved connectors. Never join copper and aluminum wires directly—special connectors are required to prevent corrosion and fire risk.
Conclusion: Take Control—But Prioritize Safety Above All
Tackling a home electrical project yourself can be an incredibly rewarding experience, giving you hands-on control over your living space and the satisfaction of a job well done. However, electrical work is not the place for improvisation or guesswork. The consequences of a single mistake can be severe, from code violations and failed inspections to life-altering injuries or house fires. By following the comprehensive safety checklist outlined above, you ensure not only your own well-being but also the safety of your family and future occupants. Remember: always shut off power, confirm it’s off, use the right tools and PPE, respect code requirements, and never hesitate to consult a licensed electrician when in doubt. Documenting your work and adhering to inspection protocols helps guarantee that your improvements are both durable and legally compliant. The upfront time and care you invest in safety will pay dividends in peace of mind and the enduring value of your home. Home improvement should be empowering—not hazardous. Prioritize safety, stay informed, and enjoy the confidence that comes from work done right.