
Essential Power Tool Maintenance: Extend Lifespan and Boost Safety at Home
Introduction: Why Power Tool Maintenance Matters for Every Homeowner
Power tools are the backbone of most home improvement projects, whether you’re installing new shelves, tackling a bathroom remodel, or simply maintaining your property. But while the right tool can make a job easier and faster, neglecting tool maintenance can quickly turn a DIY dream into a disaster. Poorly maintained power tools are not only less efficient and prone to sudden failures, but they also pose significant safety risks. In fact, tool-related accidents and unexpected project interruptions are most often traced back to overlooked cleaning, improper storage, or skipped routine checks.
This comprehensive guide dives deep into the practical steps every homeowner should take to keep their power tools in top condition. You’ll learn how to develop a maintenance routine, which tasks to perform after every use versus monthly or annually, and how proper care can save you hundreds of dollars over time. We’ll also address common troubleshooting scenarios, outline must-have cleaning supplies, and provide a detailed safety checklist. Whether you’re a seasoned DIYer or just starting to build your home workshop, these expert-backed strategies will help you extend the lifespan of your tools, ensure peak performance, and protect yourself and your family from avoidable hazards.
Understanding Power Tool Maintenance: The Basics
Why Maintenance is Non-Negotiable
Power tools, from drills and saws to sanders and impact drivers, are precision machines. Each contains moving parts, electrical components, and materials that can wear down or become contaminated over time. Regular maintenance ensures:
- Optimal performance and efficiency
- Longer tool lifespan
- Early detection of worn or faulty parts
- Greater safety for the user and bystanders
Key Maintenance Categories
- Cleaning: Removing dust, debris, and buildup from surfaces and vents
- Lubrication: Keeping moving parts working smoothly
- Inspection: Checking for wear, damage, and loose components
- Storage: Protecting against moisture, dust, and accidental drops
- Sharpening: Maintaining blades and bits for clean, safe cuts
Building Your Power Tool Maintenance Routine
After Every Use: The Essential Steps
- Unplug or Remove Battery: Always disconnect tools before maintenance.
- Wipe Down: Use a soft, dry cloth to remove sawdust, dirt, and moisture.
- Check Moving Parts: Ensure vents, triggers, and switches aren’t jammed or sticky.
- Inspect Power Cords: Look for fraying, cuts, or exposed wires.
- Clean Air Vents: Use compressed air or a small brush to keep ventilation areas clear.
Weekly and Monthly Tasks
- Deep Clean: Disassemble removable parts and clean more thoroughly.
- Lubricate: Apply manufacturer-recommended lubricants to gears and bearings.
- Check Fasteners: Tighten screws, bolts, and nuts as needed.
- Inspect Brushes (for corded tools): Replace carbon brushes if worn down.
- Test Safety Features: Confirm that guards, triggers, and safety locks function properly.
Annual and Seasonal Maintenance
- Full Disassembly (if comfortable): Clean and inspect internal components.
- Replace Worn Parts: Order replacements for blades, belts, or batteries showing signs of age.
- Professional Servicing: For high-end or specialty tools, consider an annual checkup at a certified repair center.
Cleaning Power Tools: Best Practices
Must-Have Cleaning Supplies
- Soft microfiber cloths
- Small nylon brushes or old toothbrushes
- Compressed air canister
- Non-abrasive degreaser
- WD-40 or dedicated cleaning oil (per manufacturer instructions)
- Lint-free rags
Step-by-Step Cleaning Process
- Disconnect: Unplug or remove the battery. Safety first.
- Surface Dust Removal: Use a dry cloth to wipe away loose debris.
- Detailing: Use brushes to clean crevices, vents, and around moving parts.
- Compressed Air: Blow out dust from motors and cooling fans.
- Spot Cleaning: For sticky residue, lightly dampen a cloth with degreaser and wipe. Avoid soaking electrical parts.
- Blade and Bit Care: Remove and soak in mineral spirits if gummed with sap or resin, then dry thoroughly.
Lubrication and Blade Sharpening: Keeping Tools Smooth and Safe
Lubricating Moving Parts
Over time, friction and heat can dry out moving parts, causing premature wear or overheating. Lubrication tips:
- Use only lubricants approved by your tool’s manufacturer.
- Apply sparingly; excess oil attracts dust and dirt.
- Focus on gears, bearings, and moving joints.
- Wipe away any excess before reassembling.
Sharpening Blades and Bits
- Check saw blades and drill bits for dullness or chips after each major project.
- Use a diamond file or specialized sharpening tool, or take to a professional sharpening service.
- Never operate a tool with a visibly damaged or severely worn blade or bit.
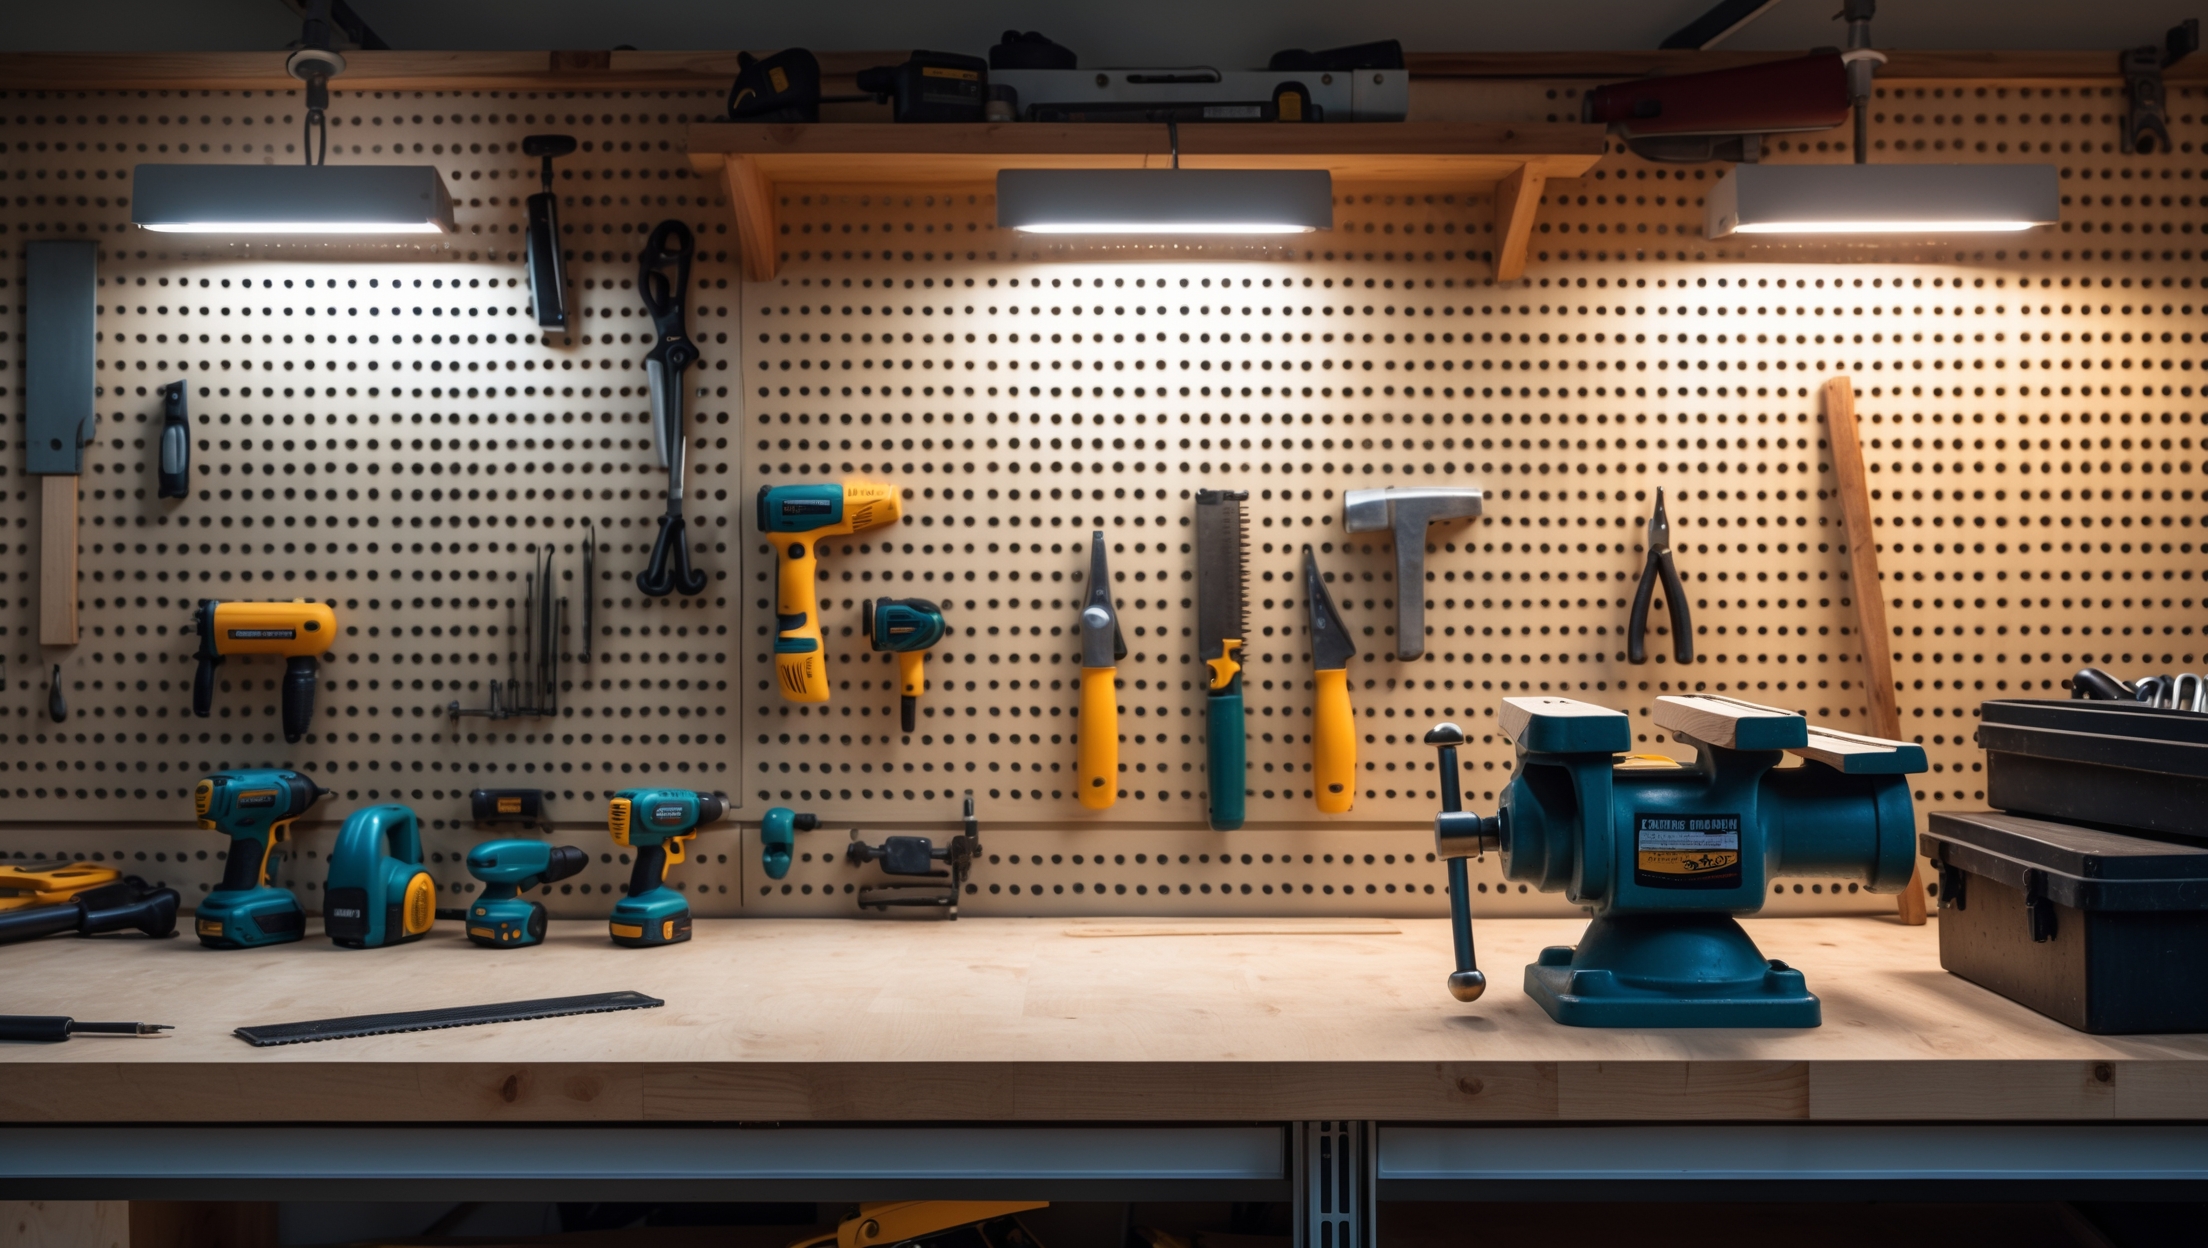
Proper Storage: Protecting Your Investment
Ideal Storage Conditions
- Dry, climate-controlled space to prevent rust and corrosion.
- Organized racks, shelves, or dedicated toolboxes to avoid accidental drops.
- Use silica gel packs or dehumidifiers in damp environments.
- Hang power cords in loose coils to prevent kinks or internal wire damage.
Battery Care for Cordless Tools
- Store batteries in a cool, dry place—never in direct sunlight or freezing temperatures.
- Charge batteries fully before long-term storage.
- Remove batteries from tools not in regular use.
- Inspect for swelling or leaks; discard faulty batteries according to local regulations.
Inspection and Troubleshooting: Spotting Problems Early
Visual and Functional Checks
- Look for cracks, chips, or bent parts on housings and attachments.
- Test switches and triggers for smooth operation without sticking.
- Listen for unusual noises (grinding, squealing) during operation.
- Smell for burning odors—often a sign of motor issues or electrical faults.
Common Issues and How to Fix Them
- Tool Won’t Start: Check power supply, fuses, and battery charge. Inspect cords for damage.
- Sparking or Smoking: Stop use immediately. Clean any dust from vents. If persists, replace brushes or consult a pro.
- Overheating: Clean air vents, check for over-lubrication, and avoid extended continuous use.
- Loss of Power: Replace worn brushes, inspect connections, and test with a known-good outlet or charger.
Safety Checklist: Reducing Risk with Every Project
- Always perform a pre-use inspection for visible damage or defects.
- Wear appropriate PPE: safety glasses, gloves, dust mask, and hearing protection.
- Use the right tool for the job—never force an undersized tool or attachment.
- Keep bystanders, especially children and pets, at a safe distance.
- Never bypass or remove safety guards or switches.
- Work in well-lit, uncluttered areas to avoid trips and falls.
- Unplug and store tools immediately after use.
Advanced Tips: Maximizing Tool Longevity
Keep a Maintenance Log
- Record purchase dates, major repairs, and regular maintenance for each tool.
- Helps track warranty eligibility and identify recurring issues.
Upgrade Storage Solutions
- Invest in modular storage systems or wall-mounted racks for high-use tools.
- Use foam cutouts or custom inserts to prevent tool movement during storage.
Schedule Preventative Maintenance
- Set calendar reminders for monthly, seasonal, and annual checks.
- Include less frequently used specialty tools in your routine.
Conclusion: Protecting Your Tools, Your Projects, and Yourself
Power tool maintenance isn’t just a chore—it’s an investment in your home, your safety, and your DIY success. Well-maintained tools deliver consistent performance, reduce the risk of unexpected breakdowns, and help ensure that every project you tackle is completed on time and to a high standard. Neglect, on the other hand, can lead to costly repairs, ruined materials, and dangerous accidents that are easily avoidable.
By following the strategies outlined in this guide, you can build a simple, sustainable maintenance routine that fits your schedule and your skill level. Clean your tools after every use, inspect them regularly, and don’t hesitate to replace worn parts or seek professional help for complex repairs. Remember: the few minutes you spend caring for your power tools will pay off every time you reach for them—saving you money, stress, and possibly even a trip to the emergency room.
Whether you’re a weekend warrior or an aspiring home renovation expert, disciplined power tool maintenance will keep your equipment safe, reliable, and ready for whatever improvements your home needs next. Start today, and enjoy the peace of mind that comes with knowing your most important DIY allies are always at their best.