
Drywall Repair Done Right: Cost, Tools, and Common Pitfalls to Avoid
Introduction: Why Proper Drywall Repair Matters
Drywall is the silent backbone of modern home interiors, providing a smooth canvas for paint, art, and decor. Yet, it’s prone to dents, cracks, and holes from everyday life—whether from moving furniture, doorknob bumps, or minor plumbing mishaps. When it’s time to tackle these imperfections, many homeowners underestimate what’s involved in a truly seamless repair. Botched patches, visible seams, and uneven finishes can stick out like sore thumbs, hurting both your home’s appearance and value. Conversely, a well-done repair becomes invisible, blending perfectly with the rest of the wall. In this comprehensive guide, you’ll discover the real costs behind drywall repair, the essential tools you need, and the most common mistakes—plus how to avoid them. Whether you plan to DIY or simply want to hire smarter, understanding these details will save you time, money, and frustration, ensuring your walls look flawless for years to come.
Understanding Drywall Damage: Types and Causes
Common Types of Drywall Damage
- Small Holes: Often caused by nails, screws, or wall anchors.
- Medium Holes: Damage from doorknobs, accidents, or minor plumbing work, typically 1-6 inches in diameter.
- Cracks: Result from settling, temperature fluctuations, or structural movement.
- Dents and Dings: Minor surface damage from impacts or furniture.
- Major Holes and Water Damage: Large sections compromised by leaks or physical force, sometimes requiring replacement.
Why Proper Assessment is Crucial
Misjudging the extent of damage is a leading cause of failed repairs. What looks like a small surface crack could hint at underlying structural issues or moisture problems. Always inspect for signs of moisture, mold, or recurring movement before repairing. Address the root cause—not just the symptom.
Cost Breakdown: What to Expect With DIY and Professional Repairs
DIY Drywall Repair Costs
DIY can be cost-effective for minor repairs, but costs add up quickly if you need to buy tools or materials. Here’s a realistic breakdown:
- Joint Compound: $8–$15 per tub
- Drywall Patch Kits: $10–$25 per kit (for holes up to 6 inches)
- Putty Knife Set: $10–$20
- Sandpaper/Sanding Block: $5–$15
- Utility Knife: $5–$12
- Primer and Paint: $25–$60 (small room, matching existing paint may require extra cost)
- Drywall Sheets (if replacing sections): $15–$25 each
Average DIY cost per repair: $20–$75 for small patches; $50–$150 for larger sections (excluding paint for entire rooms).
Professional Drywall Repair Costs
Hiring a pro ensures a seamless finish but involves labor costs:
- Minor repairs (holes < 2 inches): $75–$150
- Medium repairs (holes up to 6 inches): $150–$400
- Major repairs (large holes, water damage): $400–$1,200+
- Extras: Painting, texturing, and baseboard/trim work often cost more.
Obtain at least three estimates, and ask whether patching, sanding, and finish painting are included in the quoted price.
Essential Tools and Materials: What You Really Need
Basic Toolkit for Small Repairs
- Putty knives (2″ and 6″)
- Drywall saw or utility knife
- Sandpaper (120–220 grit) or sanding block
- Joint compound or spackle
- Drywall patch or mesh tape (for cracks and holes)
- Primer and matching paint
- Drop cloths and painter’s tape
Advanced Tools for Larger Jobs
- Drywall sheets (for replacement)
- T-square or straightedge
- Power drill and drywall screws
- Corner bead (for outside corners)
- Dust mask and safety glasses
- Vacuum or shop vac (for cleanup)
Tips for Tool Selection
Don’t skimp on quality—cheap putty knives or sanding blocks can leave marks or break mid-job. For occasional repairs, mid-range tools suffice. If you foresee ongoing repairs, invest in pro-grade tools for better control and durability.
Step-by-Step Drywall Repair: From Prep to Finish
1. Prep the Area
- Clear furniture and lay down drop cloths.
- Mask off adjacent trim or outlets with painter’s tape.
- Turn off nearby electrical circuits if cutting near wires.
2. Assess and Cut Out Damaged Section
- For holes or cracks, remove loose debris and damaged drywall.
- Cut a clean, square or rectangular opening for patches larger than 2 inches.
3. Install Backing (If Needed)
- For larger holes, secure a wood furring strip behind the opening for support.
4. Apply Patch and Secure
- Small holes: Use mesh patch or spackle.
- Large holes: Screw in a drywall patch cut to fit the opening.
5. Tape and Mud the Joints
- Apply joint tape over seams.
- Spread joint compound in thin layers, feathering edges for a smooth finish.
- Allow each coat to dry before sanding and adding the next.
6. Sand Smooth and Inspect
- Sand lightly between coats, using a bright flashlight to spot imperfections.
- Wipe down dust before the final coat.
7. Prime and Paint
- Apply a quality primer to prevent flashing (visible patch marks under paint).
- Finish with matching paint, blending outward from the repair.
Common Pitfalls and How to Avoid Them
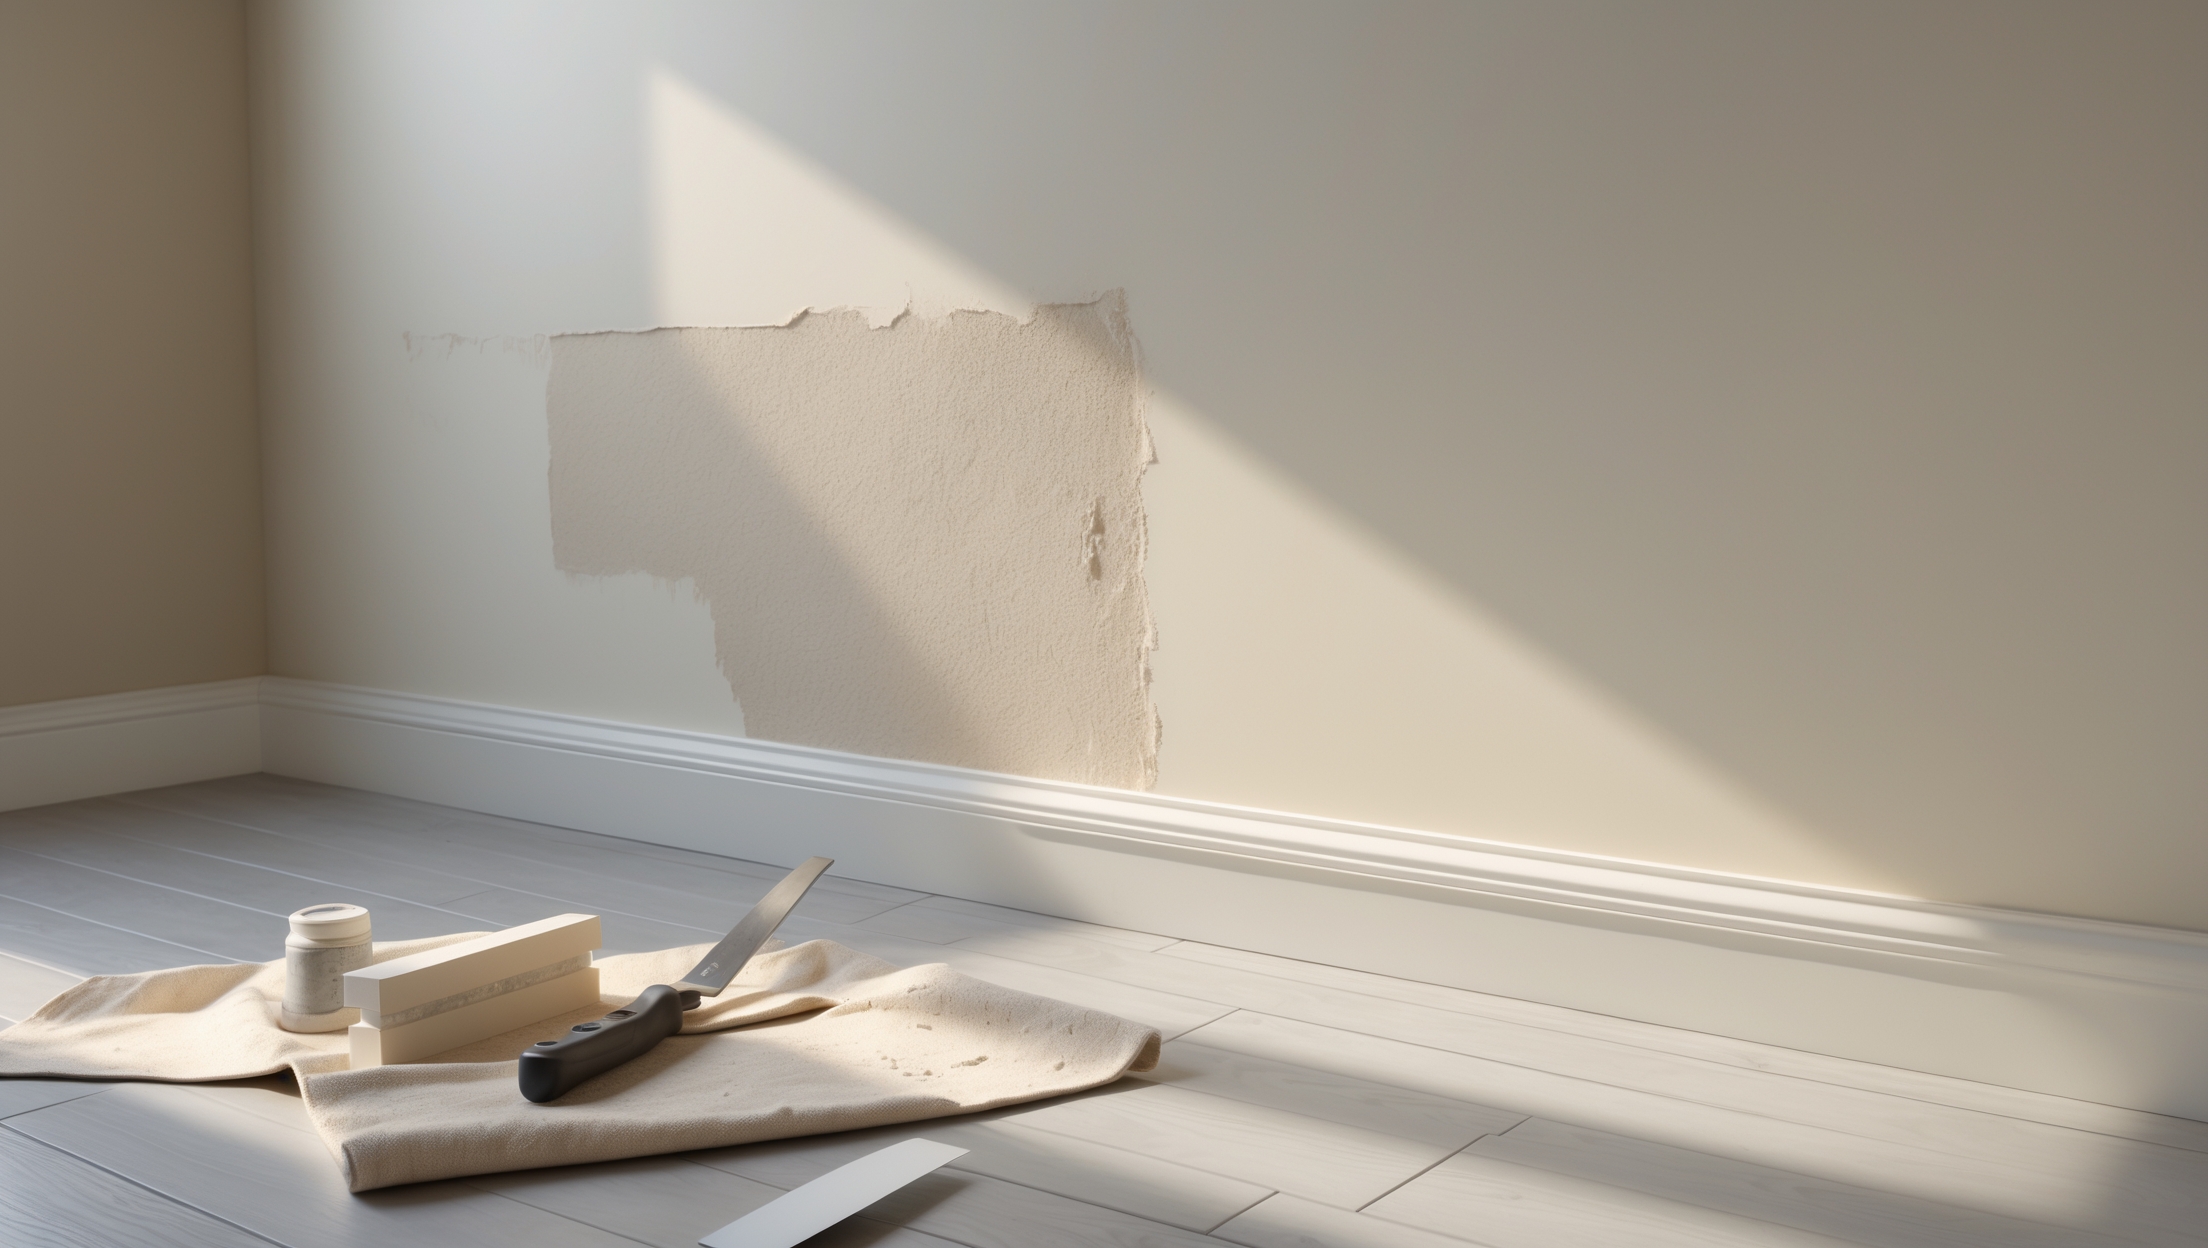
1. Skipping Surface Prep
Failing to clean or cut back to solid drywall leads to poor adhesion and recurring cracks. Always remove loose or crumbling material before patching.
2. Using the Wrong Patch Size or Type
Don’t use spackle or mesh for holes larger than 2 inches—they’ll sag or crack. Use rigid drywall patches for anything over 2 inches.
3. Over-Filling or Under-Filling Compound
Applying too much joint compound creates ridges; too little leaves depressions. Feather edges with each coat and sand between applications for a flush finish.
4. Inadequate Sanding
Skipping or rushing sanding is a recipe for a visible patch. Use fine-grit sandpaper and inspect with angled light to catch flaws.
5. Foregoing Primer
Paint applied directly to joint compound absorbs unevenly, resulting in dull spots. Always prime before painting for color consistency.
6. Ignoring Underlying Issues
Covering up cracks caused by foundation settling or moisture only guarantees future repairs. Address root causes to prevent recurrence.
Finishing Touches: Matching Texture and Paint
Texture Matching
- For smooth walls, feather sanding is key.
- For textured finishes, use a spray texture or stipple brush to blend with the surrounding area.
- Practice on scrap drywall before applying to the wall.
Paint Blending Tips
- Use leftover paint from the original job, if possible.
- If the exact color isn’t available, take a chip to the paint store for matching.
- Feather paint outward beyond the patch for seamless blending.
When to Call a Professional
DIY repairs make sense for small holes, dings, and minor cracks. However, call in a pro if you encounter:
- Extensive water damage or mold
- Multiple or large holes (especially in ceilings)
- Cracks that return after repair (may indicate structural issues)
- Complex textures or finishes (e.g., knockdown, orange peel)
Professional contractors also bring specialized tools for dust control, seamless matching, and can address any underlying electrical or plumbing issues exposed during repair.
Maintenance Best Practices to Prevent Future Drywall Damage
- Install doorstops behind doors to prevent knob holes.
- Use wall anchors for heavy items instead of nails or screws alone.
- Promptly address leaks to avoid water damage and mold.
- Monitor for recurring cracks—these signal deeper structural or settling issues.
- Keep furniture and sharp objects away from wall surfaces.
Conclusion: Achieving Flawless Walls With Confidence
Drywall repair doesn’t have to be intimidating, but it does require careful attention to detail and the right tools for the job. As you’ve learned, the difference between a patch that sticks out and one that disappears comes down to proper assessment, smart preparation, and methodical application of materials. Whether you’re patching a single nail hole or addressing a larger repair, understanding the true costs, common pitfalls, and essential tools can save you hours of frustration—and prevent future damage. Remember, the most common mistakes stem from rushing the process or ignoring underlying issues. Take your time, use quality materials, and don’t hesitate to call in a pro for complex jobs. With these insights, you can confidently restore your walls to their original glory, protect your home’s value, and enjoy a flawless finish for years to come.
I noticed you mentioned that misjudging the extent of drywall damage is a common pitfall. If I find a crack that looks minor but I’m not sure if there’s moisture behind it, what’s the best way for a beginner to check for hidden issues before starting repairs?
If you’re concerned about possible moisture behind a crack, start by gently pressing around the area to feel for softness or dampness. You can also use a moisture meter, which is easy to find at hardware stores, for a more accurate reading. If the paint is bubbling, staining, or there’s a musty smell, those can also be signs of hidden moisture. It’s best to address any underlying moisture issues before doing drywall repairs.
When budgeting for a DIY drywall repair, are there any often-overlooked tools or materials that people end up needing later, which could make the project more expensive than expected?
Yes, some supplies are easy to overlook at first. People often forget to budget for extra sandpaper (you’ll need more than you think), a good dust mask, primer for sealing patched areas, and proper drop cloths to protect floors. Joint knives in multiple sizes can also be handy. These extras can add up if you need to make extra trips to the store, so including them from the start helps keep your project on budget.