
Avoiding Permit Delays: A Step-by-Step Guide for Historic Home Renovations
Introduction: Why Historic Home Renovations Face Permit Challenges
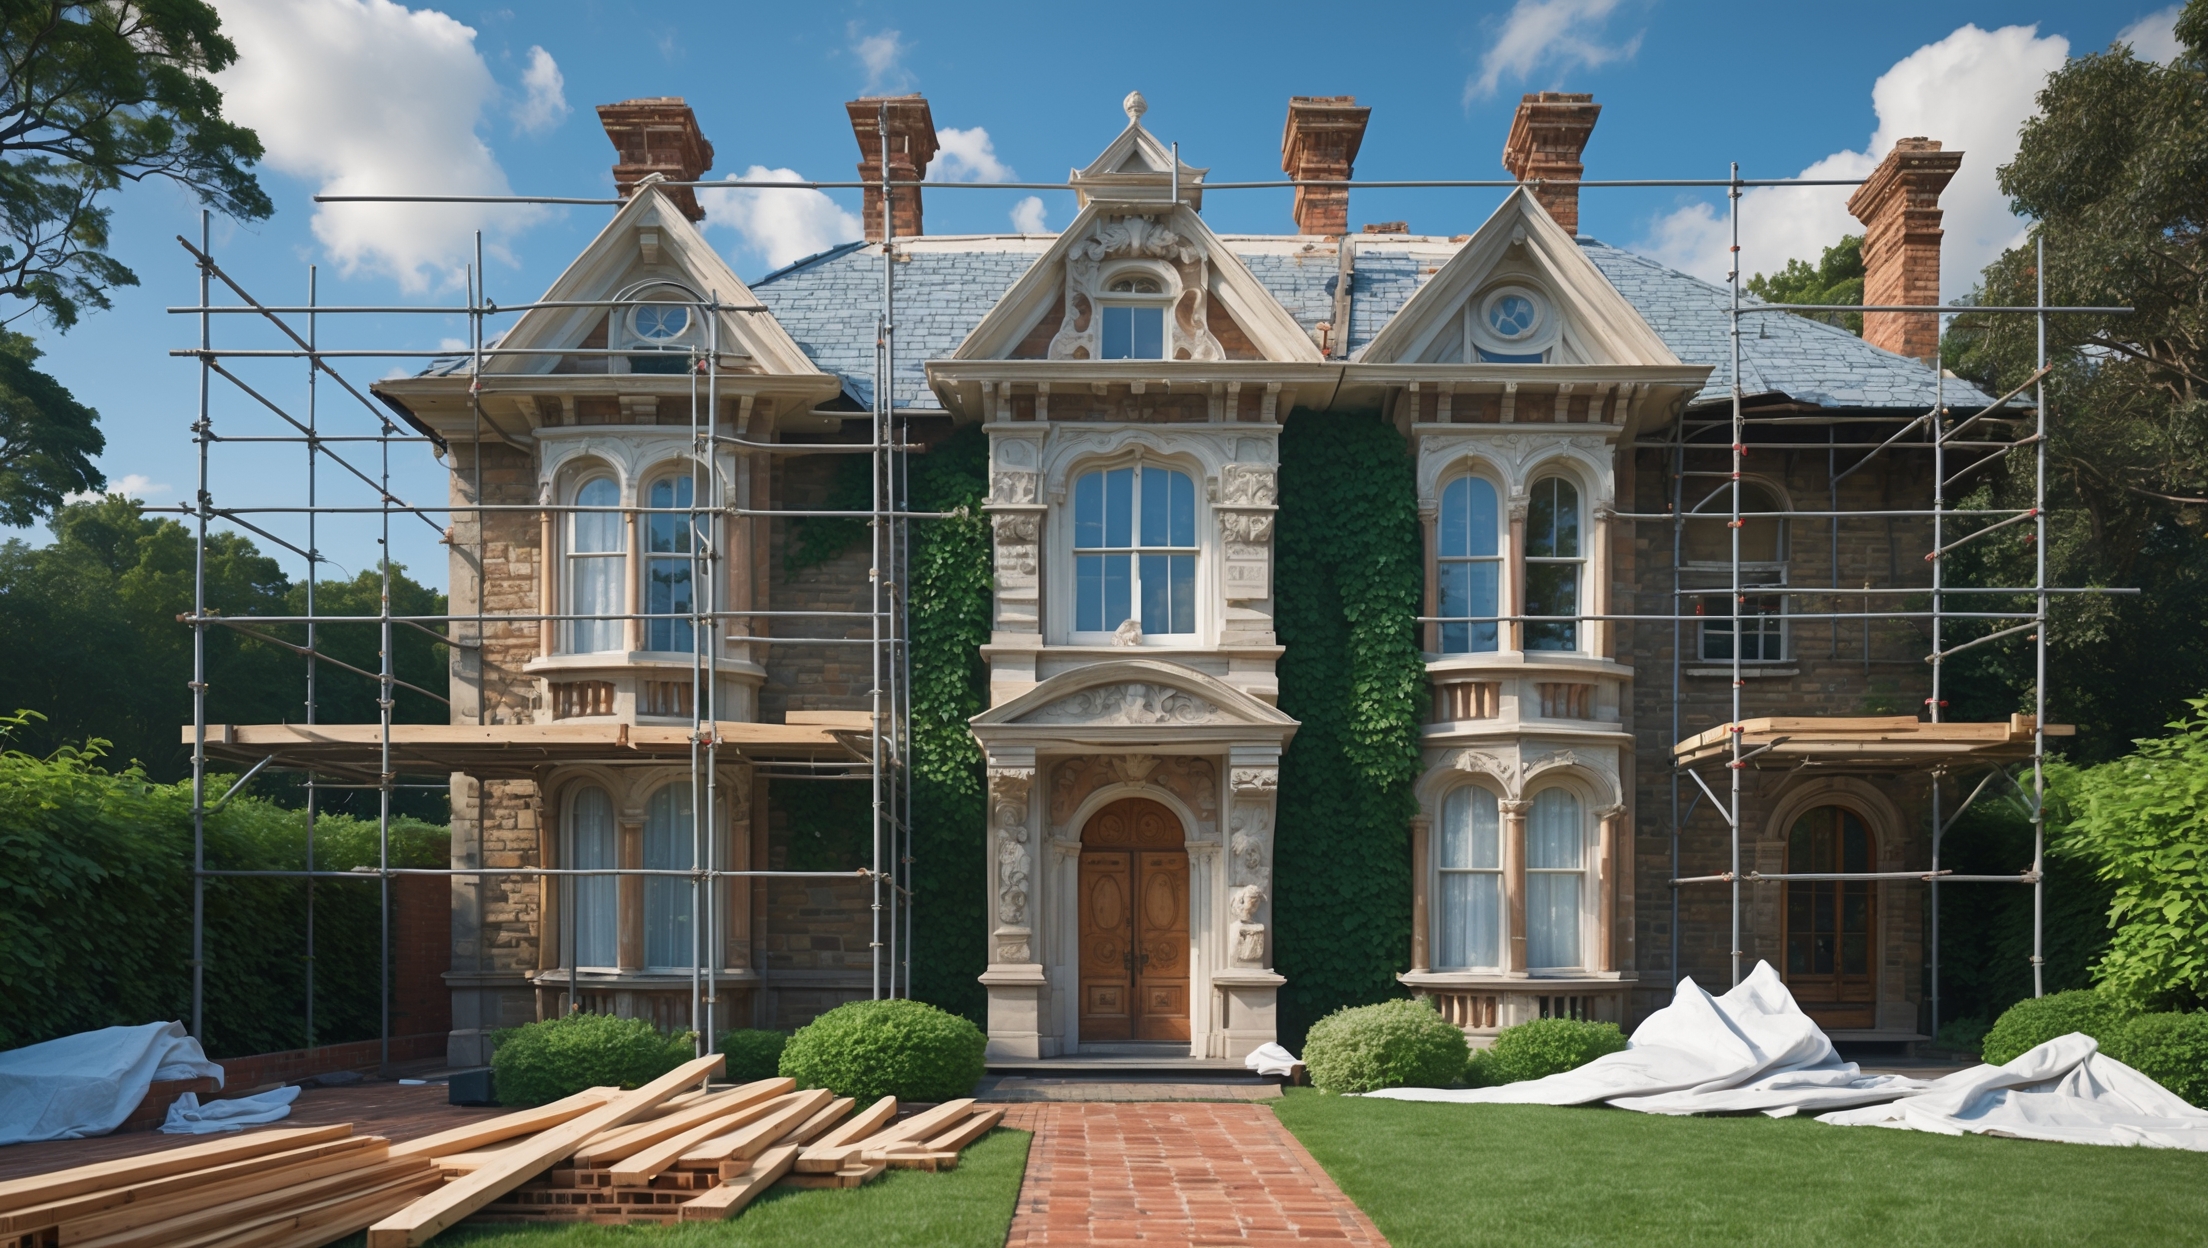
Historic homes are treasured for their unique architectural character and enduring legacy. Renovating these properties can be an immensely rewarding endeavor, but it comes with a set of challenges that modern homes rarely face. Chief among these are complex permitting processes. Unlike standard renovations, historic properties are often subject to additional local, state, or even federal regulations designed to preserve their historical and architectural significance. Navigating the permit process without a clear roadmap can result in costly delays, rejected applications, or even fines. Whether you are a homeowner eager to restore a Victorian gem or a contractor specializing in heritage properties, understanding how to avoid permit delays is crucial for the success of your project.
This guide offers a comprehensive, step-by-step framework for securing permits efficiently when renovating historic homes. From deciphering local preservation ordinances to preparing meticulous documentation and coordinating with review boards, we’ll walk you through each stage. You’ll gain practical insights, learn how to avoid common pitfalls, and discover strategies to keep your renovation on schedule and in compliance.
Understanding Historic Designations and Their Impact on Permits
Types of Historic Designations
Before starting any renovation, it’s essential to identify the historic status of your property. Designations can include:
- Local Historic Districts: Overseen by city or county preservation commissions. These typically have the strictest guidelines.
- State Registers: Properties listed on state registers may have access to grants but also face compliance requirements.
- National Register of Historic Places: Listing at this level often brings prestige and funding opportunities, but may also trigger federal review if federal funds or permits are involved.
How Designation Affects Renovation and Permitting
Each designation comes with its own set of rules regarding what work you can do, the materials you can use, and the architectural features you must preserve. Failing to comply can halt your project or require costly undoing of completed work. Always check with your local Historic Preservation Office (HPO) or equivalent body to understand the restrictions and guidelines before drafting renovation plans.
Step 1: Research Local Regulations and Approval Bodies
Find Your Jurisdiction’s Requirements
Start by identifying which agencies have authority over your property. This may include:
- Local planning or building departments
- Historic preservation commissions
- Architectural review boards
Each may require separate applications and reviews. Visit their official websites or offices to gather up-to-date forms, checklists, and guidance documents.
Key Documents to Review
- Design Guidelines: Outline acceptable materials, construction methods, and design features.
- Preservation Ordinances: Specify what constitutes a “material change” requiring approval.
- Application Checklists: Detail all required documentation for permit submission.
Step 2: Assemble a Qualified Project Team
Why Professional Experience Matters
Historic renovations benefit from a team familiar with preservation standards. Consider hiring:
- Architects with historic preservation credentials
- Contractors experienced with period materials and construction techniques
- Preservation consultants for complex projects
Experienced professionals can anticipate regulatory hurdles, prepare compliant plans, and communicate effectively with review boards.
Step 3: Develop Detailed, Preservation-Compliant Plans
What Review Boards Look For
Permit reviewers expect plans that clearly demonstrate respect for the building’s historic integrity. Your plans should:
- Clearly identify all features to be retained, restored, or replaced
- Specify materials, finishes, and construction methods
- Include before-and-after photographs and architectural drawings
- Reference relevant preservation guidelines
Tips for Documentation
- Label all drawings and photos with dates and descriptions
- Show how new work will be differentiated but compatible with historic fabric
- Provide justification for any proposed changes to significant elements
Step 4: Engage Early with Review Boards and Preservation Staff
Pre-Application Consultations
Many jurisdictions offer pre-application meetings with preservation staff or review boards. Taking advantage of these informal sessions can:
- Surface potential issues before you submit formal plans
- Clarify documentation requirements
- Help you build relationships with key decision-makers
Bring draft plans and questions. Make note of feedback and adjust your proposals as needed before the formal submission.
Step 5: Submit a Complete and Accurate Permit Application
Common Application Components
- Filled-out permit forms
- Detailed construction drawings and specifications
- Photographs of current conditions
- Material samples or cut sheets
- Historical research or documentation, if required
Double-check every checklist item. Incomplete applications are the leading cause of processing delays.
Submission Tips
- Organize documents in the order specified by the agency
- Label each document clearly
- Include digital copies if required
Step 6: Prepare for Public Hearings and Community Input
Understanding the Review Process
Significant changes to historic properties often require a public hearing. Neighbors and local preservation groups may have input. Prepare by:
- Notifying adjacent property owners if required
- Preparing a short presentation explaining your project’s benefits
- Anticipating questions or objections and preparing responses
Show how your renovation preserves the home’s character and complies with all guidelines.
Step 7: Address Requests for Revisions Promptly
Responding to Board Feedback
It’s common for review boards to request changes. To keep your project on schedule:
- Respond quickly and thoroughly to all comments
- Document all revisions and submit updated plans promptly
- Communicate with your team to ensure everyone is aligned on changes
Delaying your response can push your project to the next review cycle, adding weeks or months to your timeline.
Step 8: Obtain All Required Secondary Permits
Beyond Preservation Approval
Even after receiving historic commission approval, you may need additional permits, such as:
- Building permits
- Electrical, plumbing, or mechanical permits
- Environmental or zoning clearances
Coordinate with your contractor to ensure all permits are secured before work begins. Permit sequencing is critical; starting work with only partial approvals can result in stop-work orders.
Step 9: Maintain Compliance During Construction
Inspections and Documentation
Historic commissions may inspect work in progress to ensure compliance. Best practices include:
- Keeping approved plans on site
- Photographing key stages of work
- Promptly reporting any discovered historic features or issues to authorities
Document any changes encountered during construction and seek approval for necessary modifications.
Step 10: Close Out Permits and Archive Project Records
Final Inspections and Approvals
Schedule final inspections with all relevant agencies. Ensure that:
- All work matches approved plans
- Any required corrections are addressed
- Certificates of completion or occupancy are obtained
Archiving Documentation
Safely store all project records, including permits, inspection reports, and correspondence. These documents may be vital for future renovations, sales, or insurance claims.
Common Pitfalls and How to Avoid Them
- Assuming Standard Permits Apply: Always verify if additional historic reviews are necessary.
- Underestimating Timelines: Historic approvals often take longer—budget extra time.
- Poor Documentation: Incomplete plans or missing historical context can stall approvals.
- Ignoring Community Concerns: Early engagement with neighbors can prevent objections at hearings.
- Unapproved Changes During Construction: Always seek approval for plan modifications before proceeding.
Best Practices for Streamlined Historic Renovation Permitting
- Start Early: Begin research and team assembly before developing plans.
- Stay Organized: Use digital folders and checklists to track submissions and deadlines.
- Communicate Proactively: Keep all stakeholders informed of progress and challenges.
- Document Everything: Keep detailed records at every project phase.
- Seek Expert Help: Preservation consultants can expedite complex cases.
Conclusion: Turning Historic Challenges into Renovation Success
Renovating a historic home is more than a construction project—it’s a stewardship of cultural heritage. While permit processes for these properties can be notoriously complex, a strategic, organized approach transforms potential roadblocks into manageable steps. By thoroughly researching your property’s designation, assembling an experienced team, developing detailed and compliant plans, and engaging early with review boards, you dramatically reduce the risk of costly permit delays.
Proactive communication, careful documentation, and a willingness to adapt plans in response to feedback are essential. Remember, each approval stage is an opportunity to demonstrate your commitment to preserving the unique character of your home. The extra effort invested in compliance not only safeguards your project timeline and budget but also ensures your work stands the test of time—honoring the legacy of the past while enhancing your living environment for the future.
Ultimately, permit challenges shouldn’t deter you from breathing new life into a historic property. With the right knowledge and preparation, you can navigate these requirements efficiently, avoid unnecessary setbacks, and enjoy the satisfaction that comes with restoring a piece of history. Prioritize compliance, embrace collaboration, and make your historic renovation a model for preservation done right.