
Home Gutter Guard Systems: Cost Analysis, Maintenance, and Installation Mistakes to Avoid

Introduction: Why Gutter Guards Are More Than a Seasonal Fix
Gutters are a silent workhorse of your home’s exterior, channeling rainwater away from foundations and preventing water damage. Yet, for many homeowners, gutter maintenance is often neglected—until a problem arises. Enter gutter guard systems: marketed as the ultimate solution to clogged gutters and the hassle of frequent cleanings. But are they worth it? What does a proper gutter guard installation really cost, and how can you avoid the all-too-common mistakes that lead to wasted money and ongoing maintenance headaches? This comprehensive guide will break down the financial, practical, and technical aspects of gutter guard systems, offering you a clear path through a crowded marketplace with options ranging from DIY foam inserts to professionally installed micro-mesh screens. You’ll discover not only how much you should expect to invest, but also how to maintain your system for peak performance year after year, and—perhaps most importantly—how to sidestep the most frequent installation and purchasing pitfalls. Whether you’re considering gutter guards for a newly built home or retrofitting an older property, this article arms you with the knowledge to make smart, lasting improvements.
Understanding Gutter Guard Types: Pros, Cons, and Price Ranges
The gutter guard market is broad, with solutions catering to different climates, debris types, and budgets. Before you make a purchase, it’s crucial to understand the main types of gutter guards, their effectiveness, and the typical costs associated with each.
1. Screen Gutter Guards
- Description: Metal or plastic screens that cover the gutter, blocking large debris.
- Pros: Inexpensive, easy to install (DIY-friendly).
- Cons: Can be dislodged by wind or heavy rain, not effective against small debris (e.g., pine needles).
- Cost: $0.50–$2 per linear foot (materials only); $2–$4 per foot with professional installation.
2. Micro-Mesh Gutter Guards
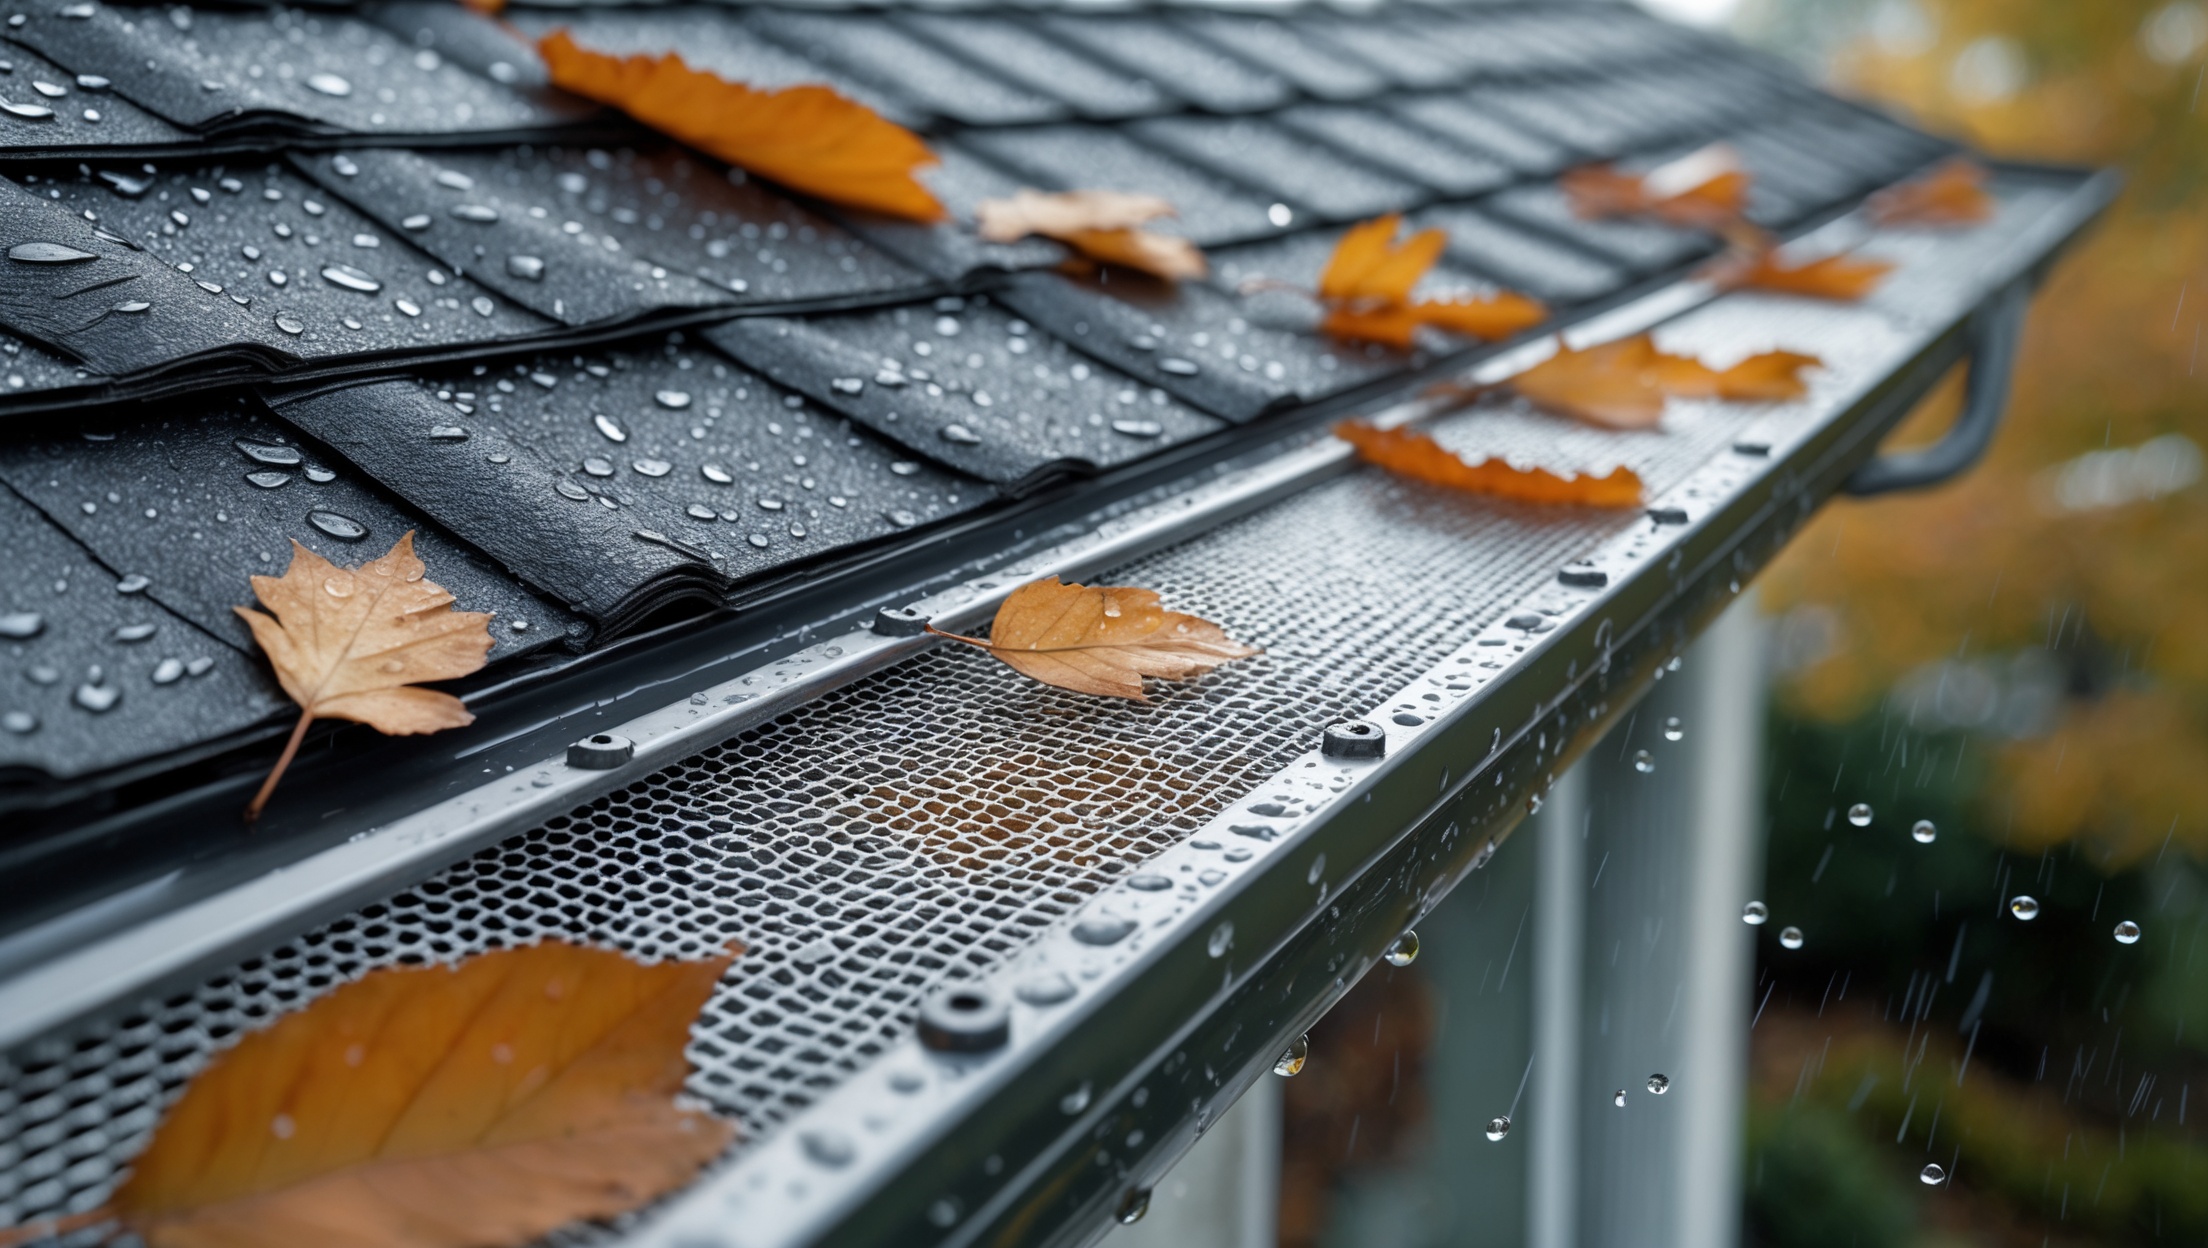
- Description: Fine stainless steel or aluminum mesh that blocks nearly all debris, including shingle grit and pine needles.
- Pros: Highly effective, durable, low-maintenance.
- Cons: Higher upfront cost, professional installation often recommended.
- Cost: $2–$6 per linear foot (materials only); $8–$12 per foot installed.
3. Reverse Curve (Surface Tension) Guards
- Description: Solid covers with a curved edge that channels water into the gutter while debris slides off.
- Pros: Effective for most debris, minimal cleaning required.
- Cons: Can be visible from the ground (aesthetic issue), may not handle heavy rainfall as efficiently.
- Cost: $3–$6 per linear foot (materials only); $9–$14 per foot installed.
4. Foam and Brush Inserts
- Description: Foam blocks or brush tubes placed inside the gutter channel.
- Pros: Easy and quick DIY installation, low initial cost.
- Cons: Can deteriorate over time, prone to mold and plant growth, less effective in heavy leaf areas.
- Cost: $1–$2.50 per linear foot (materials only).
5. Full-Service Proprietary Systems
- Description: Brand-name systems installed by certified contractors, often with extended warranties.
- Pros: Turnkey solution, robust warranties, includes professional assessment of your home’s needs.
- Cons: Highest cost, sometimes proprietary parts are difficult to replace or repair independently.
- Cost: $12–$25 per linear foot (installed only).
Realistic Cost Breakdown: What Should You Expect to Pay?
The cost of gutter guard systems depends on several variables: linear footage of gutters, type of guard, labor rates in your area, and any additional repairs needed. Here’s what to consider:
Material Costs
- Average single-story home (150 linear feet of gutters):
- Basic screen guards: $75–$300
- Micro-mesh: $300–$900
- Reverse curve: $450–$900
- Foam/brush inserts: $150–$375
- Proprietary systems: $1,800–$3,750
Labor Costs
- Professional installation typically adds $2–$8 per linear foot, depending on complexity and region.
- Expect higher labor costs for multi-story homes, steep roofs, or if existing gutters are damaged and require repair or replacement.
Hidden Costs to Watch For
- Gutter repairs: If your gutters are sagging, rusted, or poorly pitched, these must be addressed before installation—potentially $4–$8 per foot.
- Downspout guards: Some systems sell these separately; budget $5–$15 each.
- Debris removal: Removal of existing debris or old guards may incur extra charges of $75–$200.
Long-Term Value
While high-end systems cost more, they often provide better protection and require less frequent replacement—potentially saving on long-term maintenance. Calculate the payback period by comparing annual cleaning costs (typically $150–$250 per visit) with the one-time investment in guards.
Installation Mistakes to Avoid: Lessons from Homeowners and Pros
Installing gutter guards seems straightforward, but there are critical errors that can undermine their effectiveness or void warranties. Avoid these common mistakes:
1. Ignoring Gutter and Roof Condition
Gutter guards should never be installed on damaged or poorly pitched gutters. Failing to address sagging, leaks, or improper slopes can lead to water overflow, foundation erosion, and even interior water damage. Always inspect and repair gutters before installation.
2. Choosing the Wrong Guard for Your Environment
- Pine Needles: Only micro-mesh guards reliably block pine needles; screens and foam are often ineffective.
- Heavy Rainfall: Reverse curve systems may overflow in intense storms—micro-mesh or screen guards with large holes can handle more volume.
- Nearby Trees: If you have oak, maple, or evergreens, research which debris is most problematic and select accordingly.
3. Poor Placement and Attachment
Installation errors include placing guards under shingles (voiding roof warranties), using the wrong fasteners, or failing to seal edges. Always follow manufacturer instructions, and if in doubt, consult a pro.
4. Underestimating Maintenance Needs
No gutter guard is truly maintenance-free. Foam inserts can harbor mold, micro-mesh may clog with silt, and all guards require periodic inspection. Expect to rinse or brush off debris at least once per year, more often in high-debris areas.
5. Overlooking Downspout Protection
Even the best guards are useless if downspouts are left unprotected. Install compatible guards or filters in downspouts to prevent clogs and backups.
6. DIY Overreach
Some systems are DIY-friendly, but multi-story homes or steep roofs present safety risks. Improper installation can cause water damage or injury—know your limits and hire a professional when needed.
Step-by-Step Guide: How to Install Gutter Guards the Right Way
If you’re comfortable on a ladder and have a single-story home, installing basic screen or foam guards is within reach. Here’s how to do it safely and effectively:
1. Gather Tools and Materials
- Ladder (with stabilizer)
- Work gloves and safety glasses
- Screwdriver or drill (for certain guard types)
- Garden hose for testing
- Gutter guards (sized for your gutter width)
2. Clean and Inspect Gutters
Remove all debris, flush with water, and check for leaks or improper slopes. Repair as needed before proceeding—guards should never cover clogged or damaged gutters.
3. Measure and Cut Guards
Most guards come in 3–4 foot sections. Measure your gutter runs and cut guards to fit, using tin snips for metal or heavy scissors for foam/plastic.
4. Install Guards
- For screens: Slide under the first row of shingles (if allowed), or secure to the gutter lip as per manufacturer instructions.
- For foam/brush: Place directly into the gutter channel, ensuring a snug fit.
- For micro-mesh and reverse curve: Attach using included fasteners or clips, making sure edges are sealed to prevent debris intrusion.
5. Test with Water
After installation, run water from a garden hose onto the roof above each section. Check for leaks, overflow, or areas where water skips over the guard. Adjust as needed.
6. Secure Downspout Guards
Install matching guards or strainers in each downspout to prevent small debris from causing clogs further down the drainage system.
Maintenance Best Practices: Keeping Gutter Guards Working Year-Round
Gutter guards reduce but do not eliminate maintenance. Here’s how to ensure lasting performance:
1. Seasonal Inspections
- Spring: Check for winter damage, ice dam residue, or nests.
- Fall: Remove accumulated leaves, especially after leaf drop.
- After major storms: Inspect for dislodged sections or overflow.
2. Cleaning Techniques
- Micro-mesh and screens: Use a soft brush or leaf blower to clear debris from the top. If clogged, flush with a garden hose from above.
- Foam/brush: Remove inserts once or twice a year to rinse and check for mold or plant growth.
- Reverse curve: Wipe the surface clean; check for debris stuck at the curve lip.
3. Watch for Ice Dams
In cold climates, gutter guards can contribute to ice dam formation if gutters are not well-insulated or vented. Ensure your attic is properly insulated and ventilated to minimize risk.
4. Keep Surrounding Areas Clear
Trim overhanging branches and remove nearby vegetation to reduce the volume of debris falling onto your roof and gutters.
When Professional Installation Makes Sense
While DIY is feasible for many single-story homes, professional installation is recommended when:
- You have a multi-story home or steep roof (safety risk)
- Your gutters require significant repair or replacement
- You want a system with a robust warranty that requires pro installation
- Complex rooflines make standard guards hard to fit properly
Always vet installers: check for licensing, insurance, references, and product certifications. Avoid high-pressure sales tactics and get multiple quotes before committing.
Warranty, Compliance, and Insurance Considerations
Understanding Warranties
Some gutter guard products offer long-term or lifetime warranties. Read the fine print: Does the warranty cover clogs, water damage, or just defects in materials? Is pro installation required for coverage?
Roof Warranty Impacts
Installing guards under shingles or piercing roofing material can void your roof warranty. Always confirm with your roofing manufacturer and installer before proceeding.
Insurance Notification
Major exterior work should be reported to your homeowner’s insurance provider. While gutter guard installation rarely impacts premiums, failure to notify could complicate future claims for water damage.
Frequently Asked Questions
Do gutter guards eliminate all cleaning?
No. While they drastically reduce the need for frequent cleanings, all systems require some inspection and occasional debris removal.
Can I install gutter guards in winter?
It’s best to install in dry, mild weather. In cold climates, wait until spring or fall to ensure adhesives and fasteners set properly and to avoid working on icy roofs.
Will gutter guards increase home value?
While not a major resale feature, properly installed guards can be an attractive convenience factor for buyers, especially in heavily treed neighborhoods.
Conclusion: Making the Smart Investment in Gutter Guard Systems
Gutter guards are a practical upgrade for almost any home, reducing the risk of water damage and the nuisance of recurring gutter cleanings. However, the path to a successful installation is paved with informed decisions—not just about which product to buy, but also about how to match the system to your home’s unique environment, budget, and maintenance tolerance. Remember: no gutter guard is truly set-and-forget. Even the best systems require periodic inspection and upkeep to perform as advertised. The most common pitfalls—choosing the wrong type, neglecting gutter repair, or attempting risky DIY installs—can quickly turn a smart improvement into a costly headache.
By understanding the real costs, the nuances of different guard types, and the importance of proper installation and maintenance, you’ll be well-equipped to make a choice that saves you both time and money in the long run. Whether you opt for a DIY screen, a professional micro-mesh installation, or a high-end proprietary system, your investment pays off when it’s tailored to your home’s needs and climate challenges. Take the time to evaluate your options carefully, consult with professionals when warranted, and establish a simple maintenance routine. Your gutters—and your home’s foundation—will thank you for years to come.