
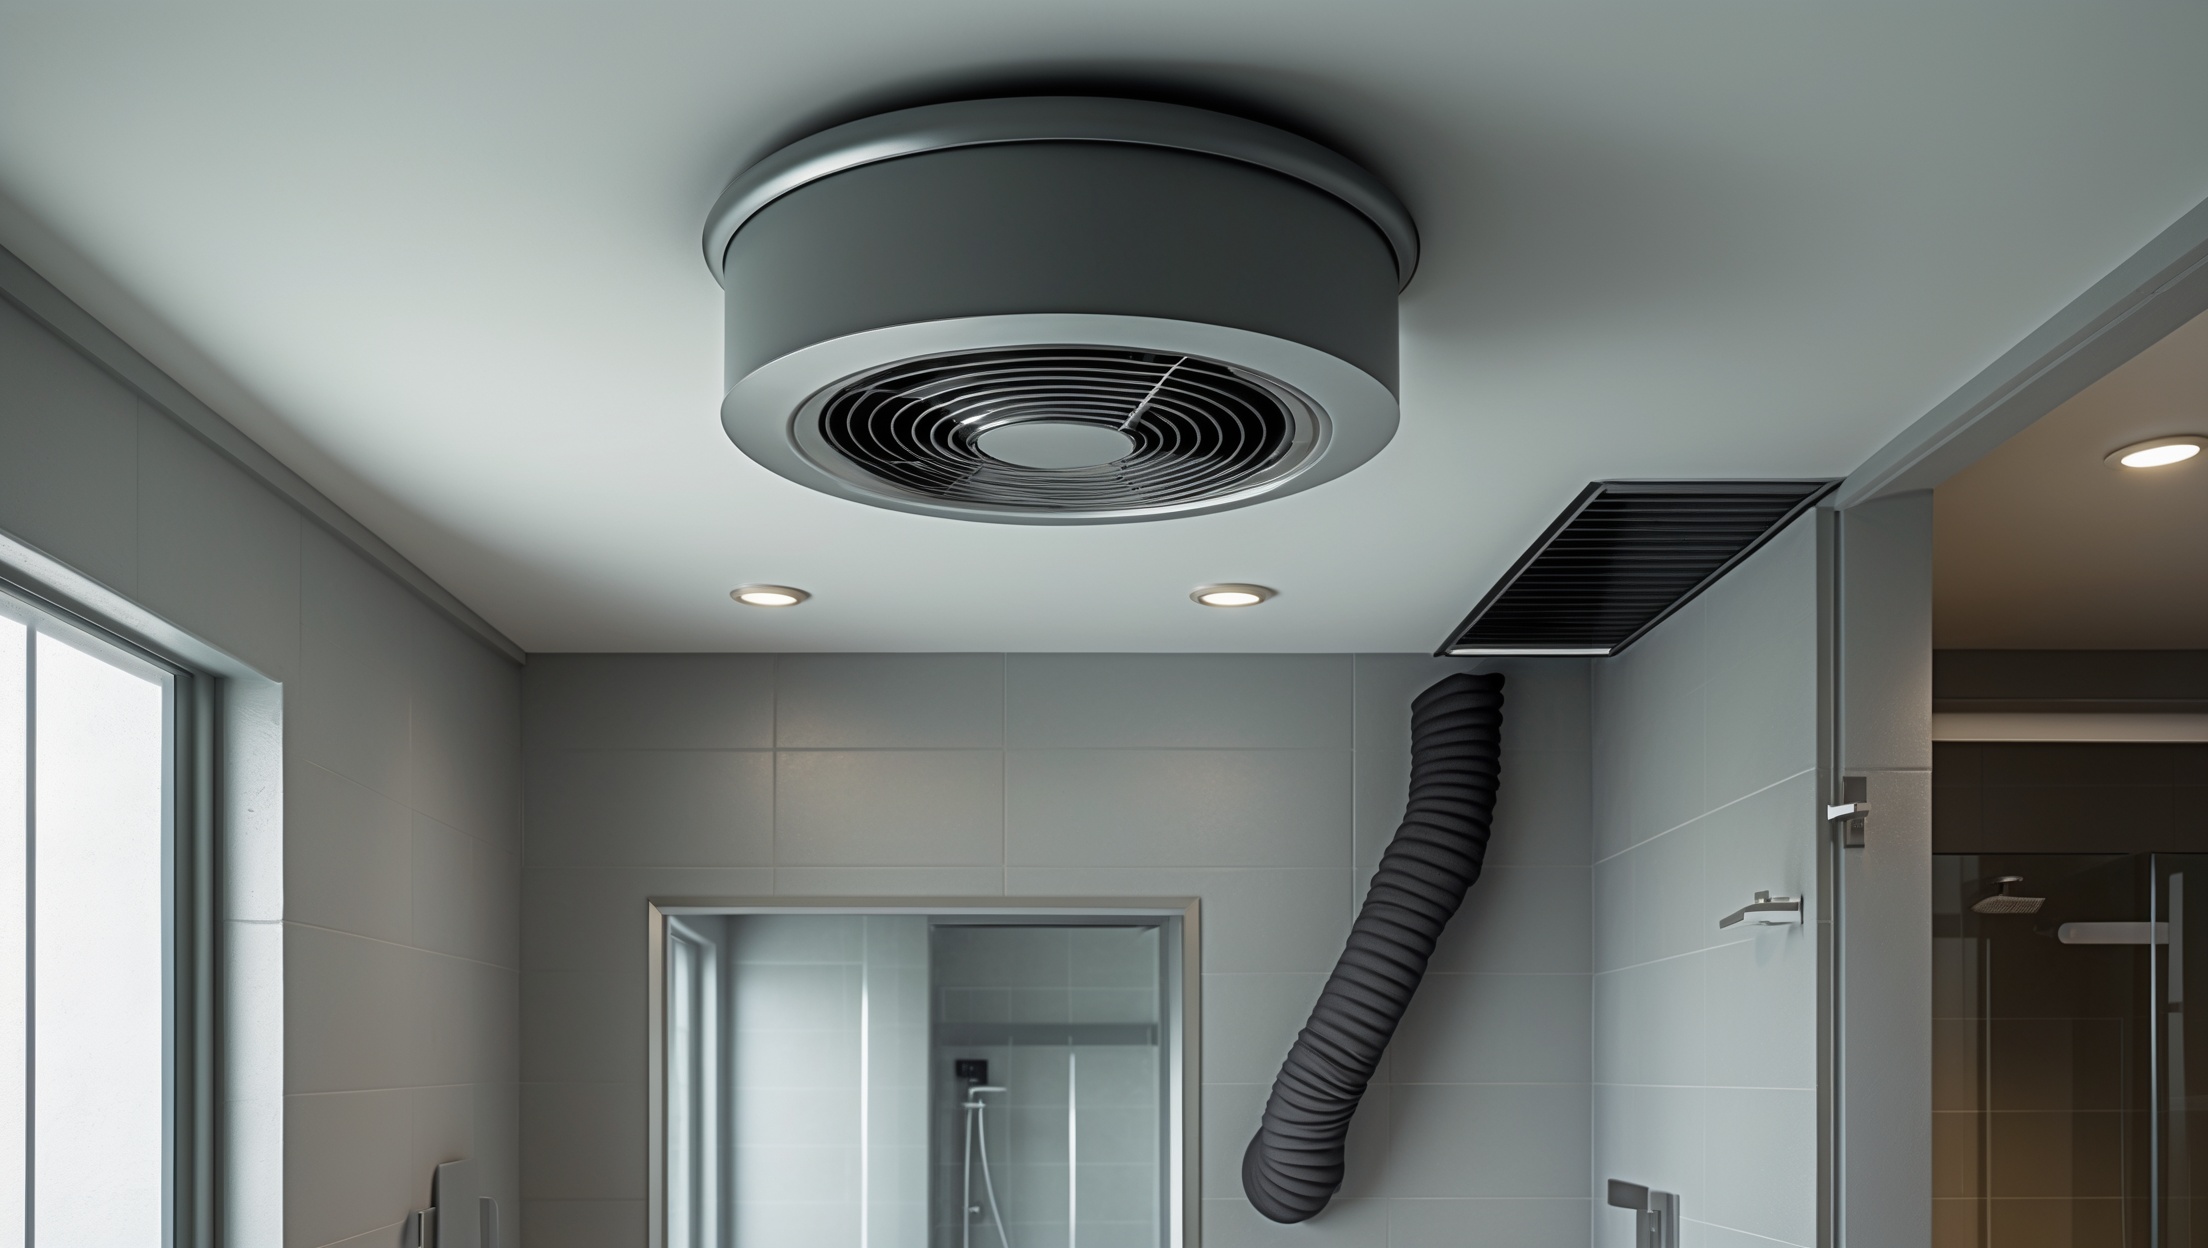
Home Bathroom Ventilation Upgrades: Cost, Compliance, and Maintenance Explained

Introduction: Why Bathroom Ventilation Upgrades Matter
Many homeowners overlook the importance of high-quality ventilation in their bathrooms—until problems arise. Poor bathroom ventilation isn’t just about foggy mirrors or lingering odors; it’s a root cause of mold growth, peeling paint, warped cabinetry, and even hidden structural damage. Whether you’re planning a remodel, correcting an outdated setup, or tackling persistent moisture issues, a proper ventilation upgrade is a vital investment in your home’s health and longevity. In this comprehensive guide, we’ll walk through the specific costs involved, compliance and permitting steps you can’t skip, and the maintenance strategies that ensure your upgraded system keeps working for years. You’ll learn how to choose the right type of system, avoid common pitfalls, and make decisions that protect your home’s value—and your family’s comfort.
Understanding Bathroom Ventilation Basics
Why Ventilation Is Crucial
Bathrooms are high-moisture environments. Every shower, bath, or even sink use releases water vapor into the air. Without a way to remove this moisture, you risk:
- Mold and mildew growth
- Damage to paint, drywall, and wood trim
- Unpleasant odors and reduced indoor air quality
- Gradual deterioration of fixtures and finishes
Types of Bathroom Ventilation Systems
- Exhaust Fans: The most common solution, these fans pull moist air out of the bathroom and vent it outdoors.
- Inline Fans: Located in the attic or ceiling cavity, these are ideal for larger bathrooms or multiple rooms.
- Heat Recovery Ventilators (HRVs): Advanced systems that exchange indoor and outdoor air while recovering heat, often used in energy-efficient homes.
Cost Breakdown: What to Expect When Upgrading
Major Cost Factors
- Type of Fan: Basic models start around $30–$60, while high-end, quiet, or smart fans can reach $250–$400 each.
- Electrical Work: Adding new wiring, switches, or dedicated circuits can cost $100–$500, depending on complexity.
- Ductwork: New or upgraded ducts (especially through attics or long runs) can add $100–$300 for materials, plus labor.
- Venting to the Exterior: Essential for compliance—expect $150–$500 for creating new vents through roofing or siding.
- Labor: Professional installation typically ranges from $200–$600, depending on the job’s scope and your location.
- Permits and Inspections: Municipal permits can add $50–$200, and may require an inspection.
Sample Cost Scenarios
- Basic Replacement: Replacing an old fan with a similar model, minimal wiring or duct changes: $150–$400.
- Full Upgrade: Installing a new, high-capacity fan, new ducting, and exterior vent: $600–$1,200.
- Smart/Quiet Systems: Adding features like humidity sensors, app control, or ultra-quiet operation: $800–$1,500.
Tip: DIY installation can save on labor, but mistakes are costly—especially if you fail to vent outside or damage wiring. Always factor in your skill level and local code requirements.
Compliance and Permitting: Don’t Skip These Steps
Building Codes and Requirements
Most local building codes require bathrooms to have either an operable window or a mechanical ventilation system—typically an exhaust fan vented to the exterior. Key requirements often include:
- Minimum Ventilation Rate: At least 50 cubic feet per minute (CFM) intermittent, or 20 CFM continuous.
- Direct Outdoor Venting: Fans must vent outdoors, not into attics, crawlspaces, or soffits (which can cause hidden mold and rot).
- Approved Duct Materials: Smooth metal or rigid plastic ducts are preferred; flexible ducts should be minimized and must be properly supported.
Permitting Process
- Most municipalities require a permit for new installations or major electrical work.
- Expect to submit a simple plan showing the fan location, duct routing, and exterior vent location.
- Inspections may check for proper wiring, secure duct installation, and code-compliant venting.
Pro Tip: Even if you’re DIYing, always check with your local building department. Unpermitted work can complicate home sales, insurance claims, and future renovations.
Common Compliance Mistakes to Avoid
- Venting into attics or crawlspaces instead of outdoors
- Undersized fans for large bathrooms
- Using improper duct materials or excessively long duct runs
- Skipping required permits and inspections
Choosing the Right Ventilation System
Calculating Fan Size (CFM)
The fan’s power is measured in cubic feet per minute (CFM). Use this formula:
- For bathrooms <50 sq. ft.: 50 CFM minimum
- For bathrooms >50 sq. ft.: Add 50 CFM for each toilet, shower, or tub
For large or multi-fixture bathrooms, consider multiple fans or an inline system.
Noise Levels (Sones)
- Look for fans rated at 1.5 sones or lower for quiet operation.
- Ultra-quiet fans (0.3–0.7 sones) are ideal for master bathrooms or nighttime use.
Special Features to Consider
- Humidity Sensors: Automatically activate the fan when moisture is detected.
- Timers: Ensure the fan runs long enough after showers to remove excess moisture.
- Integrated Lights or Heaters: Save space and simplify ceiling layouts.
- Smart Controls: App integration, air quality monitoring, and voice control for tech-forward homes.
Step-by-Step Upgrade Process
1. Assessment and Planning
- Evaluate your current system’s performance—look for moisture, odors, or visible mold.
- Measure the bathroom and determine the required CFM.
- Plan the duct route to minimize bends and length.
2. Selecting Equipment
- Choose a fan rated for your bathroom’s size and your noise preferences.
- Select compatible switches, sensors, or smart controls.
3. Permitting and Prep
- Obtain necessary permits.
- Shut off power to the bathroom circuit.
- Protect floors and fixtures from dust and debris.
4. Installation
- Remove the old fan (if applicable).
- Install new mounting brackets and secure the fan housing.
- Run new ductwork as needed—preferably with smooth, straight paths and minimal flex duct.
- Cut and install an exterior vent cap (wall or roof, per code).
- Wire the fan, switches, and controls per manufacturer instructions.
5. Inspection and Testing
- Have the installation inspected if required.
- Test fan operation, noise level, and airflow (hold a tissue at the grille—it should hold firmly in place).
- Check for air leaks at all duct joints and seal with foil tape.
Maintenance Best Practices for Long-Term Performance
Routine Cleaning
- Remove and clean the fan grille every 3–6 months.
- Vacuum dust from the fan blades and housing (with power off).
- Check ducts for lint or debris buildup annually.
Performance Checks
- Test airflow with tissue or a smoke pencil—weak airflow signals a clog or failing fan.
- Listen for unusual noises, which may indicate worn bearings or loose parts.
Seasonal and Annual Tasks
- Inspect exterior vent caps for obstructions (bird nests, leaves, snow).
- Check damper flaps for free movement to prevent backdrafts.
- Confirm all seals and duct joints remain airtight.
Proper maintenance not only extends the life of your fan but also ensures your bathroom remains mold-free and comfortable.
Frequently Asked Questions
Can I vent my bathroom fan into the attic?
No. This is a common mistake that can lead to serious mold and structural problems. Always vent directly outdoors using approved materials.
How do I know if my bathroom needs a larger fan?
If the mirror stays foggy long after a shower, or if you notice persistent odors or mildew, your fan may be undersized or malfunctioning. Calculate your required CFM and upgrade if needed.
Are smart ventilation fans worth the investment?
For busy households or those prone to forgetting the fan, smart features like humidity sensors or timers can ensure effective moisture removal and reduce energy waste.
Conclusion: Making the Most of Your Bathroom Ventilation Upgrade
Upgrading your bathroom ventilation is a smart move that pays dividends far beyond comfort. By managing moisture effectively, you protect your home from costly mold remediation, paint or drywall repairs, and even hidden structural issues. While the initial investment can vary—from a few hundred dollars for a basic swap to well over a thousand for high-efficiency or smart systems—the peace of mind and long-term savings are substantial. Remember, compliance with local codes is not just a formality; it ensures your ventilation is truly effective and protects you from future headaches when selling your home or making insurance claims.
Prioritize careful planning: assess your needs, choose the right equipment, and don’t cut corners on venting or permitting. Professional installation is wise for complex setups, but even DIYers must follow best practices for safety and reliability. Finally, establish an annual maintenance routine to keep your fan running efficiently and your bathroom healthy for years to come.
With the right approach, a bathroom ventilation upgrade is more than just a home improvement project—it’s an investment in your property’s durability, your family’s health, and your everyday comfort. Tackle it with care, and reap the benefits for decades.