
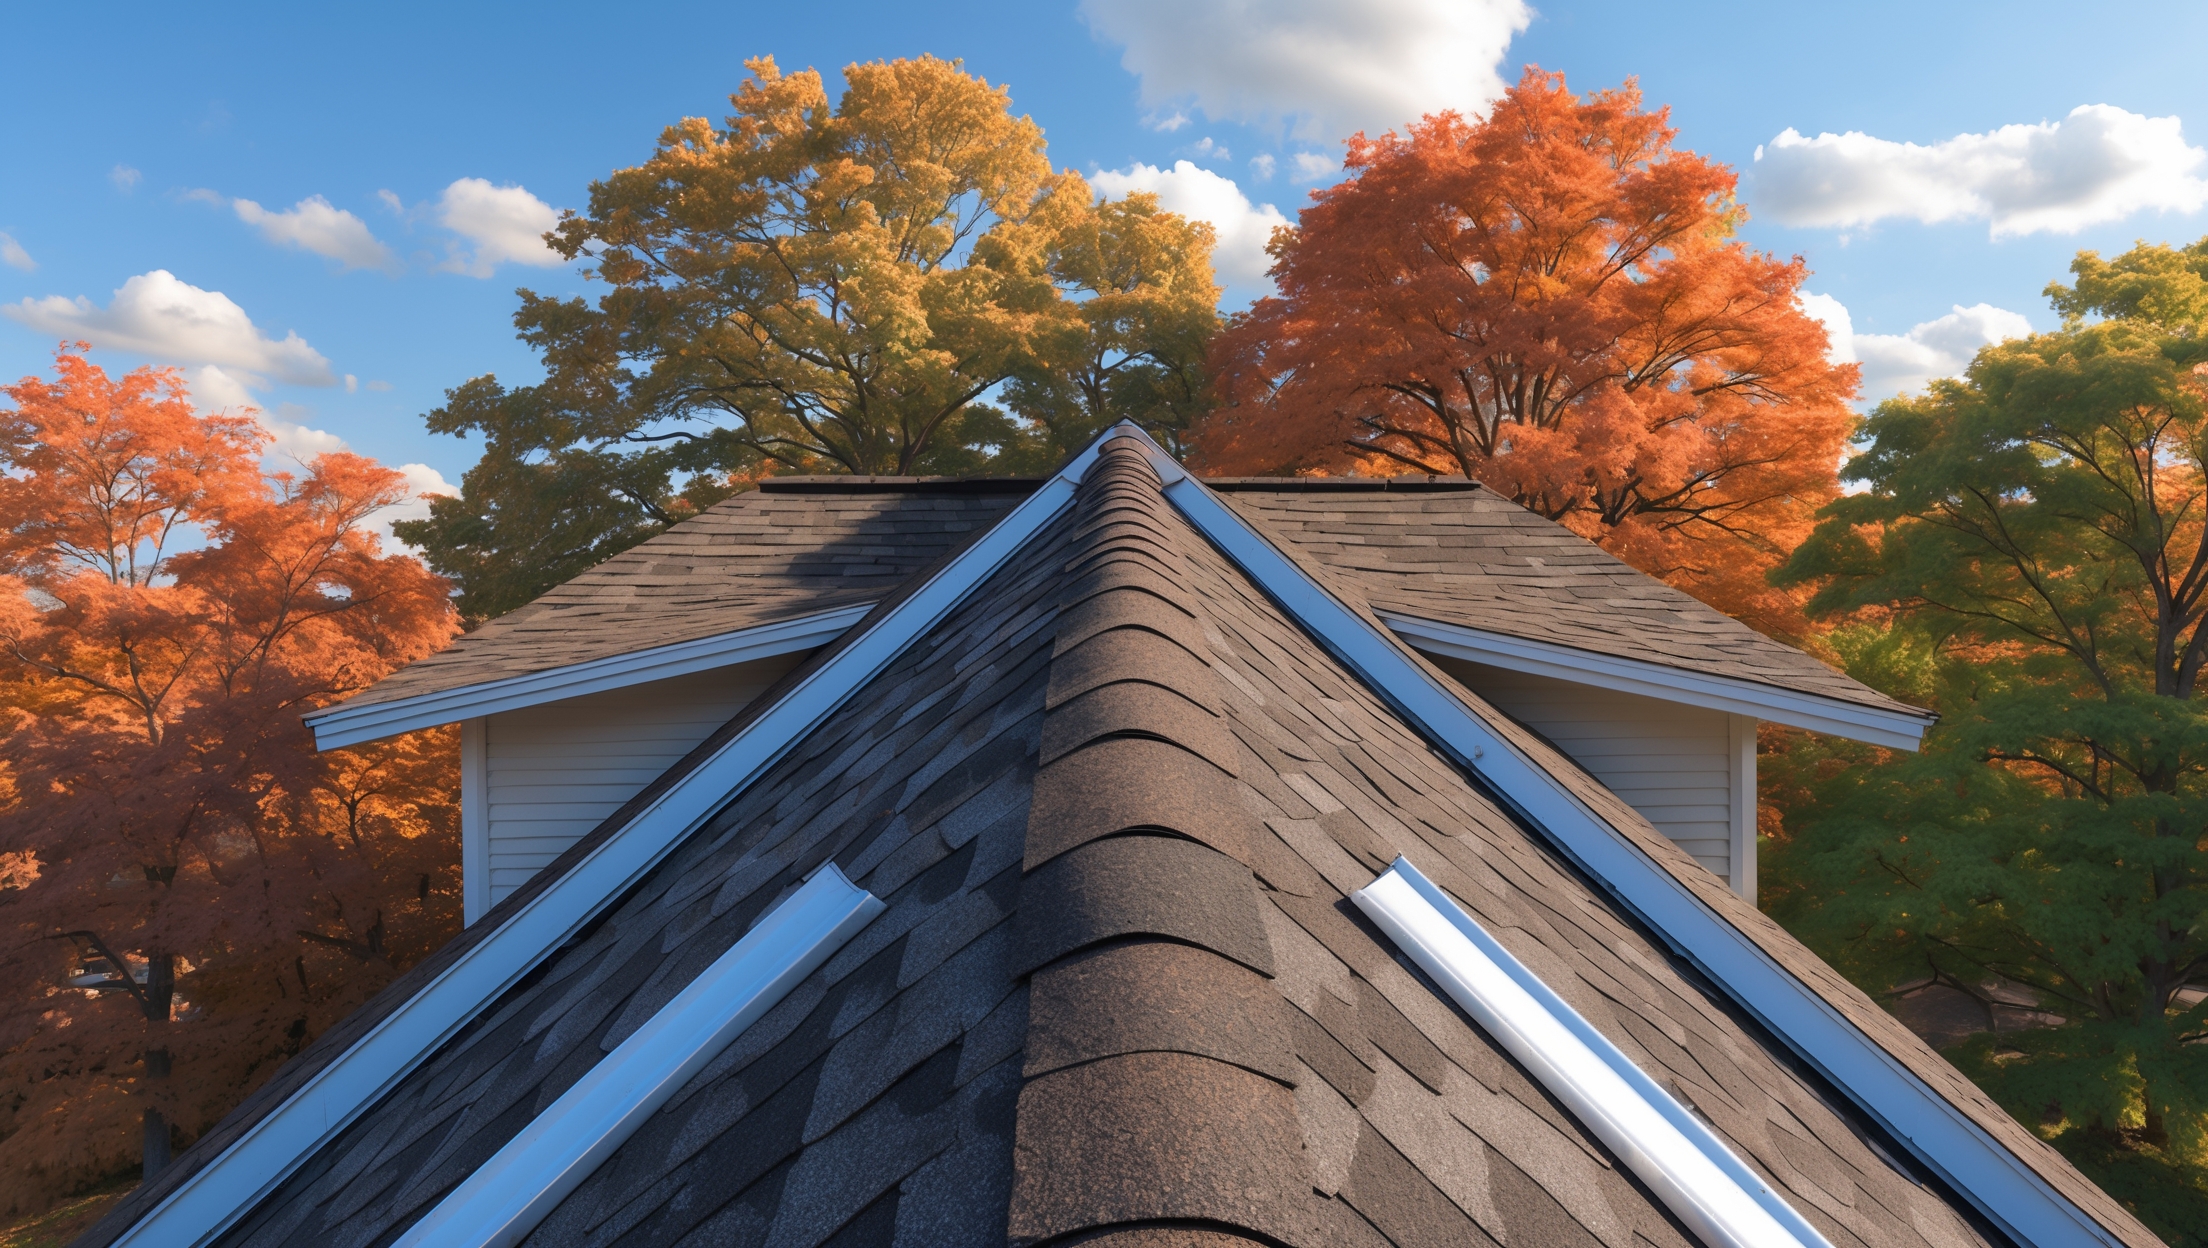
Seasonal Roof Inspection Checklist: Prevent Costly Damage Before It Starts
Introduction
Your roof is your home’s first line of defense against the elements—yet it’s often overlooked until a leak or storm damage demands immediate attention. Ignoring regular roof maintenance is a costly mistake; what starts as a minor issue can quickly turn into expensive repairs or even a full replacement. The good news is that a proactive, seasonal inspection routine can help you identify and address minor problems before they escalate. By following a structured checklist tailored to each season, you can extend your roof’s lifespan, maintain your home’s value, and avoid unexpected headaches. This guide delivers a practical, step-by-step approach to roof inspections throughout the year, outlining what to look for, which tools you’ll need, and how to act on your findings. Whether you’re a DIY enthusiast or a homeowner looking to work smarter with professionals, you’ll find actionable tips to keep your roof in top condition year-round.
Why Seasonal Roof Inspections Matter
The Cost of Neglect
Roof issues rarely resolve themselves—in fact, they tend to worsen over time. Small cracks, missing shingles, or clogged gutters can lead to water intrusion, mold growth, insulation damage, and structural decay. The National Roofing Contractors Association estimates that neglecting maintenance can reduce your roof’s lifespan by up to 50%, potentially costing thousands of dollars in premature replacement.
Benefits of a Seasonal Approach
- Catch problems early: Seasonal inspections help you spot wear and tear before it becomes severe.
- Weather-specific concerns: Each season brings unique risks—spring storms, summer heat, autumn leaves, and winter ice.
- Budget management: Proactive repairs are typically less expensive than emergency fixes.
- Insurance compliance: Regular documentation can help with claims if damage occurs.
Essential Tools and Safety Equipment
- Sturdy ladder: Choose one rated for your weight and ensure it’s set on stable ground.
- Non-slip shoes: Essential for traction on sloped or damp surfaces.
- Work gloves: Protect your hands from sharp edges and debris.
- Binoculars: For initial inspections from the ground or difficult-to-reach areas.
- Roof harness: If you must walk on the roof, use a safety harness and secure anchor points.
- Flashlight: For attic and under-eave checks.
- Notebook or inspection app: Document findings and photos for records.
Spring Roof Inspection Checklist
Key Risks: Storm Damage and Winter Wear
After a harsh winter, spring is when hidden damage surfaces. Melting ice, snow, and heavy rain can expose vulnerabilities.
What to Inspect
- Shingles: Look for curling, cracking, or missing shingles—signs of freeze/thaw cycles or wind damage.
- Flashing: Check around chimneys, skylights, and vents for rust, separation, or missing sealant.
- Gutters and Downspouts: Clear out debris to ensure proper drainage. Check for sagging or leaks.
- Soffits and Fascia: Inspect for rot, animal nests, or water stains.
- Attic Interior: From inside, look for damp insulation, water stains, or daylight peeking through the roof boards.
Action Steps
- Repair or replace damaged shingles and flashing immediately.
- Clean out all gutters and downspouts.
- Seal any minor leaks with roofing caulk; call a professional for larger issues.
- Trim back overhanging tree branches to prevent future damage.
Summer Roof Inspection Checklist
Key Risks: Sun Damage and Mold Growth
Summer heat can accelerate shingle deterioration, and humidity fosters mold and algae. This is also the best time for more in-depth repairs, thanks to the dry weather.
What to Inspect
- Shingle Granules: Excess granules in gutters indicate aging shingles. Inspect for bald spots.
- Algae and Moss: Look for green or black streaks on the roof surface—these hold moisture and damage materials.
- Roof Vents: Ensure they are clean, unobstructed, and free of wasp or bird nests.
- Sealant and Caulking: Check for cracks or peeling around roof penetrations.
- Roof Decking (Attic): Look under the roof deck for signs of sagging or water damage.
Action Steps
- Gently clean algae/moss with a roof-safe cleaner; never power-wash shingles.
- Apply UV-protective roof coatings as needed.
- Re-caulk or repair vent and pipe flashing where needed.
- Ensure attic ventilation is adequate to prevent heat buildup.
Autumn Roof Inspection Checklist
Key Risks: Clogged Gutters and Pre-Winter Preparation
Leaves and debris pose significant risks, and this is your last chance to address repairs before winter’s harsh conditions set in.
What to Inspect
- Debris Accumulation: Remove leaves, pine needles, and branches from the roof and gutters.
- Gutter Fasteners: Check that gutters are securely attached and sloped for proper drainage.
- Roof Valleys: Pay extra attention to valleys where debris collects and moisture lingers.
- Roofing Material Condition: Inspect for signs of brittleness or wear ahead of freezing temperatures.
- Flashing and Chimney Caps: Confirm that all metalwork is secure and rust-free.
Action Steps
- Install gutter guards if leaves are a recurring issue.
- Ensure all repairs are completed before the first frost.
- Check attic insulation to prevent ice dam formation.
- Schedule a professional inspection for older roofs.
Winter Roof Inspection Checklist
Key Risks: Ice Dams, Heavy Snow, and Leak Formation
While access is limited, winter still requires vigilance. Most assessments should be made from the ground or attic to avoid hazardous conditions.
What to Inspect
- Ice Dams: Look for icicles or ice ridges along gutters—these indicate poor insulation or ventilation.
- Snow Load: Excess snow can stress the roof; monitor accumulation and sagging.
- Leaks: Check ceilings for new stains or soft spots after snow or ice storms.
- Attic Moisture: Inspect for frost, dampness, or mold.
Action Steps
- Safely remove excess snow with a roof rake from the ground—never climb on an icy roof.
- Use calcium chloride ice melt (not rock salt) to address ice dams.
- Improve attic insulation and ventilation to reduce dam formation.
- Call a professional for persistent leaks or sagging sections.
Common Warning Signs and What They Mean
- Curled or Missing Shingles: Indicates weathering or wind damage. Replace promptly to prevent leaks.
- Granule Loss: Aging shingles are less effective against water and sun.
- Soft Spots: Suggest water infiltration and possible rot.
- Loose or Damaged Flashing: Common source of leaks.
- Water Stains in Attic or Ceiling: Always trace these to their source—could signal a serious breach.
- Mold or Musty Odors: May indicate ongoing moisture problems requiring urgent attention.
When to Call a Professional
While many inspection tasks are DIY-friendly, certain situations demand professional expertise and equipment. Call a roofer if you notice:
- Widespread shingle loss or damage
- Persistent leaks or spreading ceiling stains
- Sagging rooflines or structural movement
- Chimney or flashing separation
- Large patches of mold, rot, or animal infiltration
Many contractors offer annual inspection services, which can provide peace of mind and documentation for insurance purposes.
Maintaining Records for Insurance and Resale
Keep a log of each inspection, including dates, findings, photos, and repairs performed. This documentation is invaluable for:
- Supporting insurance claims after storms or accidents
- Proving care to future buyers (often boosting home value)
- Tracking long-term wear and predicting replacement needs
Maintenance Best Practices for a Longer-Lasting Roof
- Never ignore minor damage—small repairs now prevent major headaches later.
- Clean gutters at least twice yearly, more often if surrounded by trees.
- Trim overhanging branches to reduce debris and wind damage risk.
- Inspect after every major storm, even between scheduled seasonal checks.
- Upgrade attic ventilation and insulation to prevent heat buildup and ice dams.
- Use only manufacturer-approved cleaners and repair materials.
Conclusion
Proactive roof maintenance isn’t just about avoiding leaks—it’s about protecting your entire home investment. By following a detailed, seasonal inspection checklist, you’ll catch problems early, budget for repairs before they become emergencies, and ensure your home stays safe and dry all year. Each season brings different risks and priorities, but with a deliberate routine and the right tools, you can avoid the most common (and costly) pitfalls. Remember, while many tasks are within the reach of a careful homeowner, don’t hesitate to call in a professional for complex repairs or if safety is ever in doubt. Over time, your commitment to regular roof care pays dividends in peace of mind, lower insurance premiums, and a stronger, more valuable home. Start your next inspection today—your future self (and your wallet) will thank you.
Could you elaborate on what specific maintenance tasks should be prioritized in each season to prevent common issues like water intrusion or insulation damage? I want to make sure I am catching the biggest risks before they escalate.
Certainly! In spring, focus on clearing debris from gutters and checking for winter damage like cracked shingles or flashing. Summer is ideal for inspecting and sealing any exposed roof penetrations, like vents. In fall, remove leaves, check attic insulation, and ensure downspouts direct water away. Before winter, look for loose shingles and ensure attic ventilation is adequate to prevent ice dams. These steps target the most common risks of water intrusion and insulation problems.
The guide talks about using a sturdy ladder and non-slip shoes, but are there any specific safety tips or additional equipment you recommend for someone inspecting a steep or multi-story roof?
For steep or multi-story roofs, consider using a safety harness with a secure anchor point to prevent falls. Work with a partner if possible and avoid inspecting the roof in wet or windy conditions. Also, use a helmet and gloves for extra protection. If you’re uncomfortable with the height or slope, hiring a professional is often the safest option.
I noticed you mention using a sturdy ladder and non-slip shoes for safety during inspections. As someone who’s never done roof work before, can you give more tips on how to stay safe while doing a roof check, especially if the roof is pretty steep or high up?
If your roof is steep or high, consider using a harness and secure it to a stable anchor point. Avoid doing inspections during wet or windy weather, as surfaces can become slippery. Always have someone with you to spot and assist if needed. Don’t overreach—move the ladder as necessary, and never climb onto the roof if you feel uncomfortable. In cases where the roof seems unsafe, it’s best to hire a professional.
Could you elaborate on the best way to document roof inspections for insurance purposes? I want to make sure I’m collecting the right kind of photos or notes in case a claim ever becomes necessary.
For insurance purposes, take clear photos of your entire roof from multiple angles, plus close-ups of key areas like shingles, flashing, gutters, and any existing damage. Date-stamp your images if possible. Keep thorough notes on the condition, noting any wear, missing pieces, or repairs. Document the inspection date and who performed it. Store all records in a safe, easily accessible place should you ever need to file a claim.
When inspecting the roof each season as recommended, what are some early warning signs of water intrusion or insulation damage that a beginner like me might easily overlook?
Some early warning signs of water intrusion or insulation damage that are easy to miss include discoloration or dark streaks on rafters or attic insulation, musty odors in the attic, peeling paint under roof eaves, or damp spots on ceilings and walls inside your home. Also, check for compressed, sagging, or moldy insulation, as these can indicate trapped moisture. Keeping an eye out for these subtle clues during your inspections can help you catch problems before they become costly.
When it comes to budgeting for proactive repairs, what’s a reasonable ballpark for typical costs during these seasonal checkups? I’m trying to understand how much I should set aside to avoid unexpected expenses.
For seasonal roof inspections and proactive minor repairs, it’s wise to budget about $150 to $500 per visit, depending on your roof size, materials, and local labor rates. This covers basic inspections, debris removal, minor shingle or flashing repairs, and gutter cleaning. Setting aside $400 to $1,000 annually should help you stay ahead of most unexpected roofing issues.
I noticed you mentioned that neglecting maintenance could cut a roof’s lifespan in half—do you have any tips for prioritizing which issues to tackle first if you find several minor problems during a seasonal inspection?
When you spot several minor problems during your inspection, start by addressing any issues that could let water in, like small leaks, cracked shingles, or damaged flashing. Next, clear debris from gutters and downspouts to prevent water buildup. Finally, fix loose or missing shingles and secure any exposed nails. Tackling moisture-related problems first helps prevent bigger, costlier damage down the line.
If I catch a small issue like a loose shingle or clogged gutter during a seasonal check, is it better to handle those repairs myself right away or would it make more sense to call in a professional? How do you know when DIY is enough versus hiring someone?
For minor issues like a single loose shingle or a clogged gutter, most homeowners can handle these repairs safely with basic tools and a sturdy ladder. However, if you’re uncomfortable working at heights, spot larger damage, or notice signs of rot or leaks, it’s safer to call a professional. Always prioritize safety and, when in doubt, consult an expert to avoid bigger problems.