
Home Generator Installation: Step-by-Step Setup, Safety, and Permit Essentials
Introduction: Why Proper Home Generator Installation Matters
Power outages—whether caused by storms, utility failures, or grid overloads—can disrupt daily life, damage appliances, and compromise your family’s safety. A home generator offers peace of mind by providing reliable backup power when you need it most. But installing a generator isn’t as simple as picking one up from the store and plugging it in. Safe, effective generator installation is a complex project that demands careful planning, compliance with local codes, and a thorough understanding of both electrical and fuel systems. Mistakes can be costly, even dangerous, leading to property damage, fires, or legal headaches. This comprehensive guide breaks down everything you need to know for a successful home generator installation: from choosing the right model and securing permits to step-by-step setup and rigorous safety checks. Whether you’re a seasoned DIYer or considering hiring a pro, you’ll learn how to avoid common pitfalls and ensure your generator is a reliable asset—not a liability—for your home.
Choosing the Right Generator for Your Home
Types of Home Generators
- Portable Generators: Lower upfront cost, flexibility, but limited power and manual startup. Best for short outages and powering essentials.
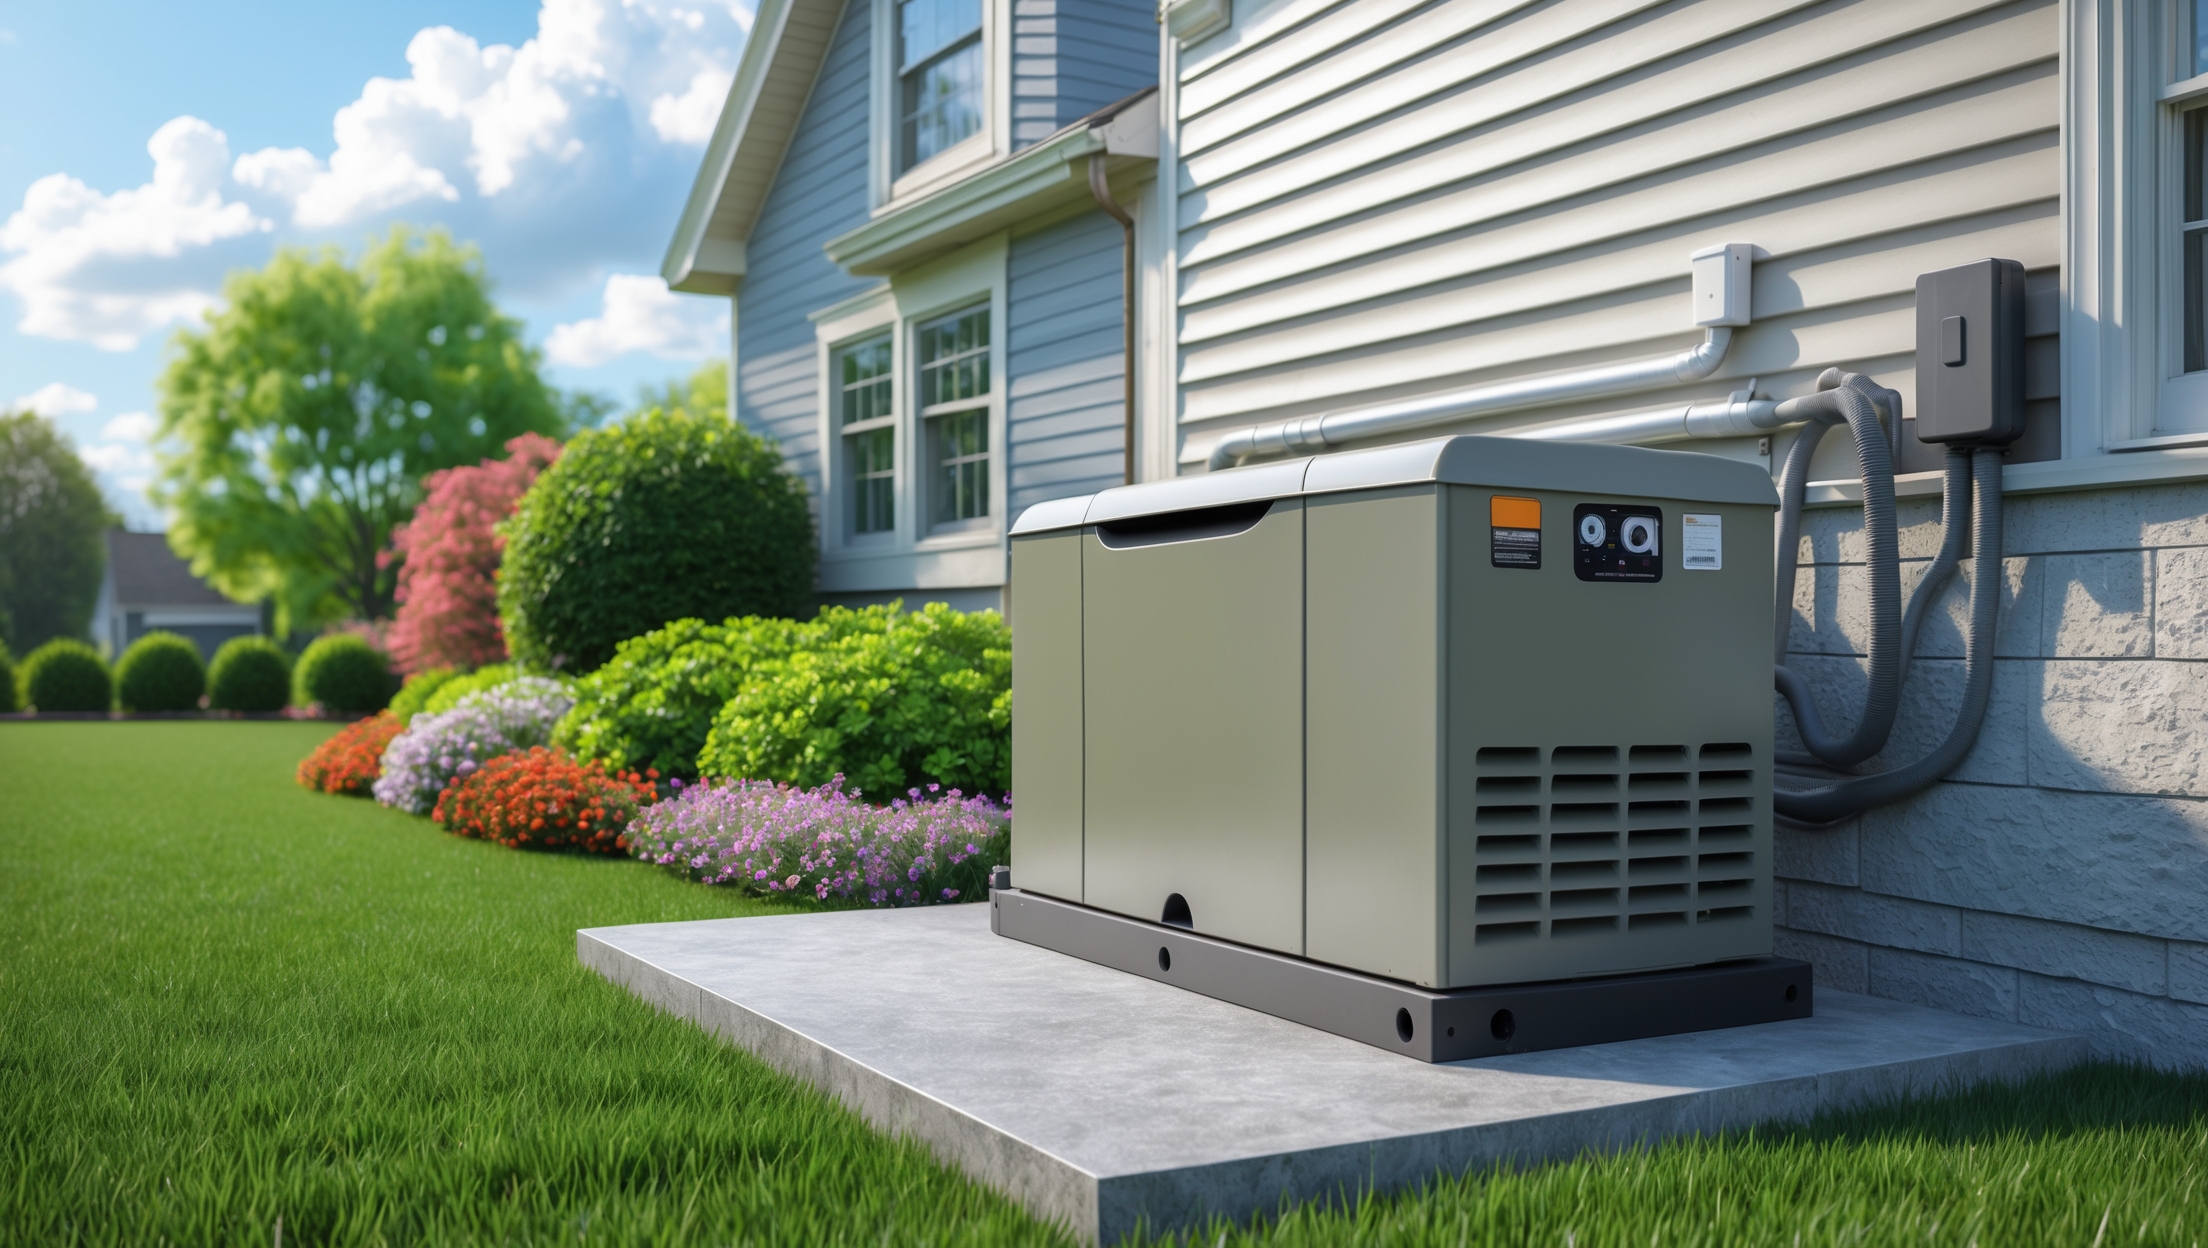
- Standby Generators: Permanently installed, automatic transfer switch, higher power, runs on natural gas or propane. Ideal for whole-home backup.
Calculating Your Power Needs
List all critical appliances and systems you want to power (e.g., fridge, sump pump, HVAC, lighting). Calculate their combined wattage. Add a safety margin of 20-25% to handle startup surges, especially for motors. For most homes, an 8-12 kW standby generator covers essentials, while 20+ kW supports whole-home backup.
Fuel Source Considerations
- Natural Gas: Convenient if available, no refueling required, but installation involves plumbing and inspection.
- Propane: Flexible and long shelf life, requires tank installation and periodic refills.
- Diesel: Efficient but noisy, less common for residences, needs secure fuel storage.
Permit and Compliance Essentials
Why Permits Matter
Installing a generator involves electrical and often gas plumbing work—both highly regulated for safety. Skipping permits risks fines, denied insurance claims, or forced removal during home sales.
Common Permits Required
- Electrical permit (always required for standby generators)
- Plumbing/gas permit (if connecting to natural gas or propane)
- Mechanical permit (for exhaust venting, especially in some regions)
- Site plan approval (for setbacks and noise compliance in certain municipalities)
How to Apply for Permits
- Contact your local building department for requirements and application forms.
- Prepare a detailed site plan showing generator location, distances to property lines, and fuel lines.
- Include manufacturer installation manuals for code compliance review.
- Pay fees and schedule required inspections after installation.
HOA and Neighborhood Restrictions
Check your homeowners association (HOA) covenants and local ordinances for rules on generator placement, noise limits, and screening requirements. Some neighborhoods require approved fencing or landscaping around generators.
Site Preparation and Placement
Choosing the Right Location
- Minimum 5 feet from windows, doors, and vents (check local codes—some require more).
- At least 18 inches from exterior walls.
- Accessible for maintenance and refueling.
- On level, well-drained ground to prevent water pooling.
- Far from bedrooms and living spaces to reduce noise impact.
Preparing the Foundation
Use a precast concrete pad or pour a custom slab to support the generator’s weight and prevent shifting. The pad should extend at least 3 inches beyond the generator base and be 4 inches thick. Ensure it’s perfectly level to avoid vibration issues.
Step-by-Step Generator Installation Process
1. Unpack and Inspect the Generator
- Check for shipping damage, missing parts, and verify the model matches your order.
- Read the manufacturer’s manual thoroughly before proceeding.
2. Position the Generator
- Place the unit on the prepared pad, ensuring required clearances on all sides.
- Secure the generator to the pad using manufacturer-supplied anchors to prevent movement during operation or storms.
3. Electrical Connections
- Install the Automatic Transfer Switch (ATS): The ATS detects outages and activates the generator. Mount it near your main electrical panel, typically indoors or on an exterior wall in a weatherproof enclosure.
- Run Conduit: Use appropriately rated conduit (PVC or metal) to connect the generator to the ATS and your main panel. All wiring must comply with the National Electrical Code (NEC) and be sized for generator output.
- Wire the Transfer Switch: Connect the ATS to your main panel and branch circuits as dictated by your load requirements. This step must be performed by a licensed electrician in most areas.
- Install a Grounding Rod: Proper grounding is critical for safety and code compliance. Drive a copper grounding rod into the earth and connect it using heavy-gauge wire as specified by code.
4. Fuel Line Installation
- Natural Gas: Hire a licensed plumber to run gas piping from your meter to the generator, including a shutoff valve and sediment trap. All joints must be inspected for leaks.
- Propane: Install an exterior-rated, code-compliant propane tank at the required setback. Connect with flexible, approved piping and secure all connections.
- Pressure Test: Always pressure test gas lines before connecting them to the generator to ensure there are no leaks.
5. Exhaust and Ventilation Setup
- Ensure the exhaust is directed away from doors, windows, and occupied spaces.
- Maintain clearances per manufacturer instructions and local codes to prevent carbon monoxide buildup.
6. Initial Startup and Testing
- Double-check all electrical and fuel connections.
- Fill oil and coolant to specified levels if required.
- Prime the fuel system per manufacturer guidelines.
- Start the generator and observe for any odd noises, leaks, or alarms.
- Test the ATS by simulating a power outage—verify automatic startup and switchover.
- Document serial numbers, installation date, and complete warranty registration.
Critical Safety Checklist
- Never install a generator indoors, in a garage, or in any enclosed space—carbon monoxide poisoning is deadly.
- Use only weatherproof electrical enclosures and connectors for outdoor installations.
- Confirm all work meets NEC and local code requirements—schedule inspections as required.
- Keep fire extinguishers rated for electrical and fuel fires nearby during installation and operation.
- Install carbon monoxide detectors inside your home, especially near sleeping areas.
- Check for proper labeling of shutoff switches and emergency disconnects.
- Ensure the generator is anchored against wind and seismic events if required by code.
- Never backfeed a generator into a home circuit via extension cords or dryer outlets—this is illegal and highly dangerous.
Common Mistakes to Avoid
- Improper Sizing: Choosing a generator that’s too small or too large can lead to performance issues or wasted money. Always calculate actual load requirements.
- Neglecting Permits: Unpermitted installations risk fines, insurance denials, and forced removal.
- Incorrect Placement: Placing generators too close to windows or doors increases carbon monoxide risk.
- Poor Fuel Line Installation: DIY gas plumbing without inspection is a leading cause of fire and explosion.
- Skipping Inspections: Failing to schedule final inspections can invalidate your warranty and pose safety risks.
- Lack of Regular Testing: Generators must be exercised monthly to ensure reliability—don’t wait for an outage to discover problems.
Ongoing Maintenance Best Practices
Monthly Checks
- Run the generator under load for at least 15–20 minutes.
- Listen for unusual noises and monitor for leaks.
- Check oil, coolant, and fuel levels.
Quarterly Tasks
- Inspect and clean air filters.
- Test battery voltage and replace if necessary.
- Check and tighten all electrical and fuel connections.
Annual Service
- Change engine oil and replace the oil filter.
- Replace spark plugs and inspect the ignition system.
- Flush the cooling system (if applicable).
- Schedule a professional inspection for critical systems.
Record Keeping
Maintain a detailed log of maintenance, tests, and any repairs. This documentation is essential for warranty claims and future troubleshooting.
When to Hire a Professional
While handy homeowners can handle generator site prep and maintenance, most electrical and gas connections must be performed by licensed professionals. Local codes often require certified contractors and inspections for all utility work. If you’re unsure about any aspect of the installation, consult an electrician or plumber experienced in standby generator systems. Improper installation can void warranties, create hazards, and endanger lives.
Conclusion: Invest in Reliable Power—The Right Way
Installing a home generator is a smart investment that enhances your family’s safety, comfort, and preparedness for unforeseen outages. But with that investment comes responsibility: every step—from choosing the correct unit and securing permits to site prep, installation, and ongoing maintenance—demands attention to detail and adherence to strict safety standards. Cutting corners or skipping permits can have serious consequences, both legally and from a safety standpoint.
By following the steps detailed in this guide, you’ll ensure your generator is positioned for long-term reliability and compliance with local regulations. Remember, a properly installed generator not only provides essential power during emergencies but also protects your appliances, prevents frozen pipes, and keeps your home secure. Don’t hesitate to consult professionals for the electrical and plumbing work, and always schedule required inspections. Regular maintenance and testing will ensure your investment pays off when you need it most. With the right approach, you can enjoy peace of mind knowing your home is ready to weather any storm—safely and efficiently.