
Fence Replacement Essentials: Costs, Permits, and Maintenance for a Secure Home
Introduction: The Overlooked Value of a Quality Fence Replacement
Fences do more than simply mark property lines—they provide privacy, security, and curb appeal while enhancing the overall value of your home. Whether you’re replacing a dilapidated wood fence, upgrading to a modern composite system, or addressing storm damage, fence replacement is a significant home improvement project that requires careful planning. Homeowners often underestimate the complexity of the process, from navigating local permitting rules to budgeting for material and labor costs. Neglecting proper maintenance can also result in premature wear, costly repairs, and neighborhood disputes. This comprehensive guide unpacks the essentials of successful fence replacement—covering cost breakdowns, compliance, material selection, and maintenance best practices. Whether you’re a DIY enthusiast or hiring a pro, the following insights will help you achieve a secure, attractive, and long-lasting boundary for your property.
Understanding the True Costs of Fence Replacement
Breaking Down the Main Cost Components
Before you start tearing down that old fence, it’s vital to understand where your money will go. Fence replacement costs are influenced by several key factors:
- Materials: Wood, vinyl, composite, wrought iron, chain link, and aluminum each come with unique price points and longevity.
- Labor: Professional installation may cost 50-70% of your total budget, especially for complex layouts or hard-to-access sites.
- Demolition and Disposal: Removing and hauling away the old fence can add $3–$8 per linear foot.
- Permits and Surveying: Permitting fees range from $20–$200+ depending on local regulations. Property surveys may be needed for precise boundary identification.
- Gates and Special Features: Custom gates, decorative elements, or integrated lighting increase overall costs.
- Site Preparation: Clearing vegetation, leveling ground, and addressing drainage may require additional work and budget.
Average Cost Ranges by Material (2024 Estimates)
- Pressure-Treated Pine: $15–$30 per linear foot (installed)
- Cedar or Redwood: $25–$45 per linear foot (installed)
- Vinyl: $20–$40 per linear foot (installed)
- Composite: $30–$55 per linear foot (installed)
- Chain Link: $12–$25 per linear foot (installed)
- Wrought Iron: $40–$70 per linear foot (installed)
- Aluminum: $25–$50 per linear foot (installed)
These figures include both materials and labor. DIY installation can save on labor but may require renting specialized equipment, increasing time investment and risk of costly mistakes.
Planning for Hidden Costs
Unexpected expenses can derail your budget. Common hidden costs include:
- Root or Rock Removal: Digging post holes may require extra labor if you hit obstacles underground.
- Permitting Delays: Incomplete applications or missing survey documents can slow down your project.
- HOA Fees: Some homeowners associations charge application or review fees for exterior changes.
- Neighbor Agreements: Shared fences may require cost-sharing negotiations or legal agreements.
Permits and Compliance: Navigating Local Regulations
Why Permits Matter
Many municipalities require permits for fence replacement, especially if you are changing the fence height, style, or location. Permits ensure compliance with zoning laws, safety codes, and neighborhood covenants. Failing to obtain proper authorization can result in fines, forced removal, or legal disputes with neighbors.
How to Research Local Fence Codes
- Start with Your City or County Website: Search for “residential fence regulations” or “fence permits.” Most jurisdictions publish guidelines online.
- Pay Attention to:
- Maximum and minimum fence heights (often 4 ft in front yards, 6–8 ft in backyards)
- Setback requirements from property lines or sidewalks
- Accepted materials and prohibited designs (e.g., barbed wire, electric fences)
- Permit application process and required documentation
- Consult Your HOA: If you live in a community with a homeowners association, check for additional approval steps or design requirements.
- Call Before You Dig: Always use your local utility notification service (e.g., 811 in the US) to mark underground lines before digging post holes.
Tips for a Smooth Permitting Process
- Gather property surveys and plot plans ahead of time.
- Clearly mark the proposed fence line and stake out corners for inspection.
- Allow 2–4 weeks for approval in busy building seasons.
- Keep all paperwork and permit numbers accessible for final inspection.
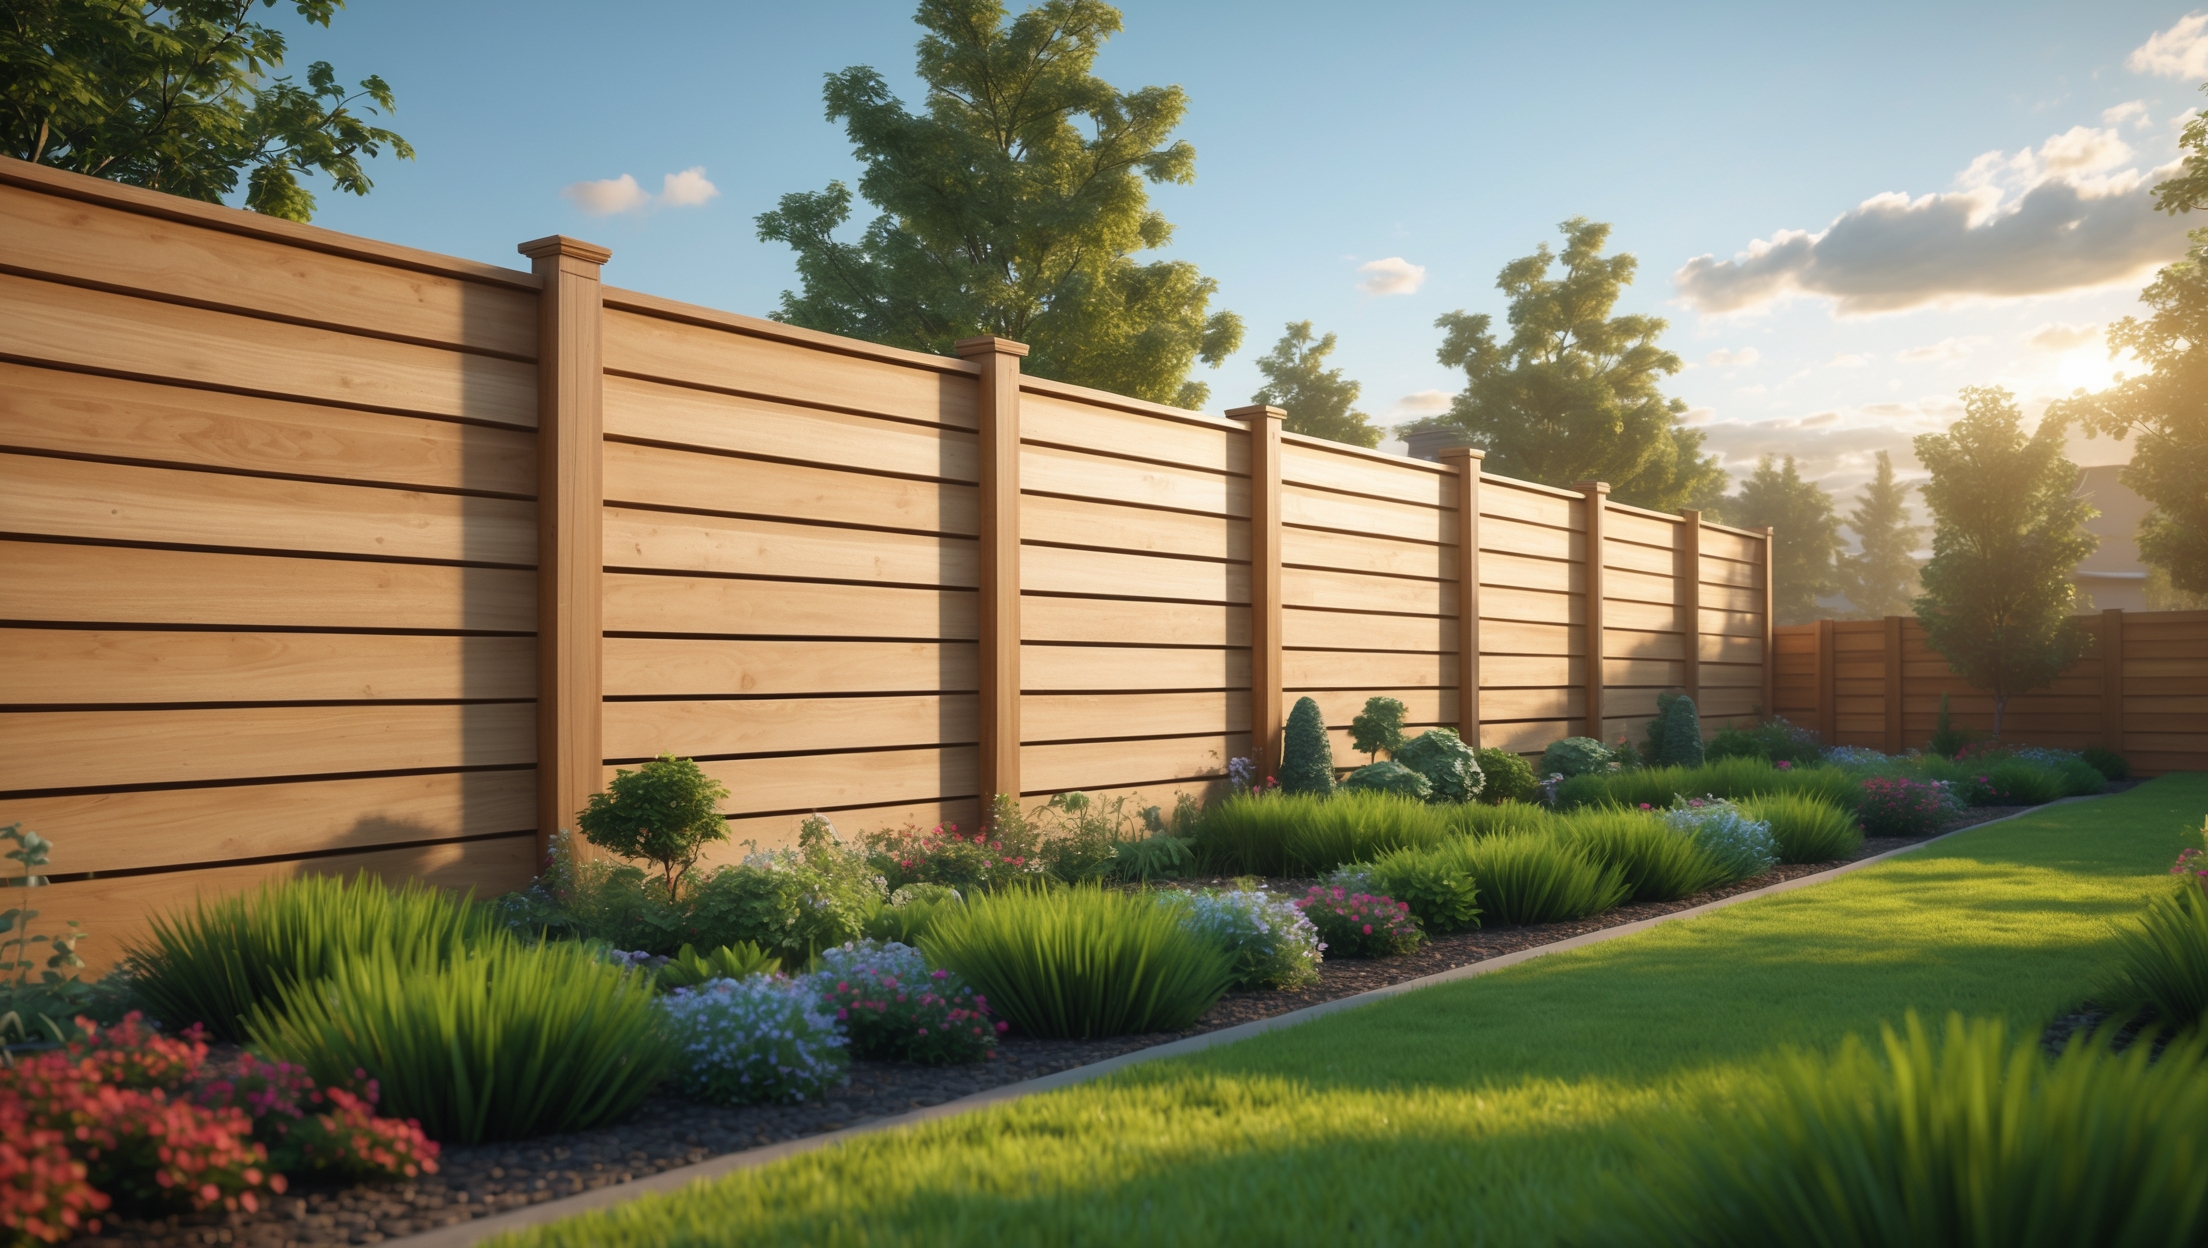
Choosing the Right Fence Material for Your Needs
Wood Fences
Wood remains a classic choice, valued for its warmth, versatility, and affordability. Pressure-treated pine is budget-friendly but less durable than cedar or redwood, which resist rot and insects. Staining or sealing every 2–3 years preserves beauty and longevity.
Vinyl Fences
Vinyl offers low maintenance and clean lines, making it popular for busy homeowners. It won’t rot, blister, or require painting, but can crack under severe impact and may fade in direct sun after 10–15 years.
Composite Fences
Made from recycled wood fibers and plastic, composite fences combine the look of wood with the durability of synthetic materials. They’re resistant to weathering, insects, and decay, but come at a higher upfront cost.
Chain Link and Metal Fences
Chain link is cost-effective for security or pet containment but lacks privacy and curb appeal. Wrought iron and aluminum offer strength and style, with powder-coated finishes extending service life. Metal fences are ideal for ornamental boundaries or high-security applications.
Factors to Consider
- Security: Choose solid panels for privacy or tall, sturdy metal for protection.
- Privacy: Solid wood, vinyl, or composite panels shield your yard from view.
- Maintenance: Vinyl and composite require the least upkeep; wood needs periodic sealing.
- Climate: Wet climates favor rot-resistant materials; harsh sun can fade vinyl and wood stains.
- HOA/Neighborhood Rules: Confirm allowable styles and colors before purchasing materials.
Step-by-Step Fence Replacement Process
1. Planning and Preparation
- Obtain required permits and HOA approvals.
- Schedule a property survey if boundaries are unclear.
- Notify neighbors, especially if replacing a shared fence.
- Order materials and tools, accounting for a 10% overage to cover mistakes or warped boards.
2. Demolition and Site Clearing
- Remove old panels, posts, and debris. Rent a dumpster or arrange for haul-away services.
- Cut back overgrown vegetation and level the ground along the fence line.
- Mark utility lines before digging to avoid costly damage.
3. Setting New Posts
- Lay out string lines to ensure a straight, even fence.
- Dig post holes below the frost line (typically 24–36 inches deep).
- Set posts in concrete, ensuring they are plumb and evenly spaced (typically 6–8 feet apart).
- Allow concrete to cure for 24–48 hours before attaching panels.
4. Installing Panels and Gates
- Attach fence panels or boards according to manufacturer instructions.
- Check each section for level and alignment before securing.
- Install gates with heavy-duty hinges and latches; reinforce posts for added support.
5. Finishing Touches
- Apply stain or sealant to wood fences for weather protection.
- Clean up debris and inspect the fence line for gaps or defects.
- Schedule a final inspection if required by your permit.
Long-Term Maintenance: Keep Your Fence Standing Strong
Wood Fence Maintenance
- Inspect annually for rot, insect damage, and loose fasteners.
- Pressure wash to remove dirt and algae; reapply stain or sealant every 2–3 years.
- Replace warped or broken boards promptly to maintain structural integrity.
Vinyl and Composite Fence Maintenance
- Clean panels with mild soap and water twice a year.
- Check for cracked or loose parts after storms or high winds.
- Lubricate gate hardware as needed to prevent squeaks or rust.
Metal Fence Maintenance
- Inspect for rust, especially at joints and welds. Sand and repaint as needed.
- Ensure posts remain stable and gates operate smoothly.
- Keep vegetation trimmed back to prevent moisture retention and corrosion.
Common Fence Replacement Mistakes to Avoid
- Skipping Permits: Unpermitted work can lead to costly re-dos or legal action.
- Ignoring Property Lines: Building on a neighbor’s land may result in forced removal.
- Poor Post Installation: Shallow or unstable posts cause sagging and early failure.
- Choosing the Wrong Material: Incompatible materials can deteriorate quickly in harsh climates.
- Neglecting Maintenance: Even maintenance-free materials need periodic inspection and cleaning.
- Underestimating Costs: Always budget for demolition, disposal, and contingencies.
Case Study: Upgrading to a Composite Privacy Fence
The Challenge
A homeowner in the Pacific Northwest faced a rotting cedar fence after 15 years of exposure to heavy rain and moss. HOA guidelines allowed composite materials but required pre-approval of the design and color.
The Solution
- Obtained city permit and HOA approval for a 6-foot composite privacy fence.
- Chose a gray composite panel system with reinforced aluminum posts for extra strength.
- Hired a local pro for removal of the old fence and installation of 120 feet of new fencing, including two locking gates.
- Project timeline: 2 weeks from demolition to completion.
- Total cost: $9,800, including materials, labor, demolition, permit, and cleanup.
The Results
- Zero maintenance expected for the first five years.
- Improved curb appeal and property value.
- Happier neighbors thanks to a neutral, attractive design.
Conclusion: Investing in a Fence That Lasts
Fence replacement is more than just a cosmetic upgrade—it’s a strategic investment in your home’s security, privacy, and long-term value. By carefully planning your project, researching local regulations, and choosing the right materials, you can avoid the most common pitfalls and ensure a smooth installation process. Remember to account for hidden costs, obtain all necessary permits, and prioritize regular maintenance to maximize the lifespan of your new fence. Whether you’re a seasoned DIYer or working with a trusted contractor, a well-built fence provides peace of mind, enhances your landscape, and can even prevent disputes with neighbors. Don’t overlook the role of ongoing care—even the most durable materials benefit from periodic inspection and minor repairs. With the right approach, your new fence will not only define your property but will stand strong for years to come, delivering security, beauty, and lasting satisfaction.