
Avoiding Mold After Flooding: Post-Disaster Home Restoration Checklist
Introduction: Why Mold Prevention Matters After Flooding
Flooding can devastate homes, but the hidden threat often comes after the water recedes: mold. Mold growth can begin within 24 to 48 hours in damp environments, thriving behind walls, under floors, and inside HVAC systems. Left unchecked, mold damages building materials, ruins possessions, and can lead to serious health problems—especially for children, the elderly, and anyone with respiratory issues. For homeowners facing the aftermath of a flood, acting quickly and methodically is critical to prevent mold, comply with insurance and local regulations, and ensure a safe, healthy living environment. This comprehensive checklist will guide you through every step of post-flood home restoration, from immediate safety precautions to long-term moisture control. Whether you’re a DIY enthusiast or collaborating with professionals, these practical strategies will help you restore your home efficiently and minimize the risk of future mold outbreaks.
Step 1: Safety First—Assess and Secure the Area
Inspect for Structural Hazards
Before setting foot inside, ensure the property is structurally sound. Floodwaters can compromise foundations, flooring, and support beams. Look for visible sagging, cracks, or shifting. If in doubt, consult a structural engineer before proceeding.
- Turn off electricity and gas: Never enter a flooded home until power and gas are shut off at the main supply. Call your utility providers if unsure.
- Wear protective gear: Equip yourself with waterproof boots, gloves, N95 respirator masks, and eye protection. Floodwaters may contain sewage, chemicals, and debris.
Document Damage for Insurance
Take clear, comprehensive photos and videos before cleanup begins. Focus on water lines, damaged finishes, furniture, appliances, and structural elements. Keep a log of all items for insurance claims. Save receipts for professional assessments or emergency services.
Step 2: Remove Standing Water Quickly
Pump and Extract Water
The faster you remove standing water, the lower the risk of mold. Use a wet/dry shop vacuum, submersible pumps, or call a professional water extraction service for severe flooding. Start in the lowest part of the home and work upwards.
- Open doors and windows: Maximize ventilation to speed up drying and reduce humidity.
- Check for hidden water: Inspect crawl spaces, wall cavities, and under flooring with moisture meters if available.
Step 3: Remove Wet Materials and Debris
Sort and Dispose Responsibly
All porous materials exposed to floodwater—carpets, drywall, insulation, upholstered furniture, mattresses, and paper goods—should be removed and discarded. These materials trap moisture and are nearly impossible to sanitize fully.
- Salvage non-porous items: Solid wood, metal, and plastic items can often be cleaned and disinfected.
- Check local disposal guidelines: Follow municipal regulations for hazardous waste and bulk debris pickup.
Remove Baseboards and Wall Coverings
Carefully pry off baseboards and cut out drywall at least 12 inches above the visible water line. Remove insulation behind affected walls. This exposes hidden moisture and allows walls to dry thoroughly.
Step 4: Dry Out the Structure Thoroughly
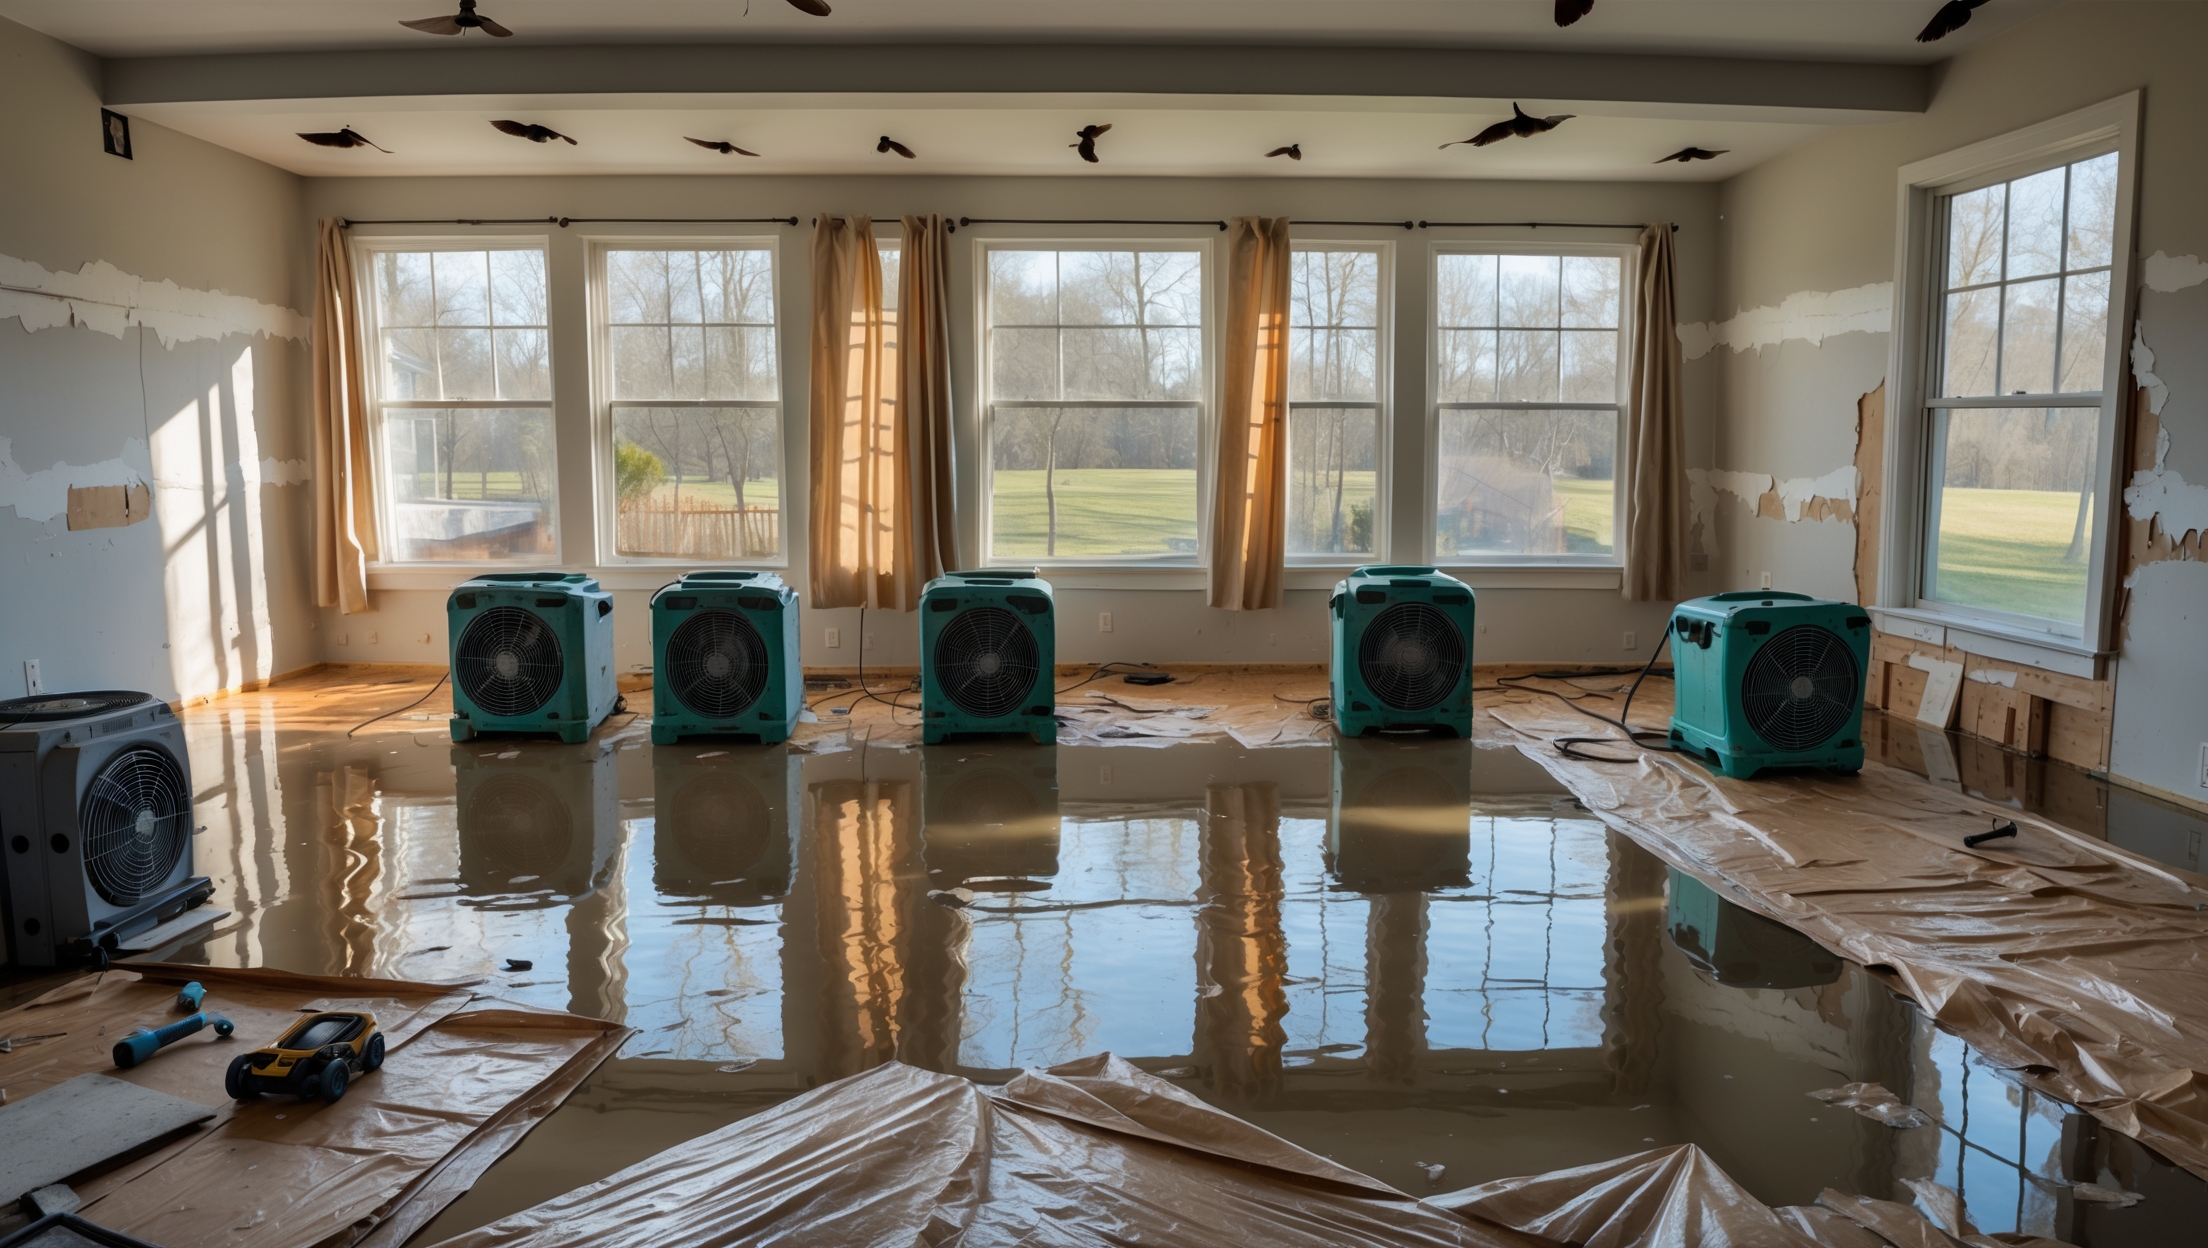
Professional-Grade Drying Equipment
Standard household fans are rarely enough. Rent or purchase high-capacity air movers and commercial dehumidifiers for best results. Place fans to promote cross-ventilation, aiming air along walls and floors.
- Maintain low humidity: Aim for indoor humidity below 50% for at least 3 days. Use a hygrometer to monitor progress.
- Remove interior doors: Improve airflow between rooms and closets by propping open or removing doors.
Monitor Hidden Moisture
Moisture meters and infrared cameras can detect dampness behind walls and under floors. Continue drying until readings show safe levels (generally under 16% moisture content in wood and drywall).
Step 5: Clean and Disinfect All Surfaces
Choose the Right Cleaning Agents
Floodwater can introduce bacteria, chemicals, and mold spores. Clean all hard surfaces—floors, walls, countertops—with a detergent solution first. Follow with a disinfectant approved by the EPA for mold and bacteria. Avoid mixing cleaning chemicals, especially bleach and ammonia.
- Scrub thoroughly: Focus on seams, corners, and textured surfaces where mold spores may hide.
- Sanitize HVAC systems: Replace filters and have ductwork professionally cleaned if flooded.
Deodorize Safely
Lingering odors often signal incomplete cleaning or hidden moisture. Use odor absorbers (activated charcoal, baking soda) and continue ventilating until odors dissipate. Avoid masking scents, which do not address the source.
Step 6: Inspect and Treat for Mold
Recognize Early Signs
Visible mold may appear as black, green, or white fuzzy patches, but spores can be present without obvious signs. Watch for persistent musty odors, discoloration on walls or ceilings, and allergy-like symptoms among household members.
- Test for mold: Consider professional mold testing if you’re unsure or suspect hidden contamination.
- Clean minor growth: Small areas (under 10 square feet) can often be scrubbed with detergent and water, then disinfected. Wear full protective gear.
- Hire professionals for large infestations: Extensive mold requires certified remediation, especially if HVAC or structural elements are involved.
Step 7: Replace Damaged Building Materials
Use Mold-Resistant Materials
When rebuilding, choose materials designed to resist future mold growth. Mold-resistant drywall, insulation, and paints add extra protection—especially in basements, bathrooms, and other high-humidity areas.
- Install vapor barriers: In crawl spaces and basements, add plastic sheeting to prevent ground moisture from entering the home.
- Elevate electrical outlets: Consider raising outlets and wiring above typical flood lines for future resilience.
Double-Check Permits and Codes
Many municipalities require permits for structural repairs and electrical/plumbing work. Ensure all replacements meet local building codes for safety, energy efficiency, and disaster resistance.
Step 8: Restore Utilities and Test Systems
Electrical and Gas Safety
Have a licensed electrician inspect wiring, outlets, and breaker panels for water damage before restoring power. Gas appliances (furnaces, water heaters, stoves) should be professionally serviced to check for leaks and corrosion.
- Check HVAC systems: Clean or replace filters and ensure all components are dry before operation.
- Flush plumbing: Run all faucets and showers to clear any residual contaminants from pipes.
Step 9: Prevent Future Mold Growth
Long-Term Moisture Control
Prevention is key to protecting your home from future mold outbreaks. Address drainage issues, leaks, and humidity sources proactively:
- Grade soil away from foundation: Ensure that landscaping directs rainwater away from the home.
- Install sump pumps and backflow valves: Especially in flood-prone areas or basements.
- Add exhaust fans: In bathrooms, kitchens, and laundry rooms to control indoor humidity.
- Monitor humidity: Use dehumidifiers in damp areas and aim for <50% indoor humidity year-round.
Regular Maintenance Checklist
- Inspect roofs, gutters, and downspouts every season.
- Seal foundation cracks and windowsills.
- Check plumbing for slow leaks beneath sinks and appliances.
Step 10: Final Compliance and Insurance Steps
Confirm Restoration with Local Authorities
Request a final inspection from your local building department if required. Keep documentation of all repairs, permits, and approved materials for future reference and resale value.
Close Out Insurance Claims
Submit all receipts, photos, and inspection reports to your insurance provider. Clarify coverage for repairs, replacements, and mold remediation. If issues arise, consider consulting a public adjuster or consumer protection agency.
Conclusion: Restoring Confidence After the Flood
Recovering from a flood is overwhelming, but with a focused, step-by-step approach, you can protect your home from lasting mold damage and ensure a safe living space for your family. Acting quickly to remove water, dry out materials, and disinfect thoroughly prevents most mold outbreaks before they take root. When rebuilding, invest in mold-resistant materials and address underlying moisture issues to safeguard your property for years to come. Don’t overlook compliance—proper documentation, permits, and insurance coordination will save headaches down the road and may even enhance your home’s value. Whether you tackle restoration yourself or hire professionals, staying informed and organized is your best defense. By following this comprehensive checklist, you’ll not only restore your home but renew your peace of mind, knowing you’ve taken every step to avoid the hidden dangers of post-flood mold.